
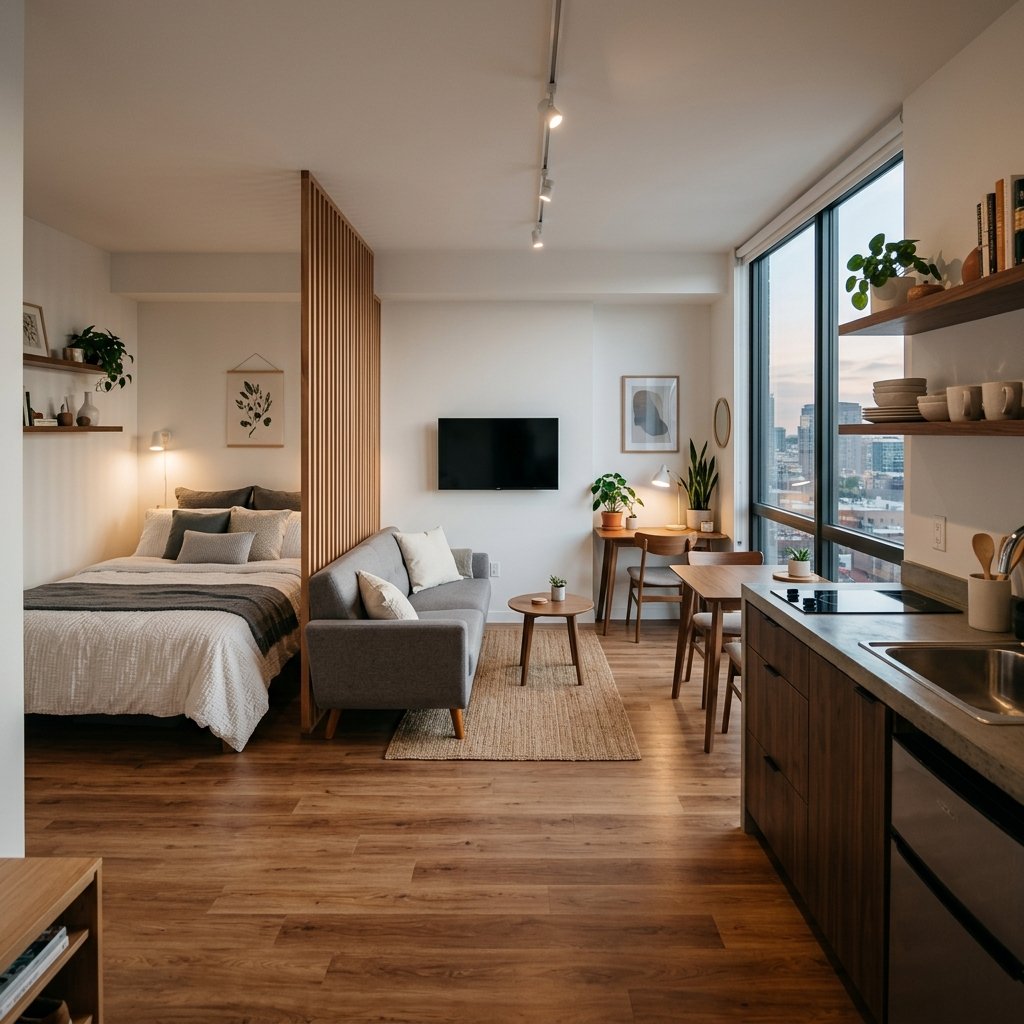
Living in a studio apartment comes with a very specific challenge that nobody warns you about until you’re actually there. Your bed is basically part of your living room. You wake up and the first thing you see is your couch. You watch TV and your pillows are staring back at you from across the room. Without any real separation, a studio can start to feel like one long, undefined blob of a room instead of an actual home.
The good news is that you don’t need walls to fix this. You don’t need a huge apartment or a total renovation either. With the right layout choices, you can create a clear sense of “this is where I sleep” and “this is where I live” even in a few hundred square feet. It’s less about adding square footage and more about using what you already have more intentionally.
Let’s go through the layout strategies that actually work for separating sleep and living spaces in a studio, along with a few common mistakes worth avoiding along the way.
Why Separating Sleep and Living Areas Matters in a Studio
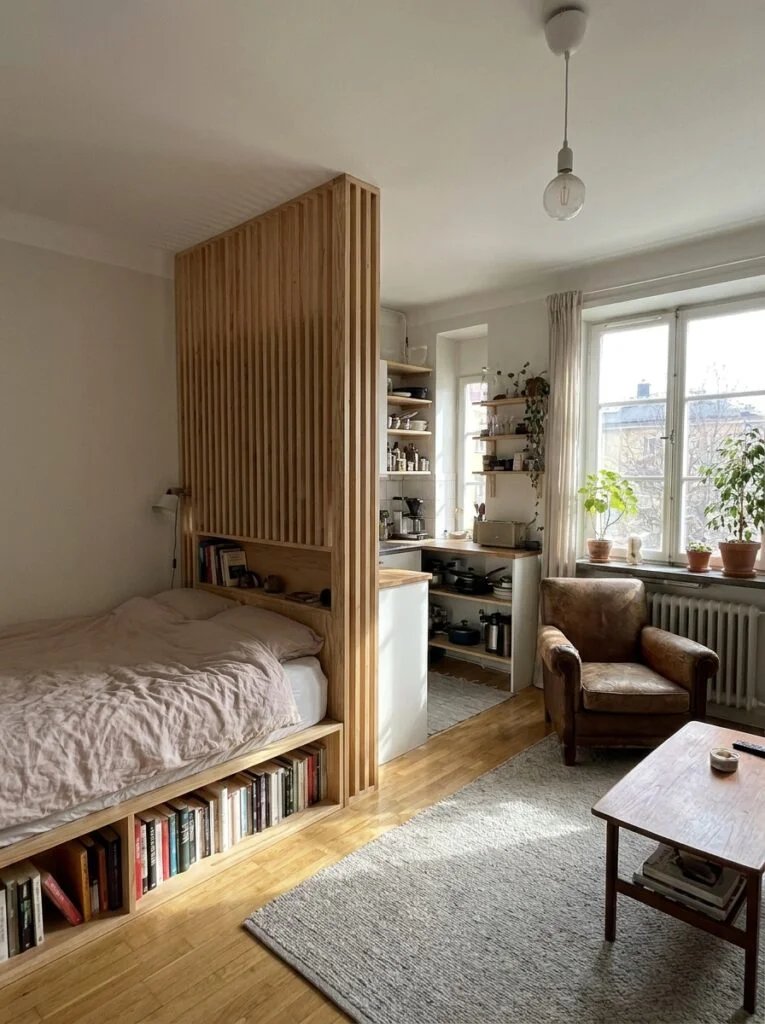
It might seem like a small detail, but having a defined sleep zone and a defined living zone changes how a studio actually feels day to day.
When your bed blends into your living space with no visual break, it’s harder for your brain to switch gears. Working from home becomes harder when your laptop is three feet from your pillow. Relaxing in the evening becomes harder when your bed is visible the whole time you’re trying to unwind. Sleep quality can even take a hit, since your brain starts associating the whole room with wakeful activity instead of just rest.
Beyond the practical side, separation also just makes a studio look and feel more polished. A studio with defined zones reads as an intentional one bedroom style layout. A studio with everything mashed together reads as, well, one open room with a bed shoved in a corner. The goal isn’t to trick anyone into thinking you have more space than you do. It’s to use the space you have in a way that actually supports how you live.
The Power of Furniture as a Room Divider
The single most effective tool for separating a studio without construction is furniture placement. Instead of pushing everything against the walls, which is the instinct most people start with, try pulling a few key pieces into the room to create a boundary.
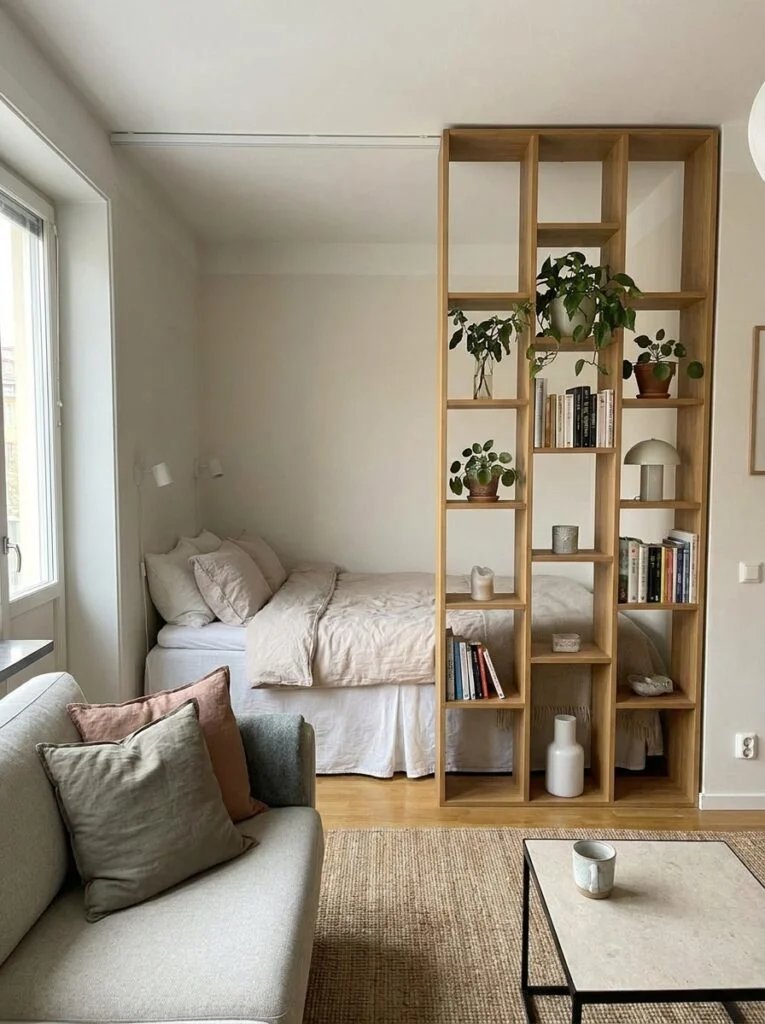
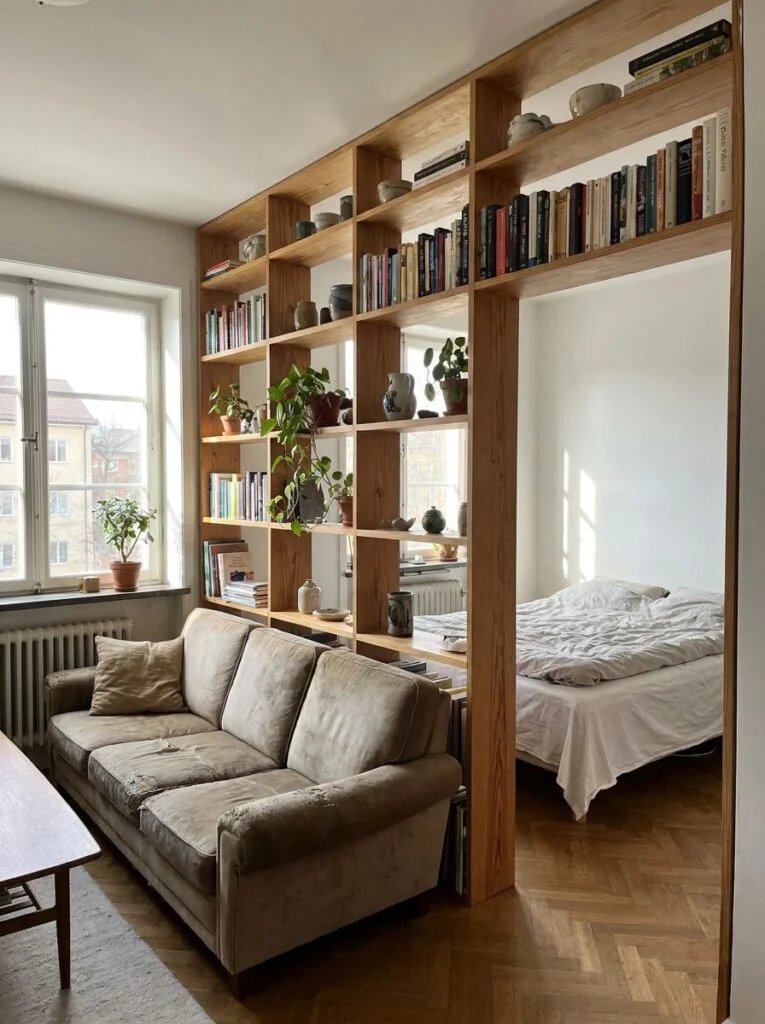
A bookshelf placed perpendicular to the wall, positioned between your bed and your living area, does double duty. It gives you storage and it creates an immediate visual line between the two zones. The back of the shelf can face your living space, while the front faces your bed, giving each side its own personality.
A couch can work the same way. Rather than facing your couch toward the bed, try positioning it with its back to the sleeping area, facing the living space instead. This simple flip does a lot of work. It signals to your brain, and to anyone visiting, that the couch side is the “living room” and the space behind it belongs to something else entirely.
Console tables, credenzas, and even tall plants can serve a similar purpose on a smaller scale, especially in studios too tight for a full bookshelf. The key is choosing something with enough height and presence to register as a boundary, rather than something so low or slim that it disappears visually.
Using Curtains and Sliding Panels to Create Separation
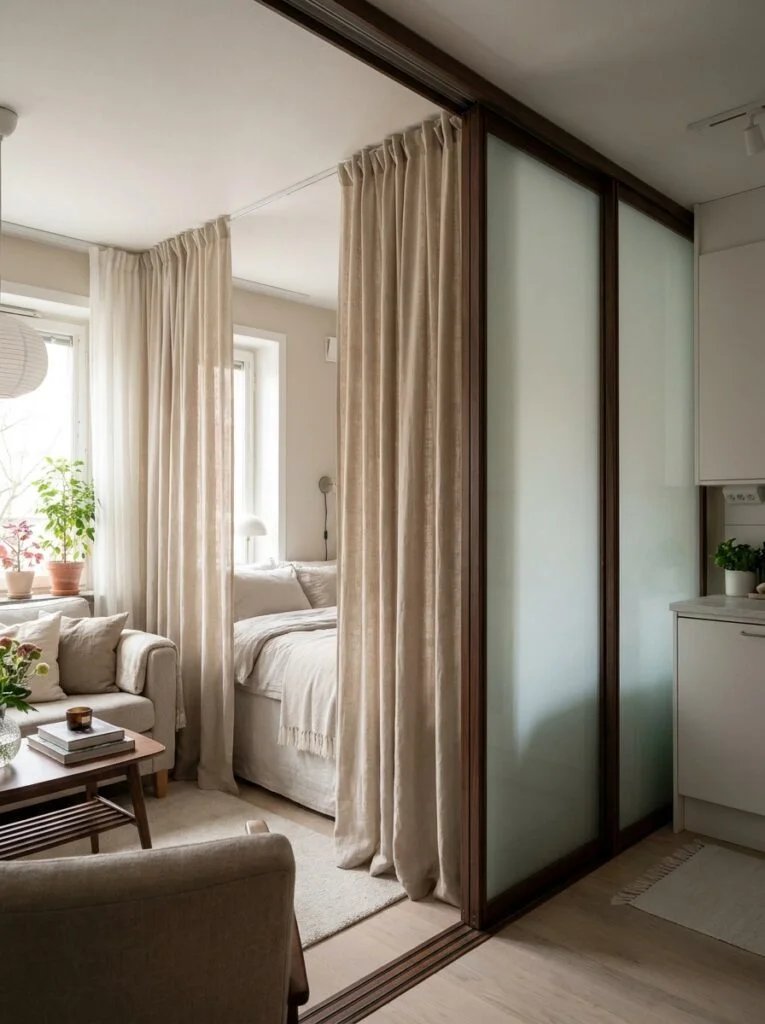
If furniture alone doesn’t feel like enough of a break, curtains are one of the most popular and budget friendly solutions for a reason. A ceiling mounted curtain track lets you section off your bed area completely when you want privacy, and pull it back open during the day when you want the studio to feel bigger and more connected.
This works especially well for people who work from home, since it lets you visually “close” the bedroom during work hours and open it back up in the evening. It also helps enormously if you ever have guests over, giving you a way to tuck away an unmade bed in about two seconds.
For a slightly more architectural option, sliding panel screens or a folding room divider achieve a similar effect with a bit more structure. These tend to look a little more intentional than curtains, though curtains have the advantage of feeling soft and adding texture to the room rather than a solid visual block.
Whichever option you choose, look for something that goes most of the way to the ceiling. A curtain or panel that only reaches partway up will read as a small accent rather than a true divider, and won’t create the same sense of separation.
Rugs and Flooring Tricks That Define Each Zone
You don’t always need a physical object to divide a room. Sometimes a change in what’s underfoot is enough to signal a shift from one zone to another.
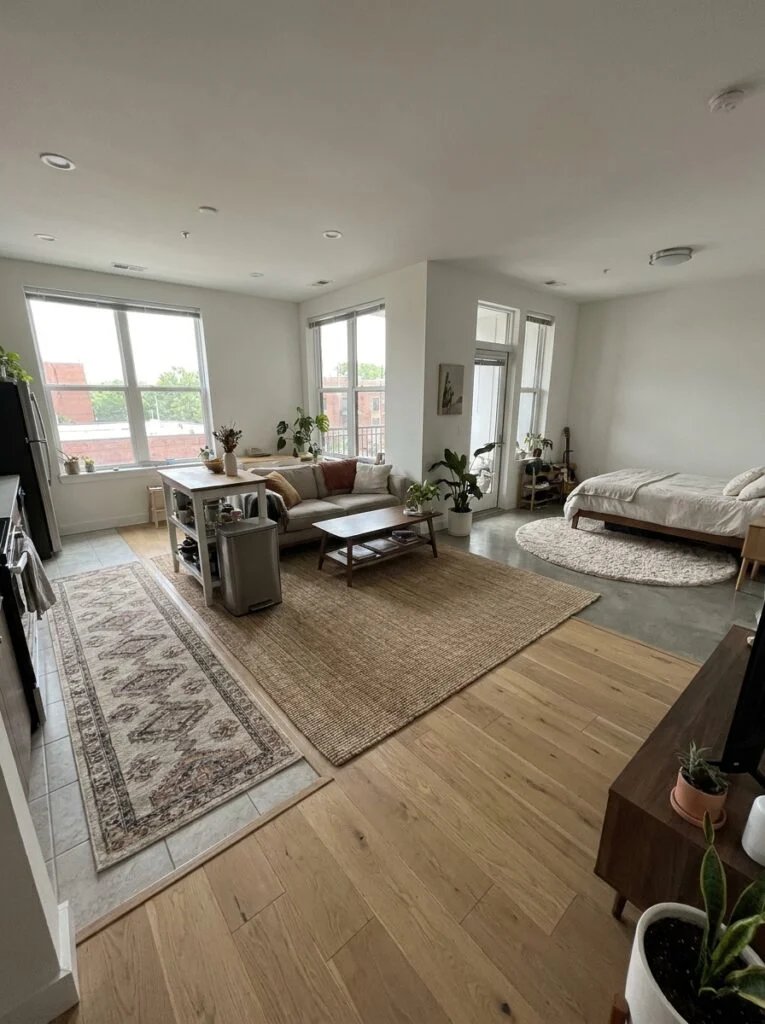
Placing a rug under your living room seating area, and leaving the flooring bare or using a different rug under your bed, creates a subtle but effective boundary. Your eye naturally reads a change in flooring texture or color as a change in “room,” even without any furniture actually blocking the space.
This trick works particularly well in studios with an open floor plan and no natural architectural breaks, like a step down, a change in ceiling height, or an alcove. If your studio is one continuous rectangle, a couple of well chosen rugs can do a surprising amount to make it feel like two distinct areas instead of one.
For renters who can’t change flooring permanently, this is also one of the lowest commitment options on this list. A large area rug under your seating and a smaller one under your bed frame can be swapped out or removed entirely whenever you move, with zero impact on the actual apartment.
Lighting as a Zoning Tool
Lighting is one of the most underused tools for creating separation in a studio, and it’s also one of the easiest to implement without spending much money.
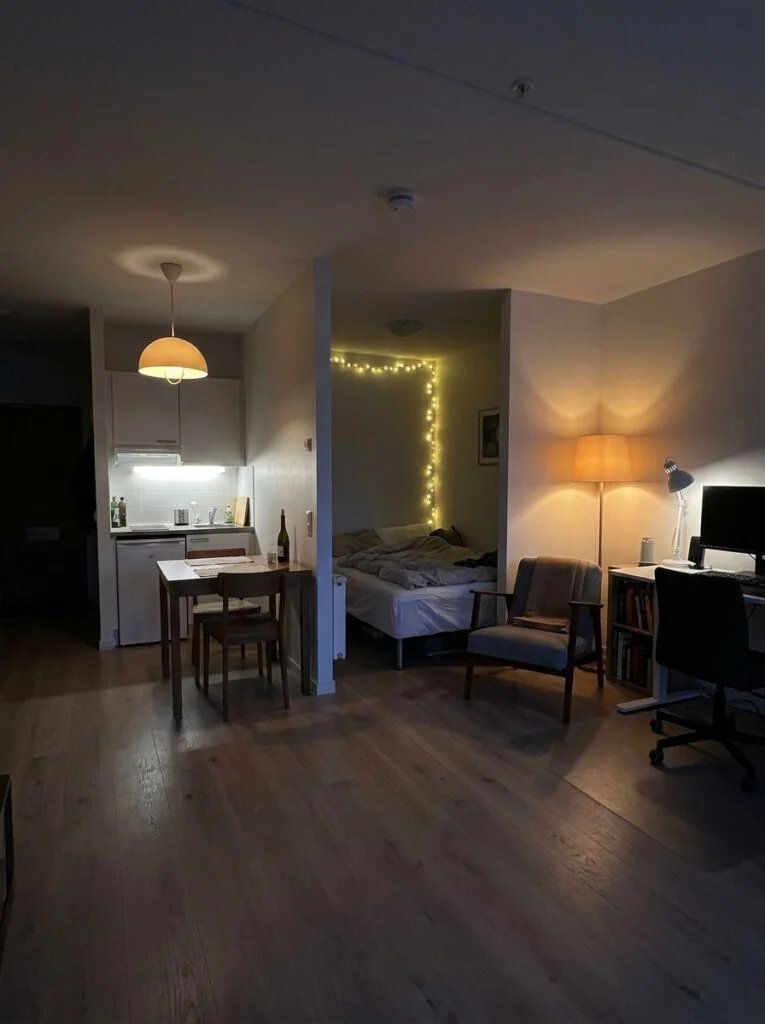
Instead of relying on one central overhead light for the entire apartment, try giving each zone its own light source. A floor lamp or table lamp near your couch signals “living space” the moment it’s turned on. A bedside lamp or a small pendant light over your bed signals “sleep space” in the same way.
This matters more than people expect, especially in the evening. Turning off your work and living area lights while keeping a soft lamp on near your bed creates an obvious signal that it’s time to wind down, even without any physical divider in place. It’s a small routine that can genuinely help your brain shift from “daytime studio” mode into “nighttime bedroom” mode.
Warm toned bulbs near the sleep area and slightly brighter, cooler toned lighting near a desk or living space can reinforce this even further, since the shift in color temperature adds another layer of distinction between the two zones.
Choosing the Right Bed Setup for a Studio
The bed itself plays a bigger role in this than people usually consider. A few setup choices can make separation dramatically easier.
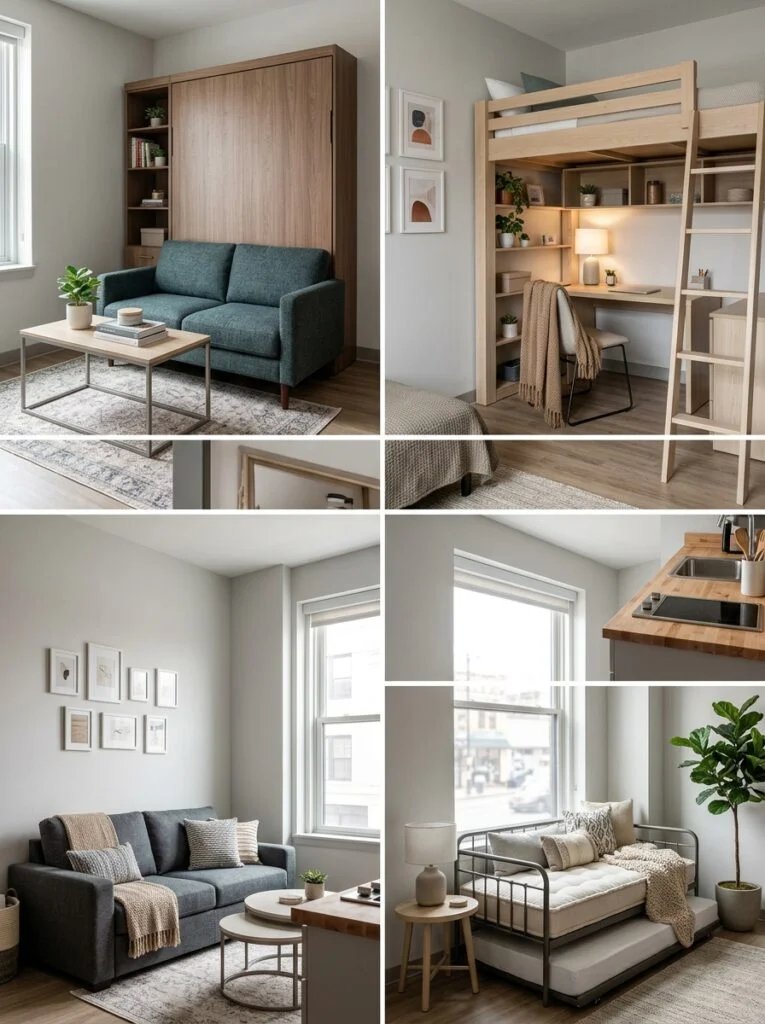
A daybed or a bed with a low profile frame tends to blend more easily into a shared space when needed, which is useful if your studio is small enough that full time separation isn’t realistic. On the other hand, if you have the square footage to dedicate a permanent corner to sleeping, a platform bed with a slightly taller frame or an attached low headboard can help visually anchor that corner as its own distinct zone.
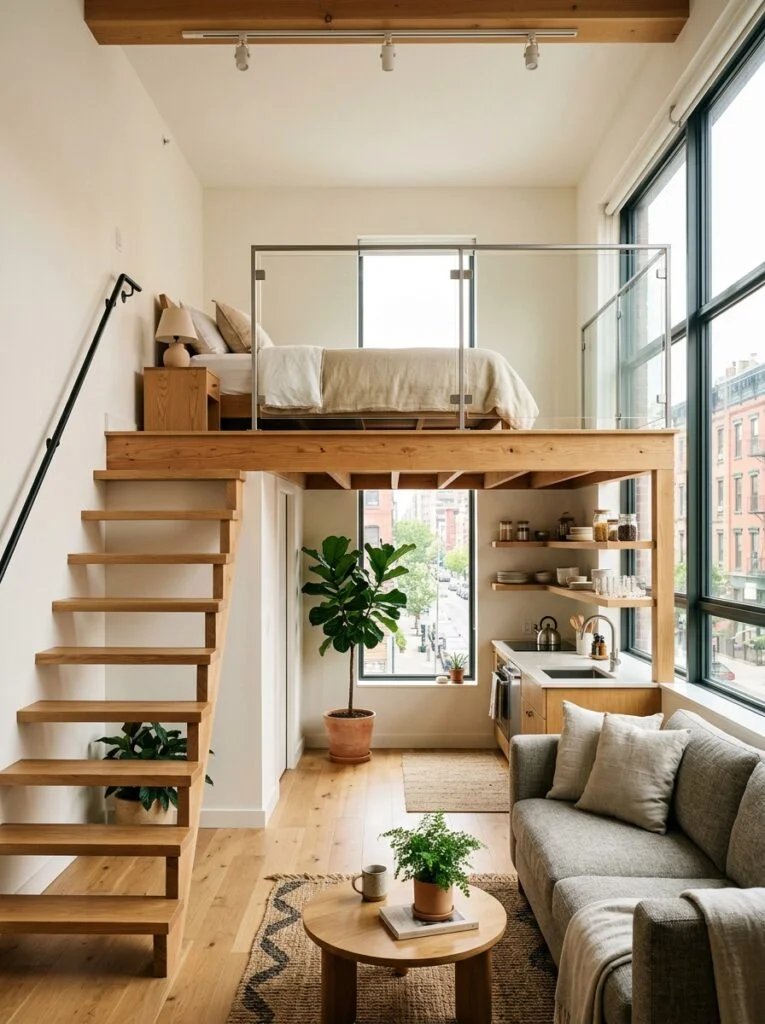
Loft beds are worth considering in studios with high enough ceilings, since they free up the entire floor space underneath for a proper living area, effectively creating two levels out of one room. This is one of the most dramatic ways to separate sleep and living without adding any walls at all, though it obviously depends on having the ceiling height to support it safely and comfortably.
Positioning matters just as much as the bed itself. Tucking the bed into a corner, an alcove, or the area farthest from the entryway naturally creates more separation than placing it in the center of the room or right next to the main living area.
Vertical Separation Ideas Without Losing Light
One of the biggest concerns with dividing a studio is losing natural light or making the space feel darker and more closed in. The good news is that vertical separation doesn’t have to mean solid walls.
Open shelving units, rather than solid bookshelves, let light pass through while still creating a visual and physical boundary. This is a great middle ground for studios that don’t get a ton of natural light to begin with, since it avoids blocking windows or sunlight from reaching the far side of the room.
Sheer curtains offer a similar benefit. They create a soft visual break and a sense of privacy without fully blocking light the way a heavier curtain or solid panel would. This works especially well for studios where the bed area doesn’t have its own window, since it allows borrowed light from the living area to still filter through.
Glass or acrylic panels are a less common but effective option too, particularly in modern styled studios. They provide a literal boundary while remaining almost entirely see through, which is ideal for very small studios where every bit of visual openness counts.
Color and Material Choices That Reinforce Zones
Beyond furniture and lighting, color can quietly reinforce the separation between sleep and living areas.
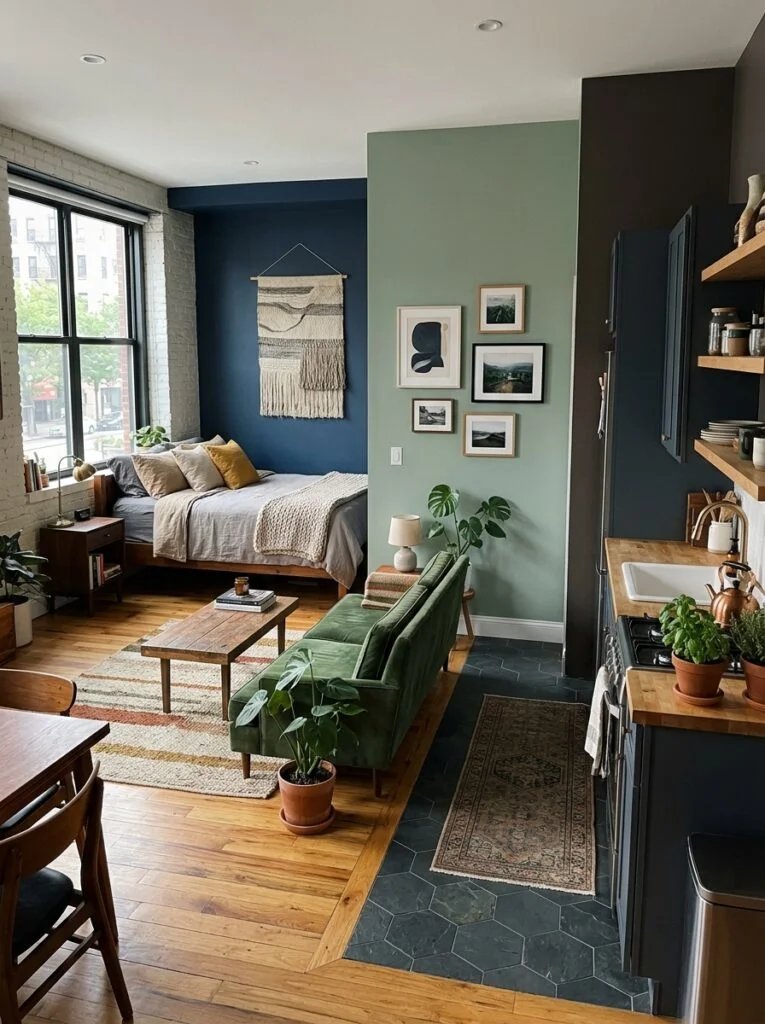
Painting an accent wall behind your bed, even just a soft, muted tone, gives that corner its own identity distinct from the rest of the room. It doesn’t need to be dramatic. A slightly deeper neutral than the rest of your walls is often enough to signal “this is a different zone” without making the studio feel visually chopped up.
Using a different bedding palette than your living room decor helps as well. If your couch and living area lean toward warm neutrals, a bedding set in a slightly cooler or more muted tone can help the eye register the bed as its own space rather than an extension of the same room.
Textiles in general, rugs, curtains, and throw blankets, are an easy way to build this kind of distinction without any permanent changes, which makes this approach especially useful for renters.
Common Studio Layout Mistakes to Avoid
A few habits tend to work against a well separated studio layout, even with good intentions behind them.
Pushing all your furniture against the walls is one of the most common mistakes. It might feel like it opens up the center of the room, but it actually removes your best tool for creating separation. Pulling a piece or two into the room, even slightly, does more to define zones than lining everything up around the perimeter ever will.
Facing your bed directly toward your TV or living area is another one worth avoiding if separation is your goal. It keeps your eye constantly drawn between both zones at once, which undercuts any divider you’ve set up elsewhere in the room.
Overcrowding the divider zone itself, the space between your bed and living area, with too much furniture or decor can also backfire. A shelf, a lamp, and maybe a plant is usually enough. Piling on more than that starts to create its own clutter problem in a spot that’s supposed to feel like a clean transition point.
Layout Ideas for Different Studio Shapes
Rectangular studios generally have the easiest time with separation, since the natural elongated shape lends itself well to a furniture divider or curtain placed roughly at the midpoint, splitting the room into two clear halves.
Square studios can be trickier, since there’s no obvious long wall to anchor a bed against. In this shape, tucking the bed into one corner and building your living area around the opposite corner, with a rug or lighting change marking the middle, tends to work better than trying to split the room straight down the middle.
L shaped studios often have a built in advantage, since the shorter leg of the L can become a natural, semi enclosed bedroom nook without needing much additional separation at all. If you’re lucky enough to have this layout, a curtain across the opening of the nook is often all you need.
Frequently Asked Questions
What’s the easiest way to separate sleep and living space in a studio?
A ceiling mounted curtain is usually the easiest and most affordable option, since it requires no major furniture rearranging and can be opened or closed depending on the time of day.
Do I need to buy a room divider to separate a studio apartment?
Not necessarily. Furniture you already own, like a bookshelf or a couch, can often be repositioned to create the same effect without any additional purchases.
Will separating my studio make it feel smaller?
It doesn’t have to. Choosing open or see through options, like shelving, sheer curtains, or a rug based divide instead of solid walls, keeps the space feeling open while still creating a sense of separation.
Is a loft bed a good option for a small studio?
Loft beds can be an excellent option if your ceiling height allows for it, since they free up the entire floor below for a dedicated living area.
How do I separate a studio apartment without damaging the walls as a renter?
Curtains, rugs, freestanding furniture, and lamps are all renter friendly options that create separation without any drilling, painting, or permanent changes.
Final Thoughts
Separating sleep and living space in a studio apartment doesn’t require a renovation or a bigger apartment. It comes down to using furniture, lighting, textiles, and a little bit of layout strategy to give each zone its own clear identity.
Start with one change, whether that’s flipping your couch to face away from your bed or hanging a simple curtain, and build from there. Once your studio has a defined place to rest and a defined place to live, the whole apartment starts to feel less like one crowded room and more like a real home, no extra square footage required.

2 comments