Most staircase garland advice focuses on how it looks on day one. The real test comes on day four, when one swag has slid to the bottom, a bow has spun around to face the wall, and the lights have pulled loose from the greenery. A garland that droops is usually a fastening problem, not a decorating one.
This guide covers both sides: how to attach garland to different kinds of staircases so it holds for the whole season, and how to style it so it looks full and deliberate. You will find measuring tips, hardware options, five layouts, lighting advice, and a short list of safety points that matter more on stairs than anywhere else in the house.
Why Garland Slips, and What Fixes It
Understanding the cause makes the fix easier. Staircase garland usually fails for one of four reasons.
Weight pulls it downhill. A staircase is a slope, so gravity drags the whole strand toward the bottom. A garland held in place by a few loose loops will migrate.
Smooth surfaces offer no grip. Polished wood, painted rails, and metal tubing give nothing for greenery to hold onto.
Fastenings are too few or too far apart. Securing a garland every four feet leaves long stretches free to sag.
Adhesive loses against the weight. Many adhesive hooks have weight limits, and a heavy pre-lit garland can exceed them.
The solution is simple in principle: attach more often, use hardware matched to the surface, and anchor each end firmly before dealing with anything in the middle.
Measure the Run Before You Buy
Garlands are sold in standard lengths, and staircases are rarely standard. A few minutes with a tape measure saves a trip back to the store.
- Run a piece of string or a soft tape along the top of the banister from the first newel post to the last, following the slope.
- Note the length. This is the straight-line run.
- For a swagged look, where the garland dips between attachment points, add about 25 to 50 percent to the run, depending on how deep you want each swag.
- For a tight, straight look, the straight-line length plus a few extra inches for wrapping at the ends is usually enough.
If the stairs turn or have a landing, measure each section separately. Connecting two shorter garlands generally looks fuller than stretching one long strand, and it gives you a natural place to hide the join.
It also helps to count your attachment points. If your banister has a spindle every few inches, you will have plenty of anchors. If it has a glass panel or a solid wall, you will need another approach.
Choose Hardware to Match the Banister
This is the part that determines whether the garland stays put. Pick the attachment method for your particular rail.
Wooden banisters with spindles
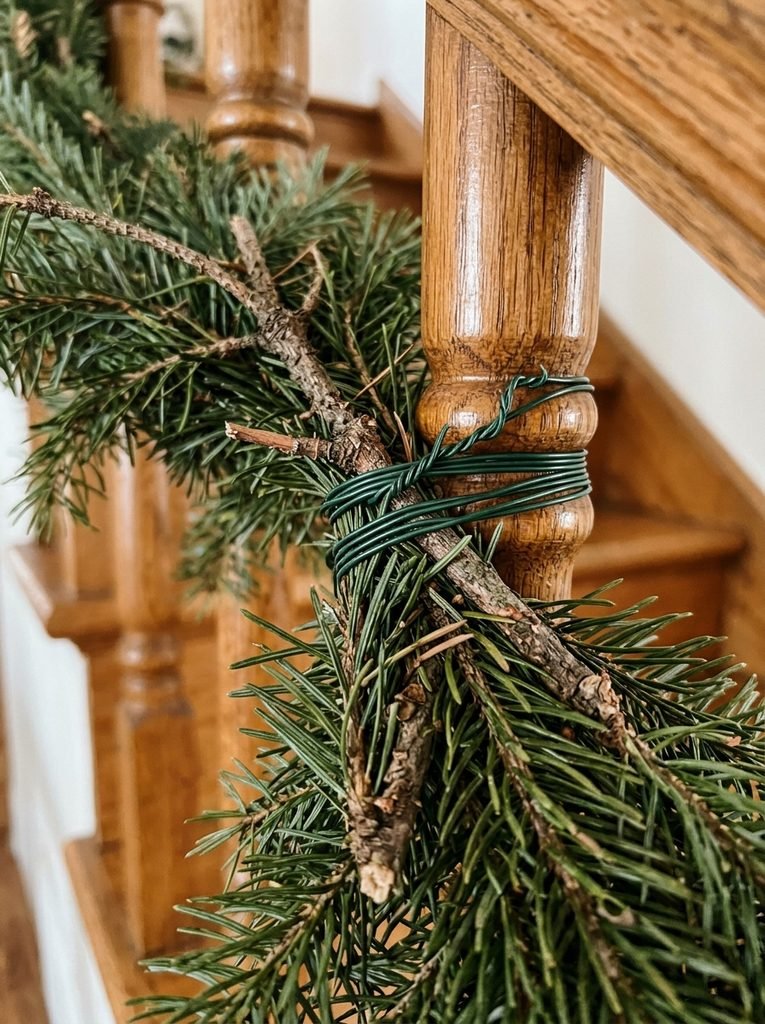
Spindles are the easiest to work with. Wrap floral wire or green zip ties around the garland’s inner stem and the spindle or top rail every 12 to 18 inches. For a softer look, use fabric ribbon tied in knots and hide it behind bows. Green or brown fastenings blend in with the greenery.
Metal or wrought-iron railings
Iron rails are smooth, but the spindles provide anchor points. Use cable ties or covered floral wire. Avoid tight wire directly on a painted finish, as it may scratch, so wrap a small piece of felt or ribbon under the wire if you are concerned.
Glass panel or cable railings
These are the hardest. You may need to attach garland to the top rail alone and avoid draping, or to use a rail clip designed for the profile. Do not apply adhesive to glass unless the product explicitly allows it, and avoid hooks that could chip glass edges.
Walls and half-walls
For garland on the wall side, use removable adhesive hooks rated for the garland’s weight, with the weight limit and surface guidance on the package in mind. For a more permanent solution in a home you own, small finishing nails or cup hooks at the top of the wall are secure and easy to patch.
Newel posts
Newel posts are good anchor points for both ends of a garland. Wrap wire around the post, then cover it with a bow or a wreath hung on the post.
If you are renting, the damage-free logic in luxury apartment decor tricks that make rentals feel custom designed applies well here, as does keeping a spare set of fasteners in case any fail.
Prepare the Garland Before It Goes Up
Garland arrives compressed in a box, and hanging it as-is is the main reason it looks thin. Spend ten minutes preparing it first.
- Unpack and unroll the garland on the floor or a large table.
- Fluff every branch, pulling the tips outward and upward in different directions. Work from the center stem outward.
- Check the lights, if it is pre-lit, before it goes up. Replace or return any strand that does not work.
- Straighten any bent wires and press any exposed wire ends inward.
Fluffing alone can double the visual fullness. If the garland is still sparse, tuck in extra cuttings of fresh or faux greenery along the weak spots, wiring them to the main stem.
Five Layouts That Hold Their Shape
The Continuous Wrap
Wind the garland around the banister in a spiral, with the wrap angled gently up the rail. Secure it every foot or so. This approach is the most stable, because the garland is attached throughout and cannot drop between anchor points. It suits modern stairs and narrower banisters.
The Classic Swag
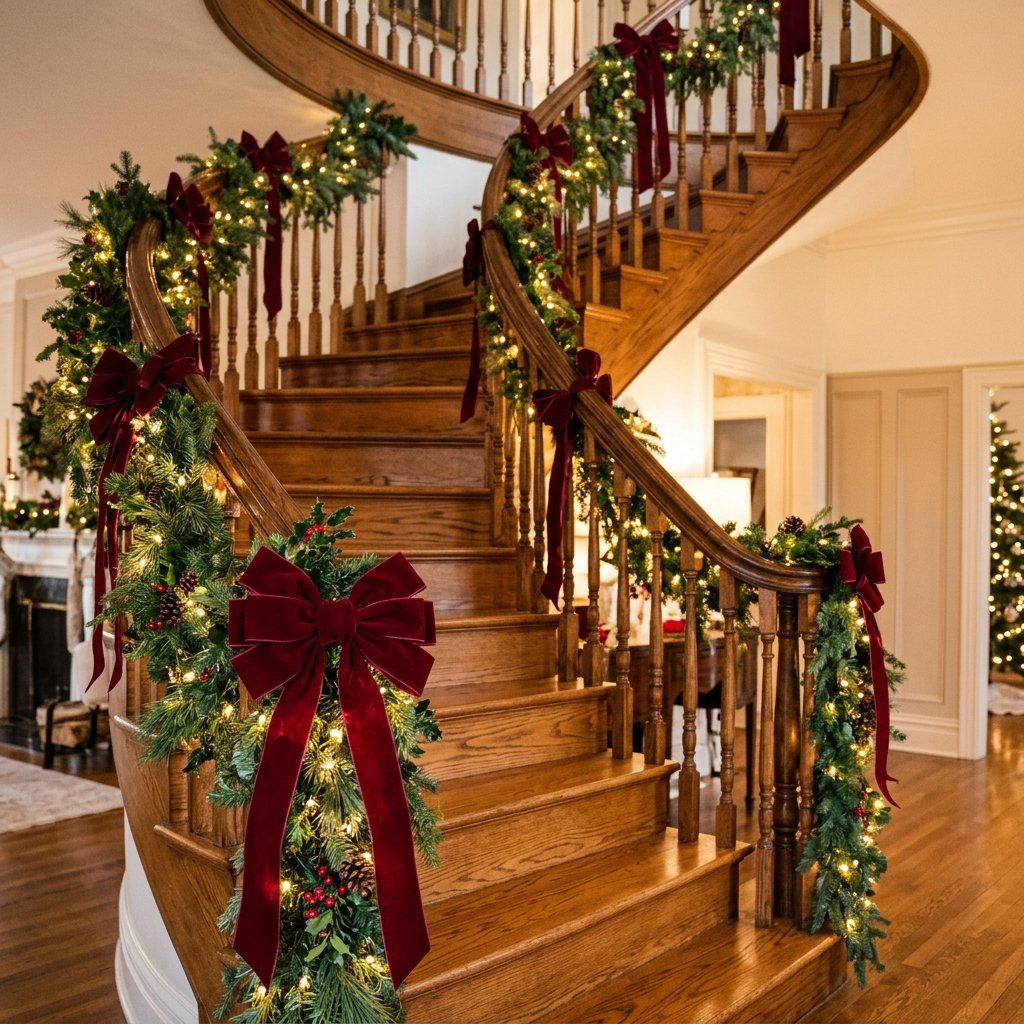
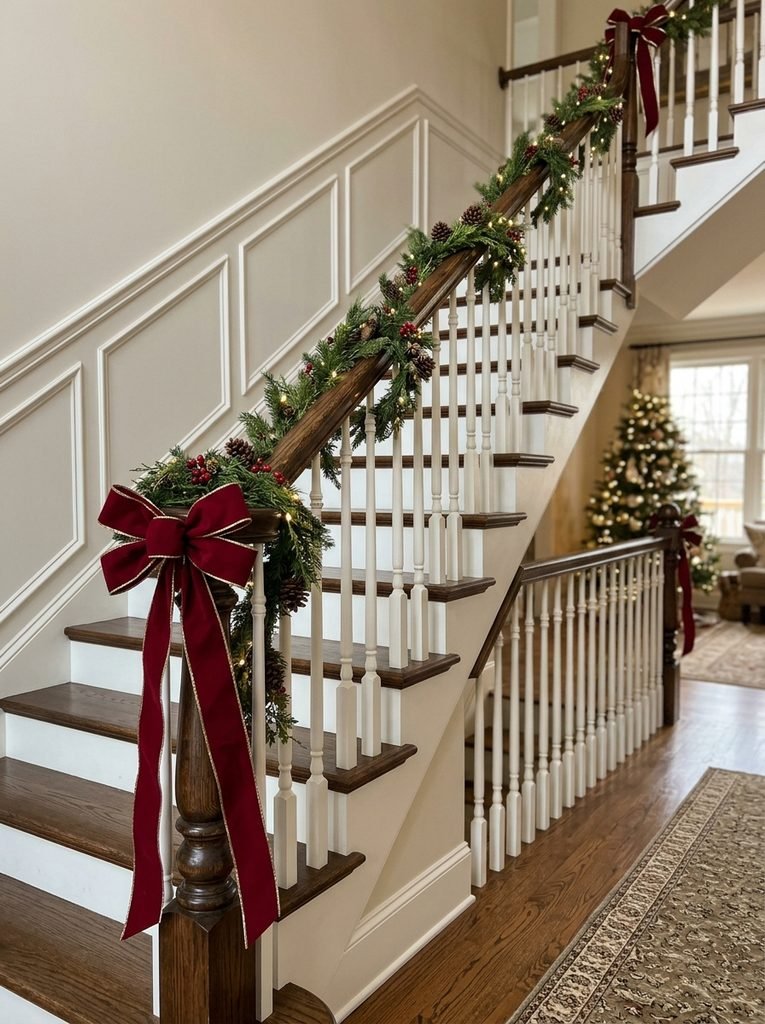
Hang the garland in gentle curves between anchor points, with a bow or cluster at each high point. It looks traditional and generous but needs firm anchors at every high point, plus a small tie in the middle of each dip to prevent it from sagging further.
The Double Layer
Use two garlands of different textures, such as a standard evergreen and a thinner cedar or eucalyptus, twisted together. The result looks luxurious and has the added benefit of hiding fasteners. Secure both layers with the same wires.
The Wall-Mounted Line
On the side of a staircase with a wall, hang garland straight along the wall at a consistent height, parallel to the stairs. It frames the stairway, keeps the handrail clear, and works well in narrow staircases.
The Newel and Landing Accent
Skip full garland on the rail and instead decorate the newel posts with wreaths or large bows, with a smaller garland at the landing. This simple option works well for short stairs.
Keep the Handrail Usable
A staircase is also an exit route and a place where people carry things and sometimes lose their footing. A few safety principles should override any decorating impulse.
- Keep the handrail clear. Place garland on the outer side or top of the balustrade, where it does not interfere with the grip. A thick swag on the handrail itself can be unsafe.
- Leave the treads empty. Candles, ornaments, and baskets on steps are tripping hazards.
- Keep the stairway open. The National Fire Protection Association notes that decorations should not block exit routes. See their holiday safety resources for more.
- Secure loose ends. Trim or tuck any dangling ribbon or wire where children or pets may pull on it.
- Choose shatterproof ornaments for any pieces hung low on the rail.
If young children or pets use the stairs, make the lower sections especially sturdy, and consider leaving the first few feet plain.
Lighting: Plan the Cords Before You Hang
Lights add a lot of atmosphere, but cords can make a staircase look messy or unsafe. A few considerations help.
Choose battery-powered lights for stairs without nearby outlets. Many have built-in timers, so they switch on at a set hour each evening.
If you use plug-in lights, plan the route of the cord along the baseboard or the underside of the rail. Use cord clips to hold it in place and avoid running it across any walking surface.
Keep the temperature consistent. Mixing warm and cool white lights makes the display look uneven. Warm white is typically the safer choice with evergreen. The relationship between bulb color and room tone is discussed in living room color combinations that look good after dark.
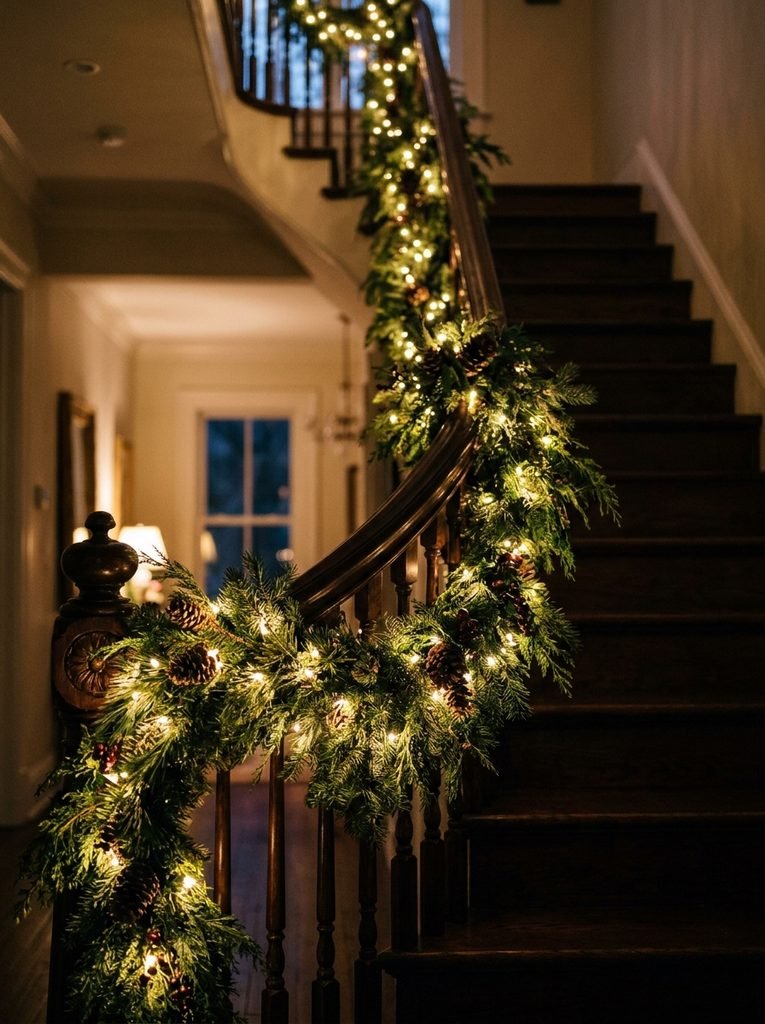
Weave lights into the garland by following the main stem and tucking them deep into the branches, so you see the glow rather than the wire. Put the lights on before adding ribbon or ornaments.
Turn lights off when you go to bed or leave the house, and inspect strands for frayed wires or loose connections each season.
Bows, Ribbon, and Ornaments That Don’t Spin
Decorations on garland tend to rotate and droop unless they are attached carefully.
Bows. Use wired ribbon, which holds its shape. Attach each bow with floral wire threaded through the back loop, then twist the wire around the garland’s main stem. A bow on a single thin branch will always flop.
Ribbon streamers. Anchor the top end with a wire, and tuck the tails into the greenery rather than leaving them loose.
Ornaments. Use the wire attached to the ornament cap, or thread floral wire through the hanger and twist it onto a branch. Place heavier ornaments closer to the main stem and lighter ones toward the tips.
Pinecones and picks. Many come with wire stems. Insert them into the garland and wrap the wire around a sturdy branch.
Keep the palette consistent with the rest of the house. A garland with three or four colors looks coordinated, and the principle of restraint in the Christmas mantel guide applies to staircases as well.
Fresh Versus Faux Garland on Stairs
Both options have strengths, and the choice depends on your home and your preferences.
Fresh garland has an unmatched scent and a natural look. It tends to be heavier when it is wet, and it dries out over time, especially near heating vents. Shedding needles can end up on the stairs, so it is worth a quick sweep now and then. Keep fresh greenery away from heat sources.
Faux garland is lighter, reusable, and needs no upkeep. Quality varies widely. Look for pieces with different shades of green and a mix of needle types, rather than uniform plastic.
A mix often gives the best result. Use a sturdy faux garland as the base and tuck in fresh cuttings for scent and a natural variation. Replace the fresh stems when they dry.
Styles to Match Your Staircase
Different staircases suit different looks.
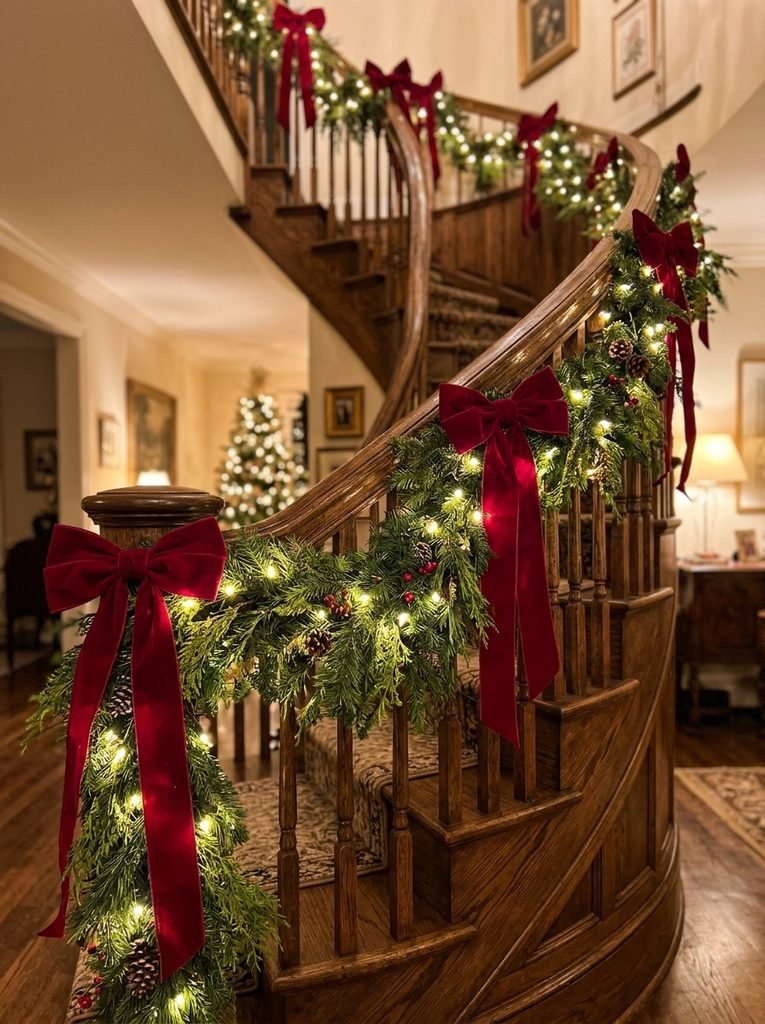
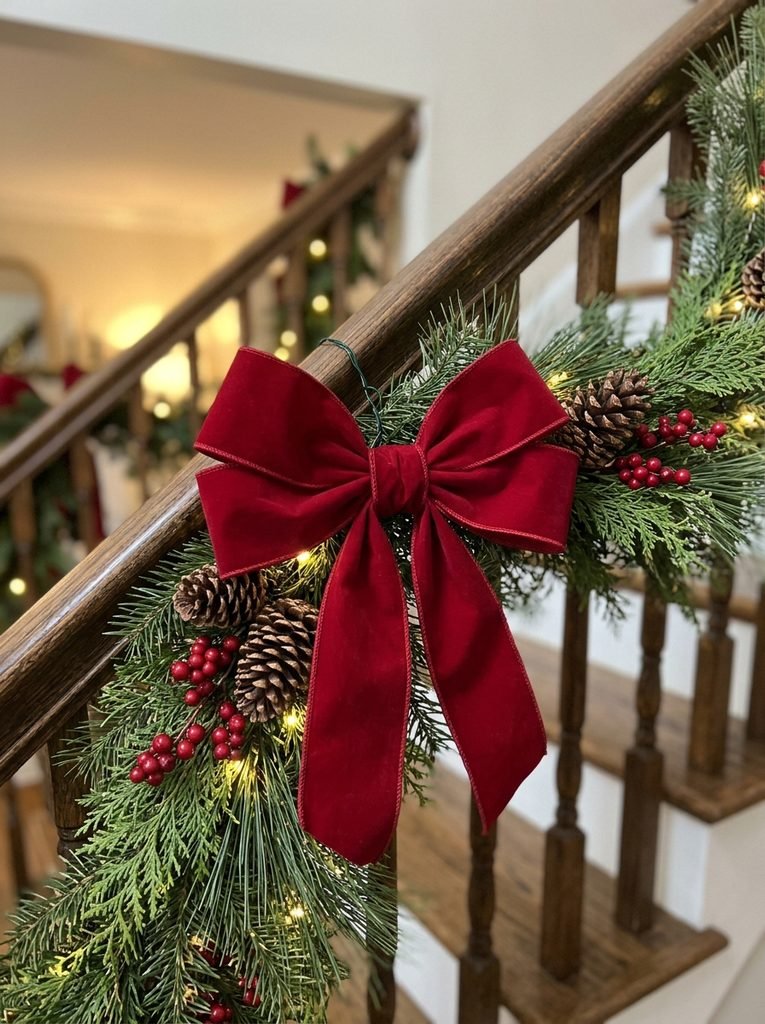
Traditional wood staircase. Full evergreen garland, red or burgundy velvet ribbon, and small brass ornaments.
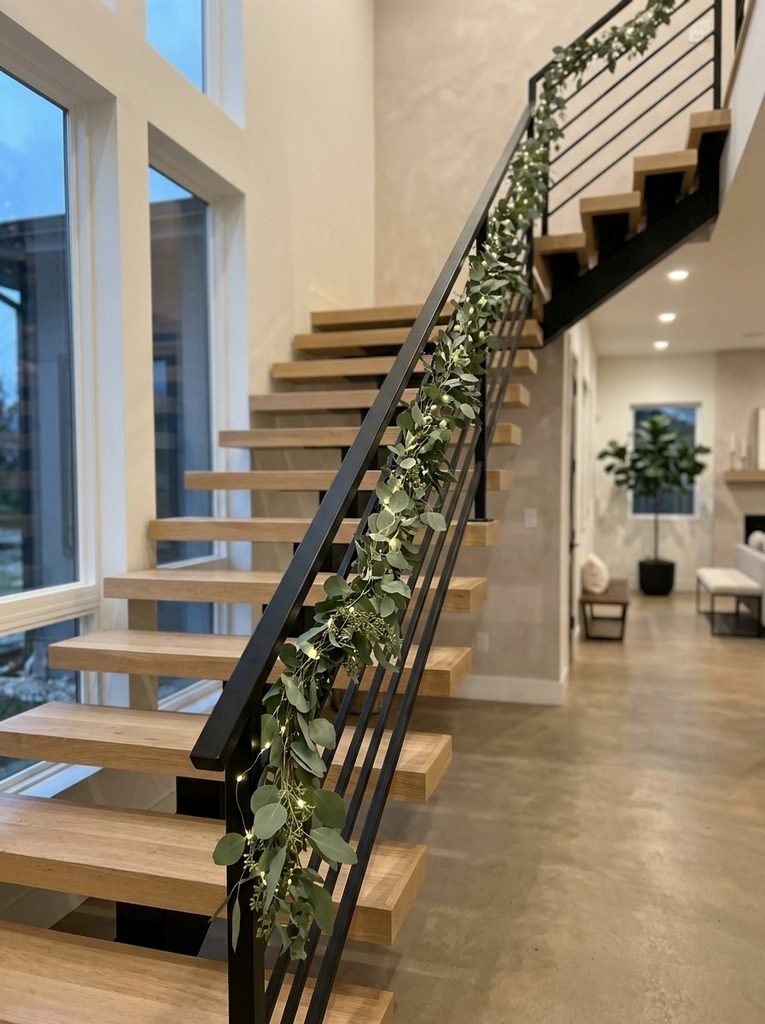
Modern staircase with slim rails. A thin, spiral-wrapped garland of eucalyptus or olive branches with minimal ribbon.
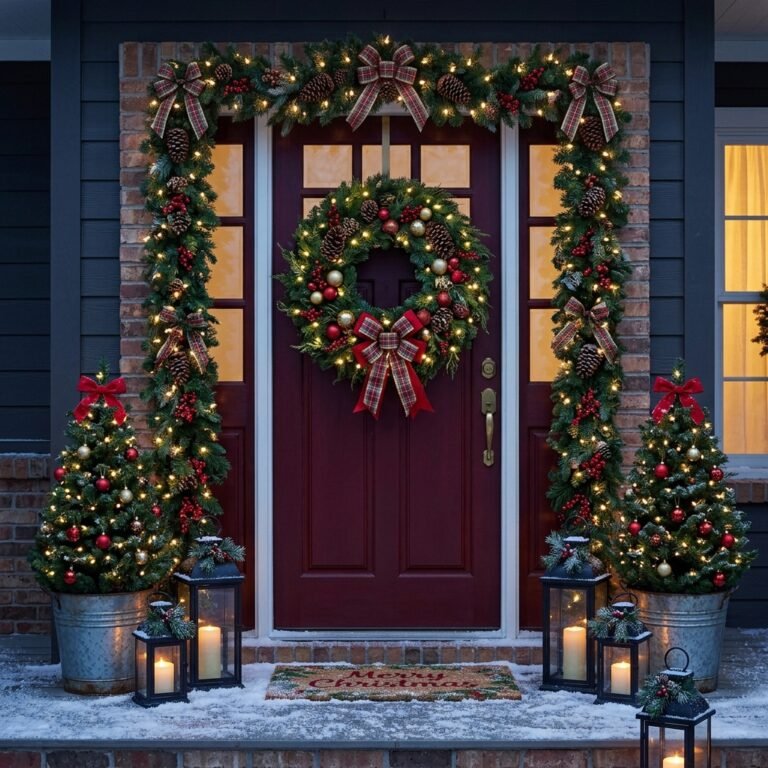
Farmhouse or cottage staircase. Garland with pinecones, berries, and plaid ribbon, plus lanterns at the base.
Staircase against a wall. A wall-mounted line of garland with a few well-placed bows, leaving the handrail clean.
Short or narrow stairs. Two newel wreaths and one small garland at the top.
If your stairs are visible from the front door or living room, you may want the staircase to relate to the rooms around it. That might mean echoing the tree’s colors or matching the metal finish of your lighting.
Troubleshooting a Garland That Won’t Cooperate
If the garland is sliding or drooping, a few quick adjustments often solve the problem.
- It slides down the slope. Add a wire at the lowest anchor and tie the garland firmly to the newel post. Then add more fastenings every 12 inches.
- The swags sag in the middle. Add a hidden tie at the lowest point, anchored to a spindle or hook.
- It looks flat. Fluff the branches again, and add extra greenery behind the main strand.
- Wires show. Cover with ribbon, a small bow, or extra greenery clipped into place.
- The lights fall out. Rewind them deeper into the branches and use small twist ties to hold them to the main stem.
Check the staircase every few days at first. Small adjustments early are much easier than rehanging a loose garland.
Taking It Down and Storing It
How you remove the garland affects next year’s setup. Take out any fasteners carefully, and snip wires rather than yanking them. Remove lights and ornaments first, then roll or coil the garland loosely and store it in a box or bag. Keep a small bag of reusable hardware with the garland, so you are ready next year. Label sections if you have more than one, so you remember which goes where.
For fresh garland, dispose of it according to your local guidelines before it dries out.