
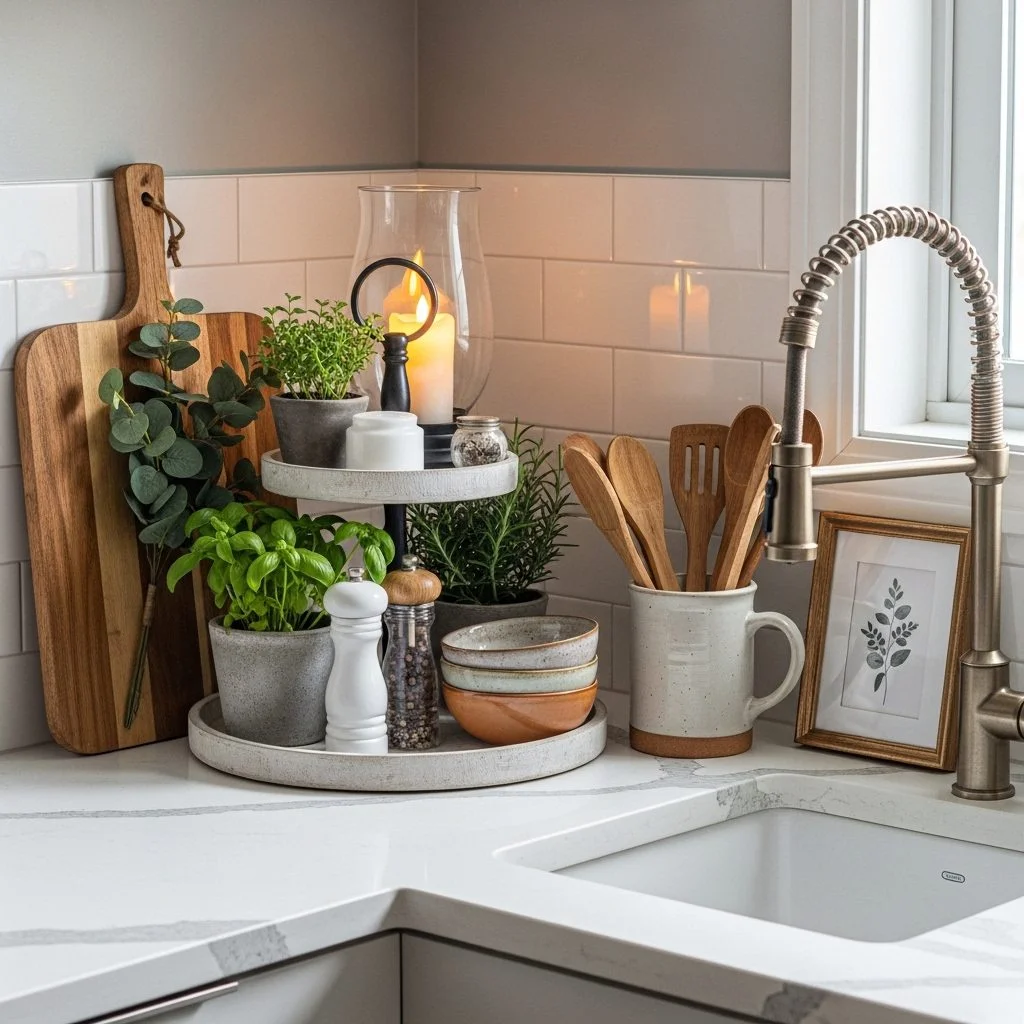
Before: a blender nobody uses, three unopened envelopes, a basil plant that gave up in August, and a phone charger snaking toward the only outlet. After: a lit, clear corner where nothing has to be moved to wipe the counter. The difference is rarely a new decoration. It is usually a decision about what that corner is for.
Counter corners cause specific, fixable problems. They go dark where two light strips meet badly. They swallow things at the back where no one can reach. They bruise hips, jam stools, and collect mail. This guide goes corner by corner, with measurements and rough costs, and it ends with the places where decor belongs and the places where it does not.

The Inside Corner Where Two Counters Meet
This is the classic dead square. In most kitchens the base cabinets are 24 inches deep, so the corner holds a 24-by-24-inch patch of counter, and a blind cabinet below it that is hard to reach.
Light the Shadow Wedge
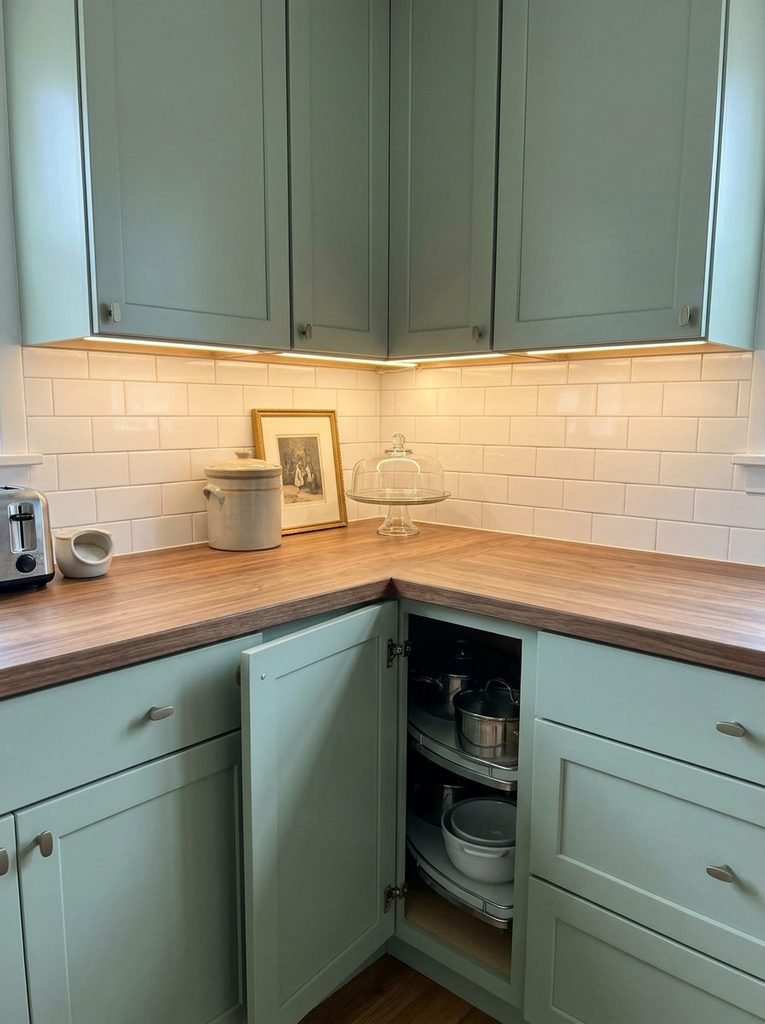
Two straight under-cabinet light strips that stop a few inches short of the corner leave a dark wedge exactly where the counter is deepest. Fix it by running each strip all the way into the corner so the two overlap slightly.
LED tape cannot bend sharply, so join the two runs with a 90-degree solderless connector instead of folding the tape. Buy both runs from the same batch, since a different batch can look a visible shade warmer or cooler. Plug-in kits with a few feet of strip run roughly $20 to $60, and the corner will feel bigger once it stops being the darkest spot in the room.
Put Display at the Back and Daily Tools in Front
Stand at the counter and reach into the corner without leaning. Whatever you cannot grab comfortably, usually the back 12 inches of that 24-inch depth, is your display zone. Anything you use daily belongs in the front half.
That rule settles most corner arguments. A cake stand, a lidded ceramic crock, or a framed print can sit deep in the corner because you rarely touch them. The toaster or the salt cellar goes forward. If you find yourself reaching over something every morning, move it. A corner works when you can wipe the whole surface in one pass.
Fit the Cabinet Under the Corner
The blind corner cabinet below is where kitchen organization goes to die. Items slide to the back and stay there for years. Pull-out and swing-out systems bring the contents to you, and they range from a couple hundred dollars for a basic swing-out tray set to several hundred for a full pull-out.
The hardware you can use depends on the door opening, which is often only 12 to 15 inches wide. Measure yours before you shop, and read the product spec for its minimum opening. Getting the cabinet right matters for the counter above it, because the less you store on the surface, the less you need to hide.
Stop Handles From Colliding at the Corner
Open the two cabinet doors or drawers on either side of the corner at the same time. In many L-shaped kitchens, the pulls clash, a drawer will not clear the neighboring door, or the door swings into the handle of the perpendicular run.
The usual fix is a filler strip, a narrow cabinet-colored panel of two to three inches that pushes the next cabinet away from the corner. If the kitchen is already built, switch the corner pulls to flat knobs, which stick out less than bar pulls, and set the knobs on the outer edge of the door rather than centered. Test the swing with the door at 90 degrees before you drill. A filler costs little. Replacing a dented door costs far more.
Caulk the Inside Corner Instead of Grouting It
Look at the vertical line where the backsplash tile on one wall meets the tile on the next. If that joint is filled with grout, it is probably cracking. Walls move slightly at a change of plane, and rigid grout cracks.
Use a flexible caulk in a color matched to your grout. Cut out the cracked grout with a grout saw, vacuum the joint, and tape both sides before you caulk. If you want a full walkthrough of the technique, our guide to overlooked kitchen decor ideas covers recaulking a counter-to-wall seam.
The Outside Corner of an Island or Peninsula
Count Seats Against the Corner
The National Kitchen & Bath Association’s planning guidelines allow about 24 inches of counter width for each seated person. That means a 72-inch leg seats three people, not four.
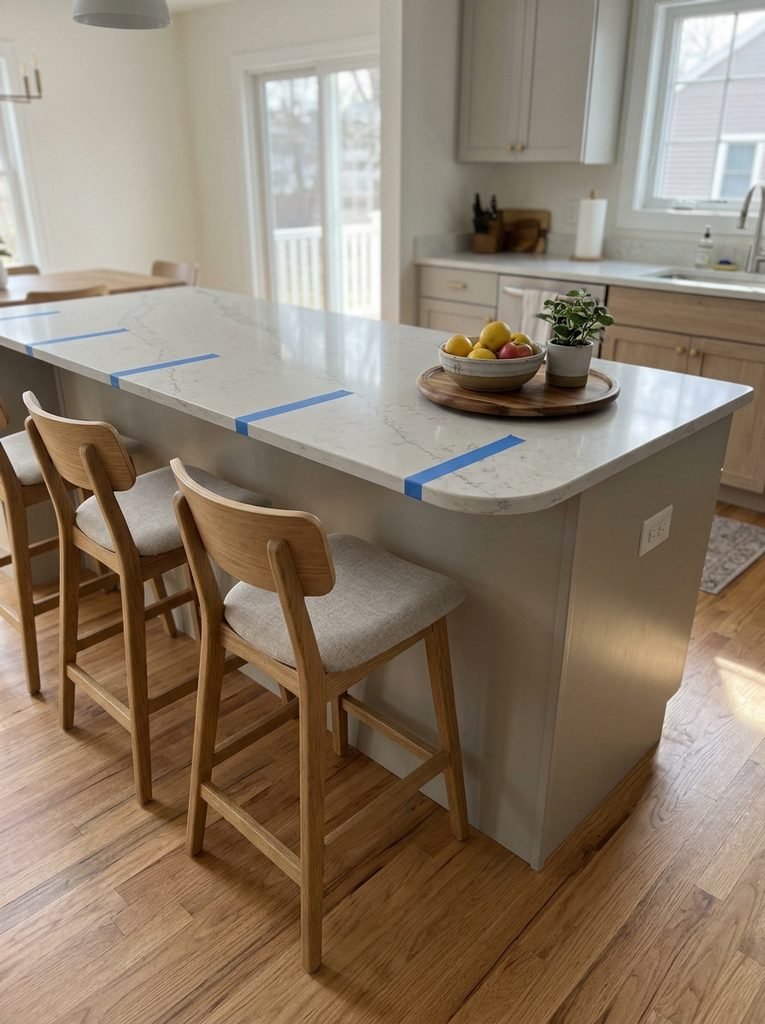
Most overcrowded kitchens squeeze in one stool too many, and the extra stool lands at the corner, where its occupant bumps the walkway or the neighbor’s elbow. Mark each 24-inch seat on the counter edge with painter’s tape before you buy stools. If the corner seat is tight, leave it empty and use that end for a tray or a fruit bowl.
Round the Corner That Catches Hips
A sharp 90-degree outside corner is the one you bruise a hip on at 6 a.m. If you are replacing counters, ask the fabricator about a rounded corner. Radius options usually run from about one inch up to a few inches, and a rounded corner also resists chipping better than a square one on stone.
If the counters are staying, adhesive soft corner guards cost very little, and a corner with a small wooden tray set on it looks like a style choice. Either way, check the walkway first. A walkway narrower than 36 inches, the figure planners commonly cite as a minimum, will bruise hips no matter how round the corner is.
The Corner With an Outlet and a Pile
Make the Outlet Earn Its Place
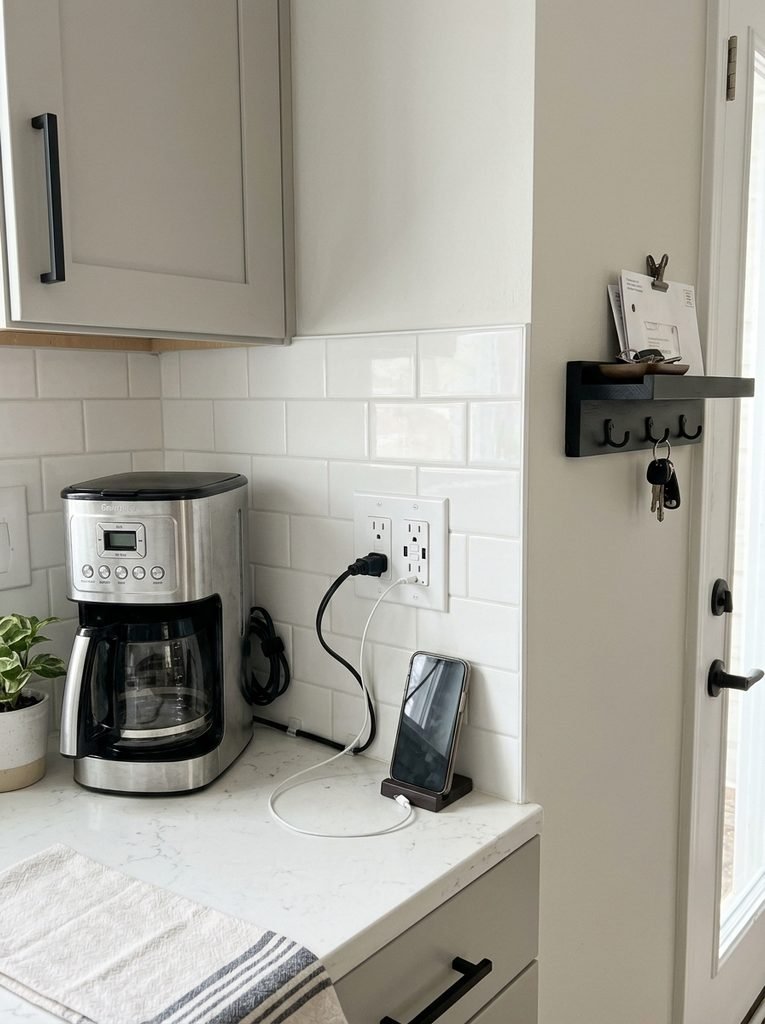
The corner outlet is where the cords gather. Replacing a standard duplex with a combination outlet that includes USB-A and USB-C ports costs roughly $20 to $40 and clears one charger from the counter.
In the United States, receptacles serving kitchen counters must be GFCI-protected under the National Electrical Code, so buy a GFCI-rated model or confirm your circuit has protection. Turn off the breaker and test the outlet with a voltage tester before touching it. If any of that is unfamiliar, pay an electrician for twenty minutes. This is the one corner job where a shortcut can cost you more than money.
Give Appliance Cords a Route
A coffee maker or toaster in the corner trails a cord across the counter, and the loop of slack looks worse than the appliance. Plan the route before you plug anything in.
Run the cord straight back to the outlet along the wall, not across the counter. Adhesive cable clips, which usually cost about $5 for a pack, can hold the cord along the underside of the upper cabinet lip so it disappears from the front. Choose a spot where the plug reaches the outlet with no slack, and coil any extra length behind the appliance with a hook-and-loop tie. Keep cords away from the sink side and the burners, where water and heat shorten their life.
A Mail-and-Key Perch That Is Not the Counter
Mail, keys, and receipts land in the corner because the corner is closest to the door. Give them a home on the wall instead. A shelf about 4 to 5 inches deep with three hooks underneath, mounted near the door at about shoulder height, holds a day’s worth.
Choose a finish that matches your hardware so it reads as part of the room. Put a small tray on the shelf for keys and a clip for the day’s mail. Empty it every Sunday. A perch that never gets emptied is just a smaller pile.
The Corner You Finally Want to Decorate
Leave the Landing Zone Bare
NKBA guidance calls for roughly 15 inches of clear counter beside the refrigerator, and clear space on both sides of the cooktop and sink. If a corner sits beside one of these, it is not a decor corner. It is where hot pans, grocery bags, and drained pasta land.
Decide which corners are working corners before you style any of them. Keep a continuous prep section, about 36 inches wide and 24 inches deep beside the sink, free of everything but the tools you use there. Decorate the corner that is farthest from the action instead.
Try a simple test. Next grocery run, set the bags down in the corner you plan to style and see where they land. If you have to move something every time, that corner is a landing zone, and decor there will end up stacked on a chair. A corner that stays untouched through one full week of cooking is safe to style.
One Heavy Piece That Does a Job
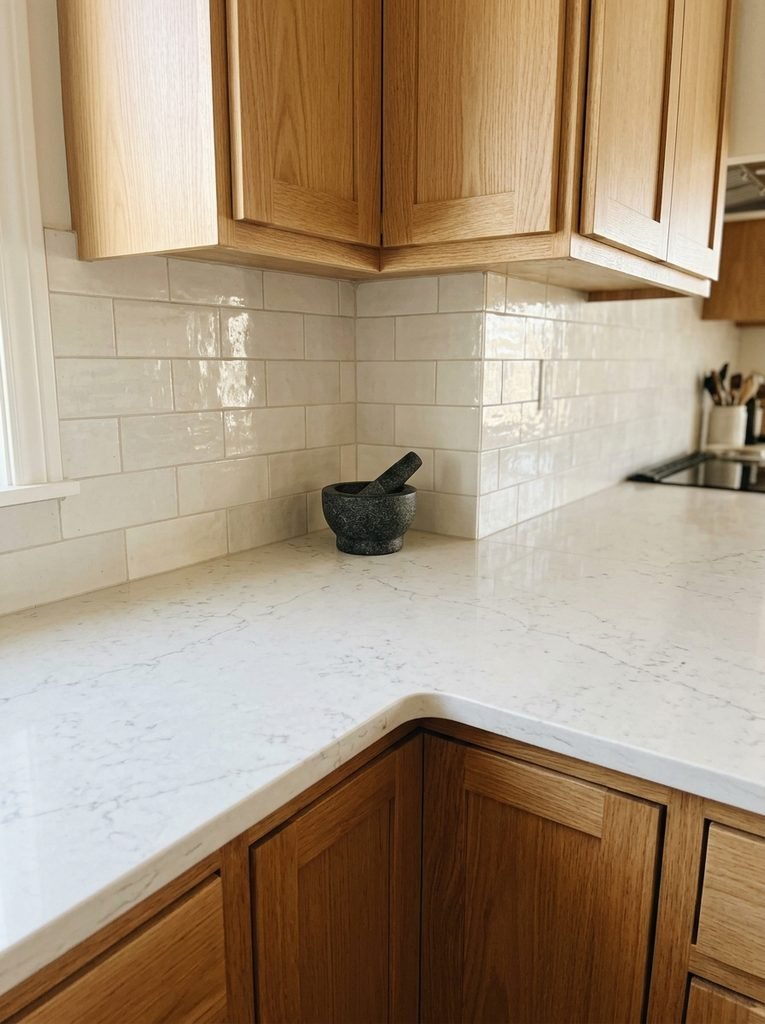
If you want a single object in the corner, choose one with weight and purpose. A granite or marble mortar and pestle is heavy enough that it will not slide, handsome enough to leave out, and useful for crushing garlic or spices. A bread box or a lidded crock fills the same role.
Pick a piece 6 to 8 inches across. Smaller reads as clutter and larger takes over the corner. Set it in the back half of the corner, on the display side of the reach line, and leave the surface around it empty. One object with room around it looks planned. Three objects crammed together look like leftovers.
Run This Ten-Minute Corner Audit
Walk your kitchen with a tape measure and ask four questions at each corner. Is it dark when the overhead light is off? Can I reach every item without leaning? Does anything here belong in a drawer, on a hook, or in the recycling bin? Is it next to a landing zone I should keep clear?
Write down the answers. Most kitchens turn out to have one corner with a lighting problem, one with a pile problem, and one that is perfectly good and just needs less on it. For general styling of the rest of the counter, see our guide to kitchen countertop styling tips, which covers trays, color, and seasonal swaps.
Frequently Asked Questions
How deep is a standard kitchen counter corner?
A standard corner is about 24 inches deep on each side, because base cabinets are 24 inches deep. Countertops overhang by roughly an inch, so the usable surface can reach 25 inches. That makes the back corner a reach of nearly two feet from the front edge, which is why items there are easily forgotten.
What is a blind corner cabinet?
A blind corner cabinet is a base cabinet that extends beneath the corner of an L-shaped counter, with part of its interior hidden behind an adjacent cabinet. The door opening is often only 12 to 15 inches wide. Pull-out or swing-out hardware brings the hidden contents forward, so you do not have to kneel.
Should I put a lamp in a kitchen counter corner?
Only if the corner has a nearby outlet and no landing-zone job. A lamp adds softness at night, but the cord must reach the outlet without crossing the work surface. Use a warm bulb and a base under 8 inches wide. If cords are a hassle, light the corner from under the cabinet instead.
How much counter space do I need beside the stove?
Planners commonly recommend at least 12 inches of clear counter on one side of a cooktop and 15 inches on the other. That space is for hot pans and ingredients, not decor. If your corner is beside the stove, treat it as a working surface and keep towels, paper, and wooden items out of the area.
Can I replace a counter corner outlet myself?
You can if you are comfortable with basic electrical work and local rules allow it. Turn off the breaker, test the outlet with a voltage tester, and use a GFCI-rated outlet where code requires. If the wiring looks old or aluminum, stop. A licensed electrician charges far less than a kitchen fire.
4 comments