
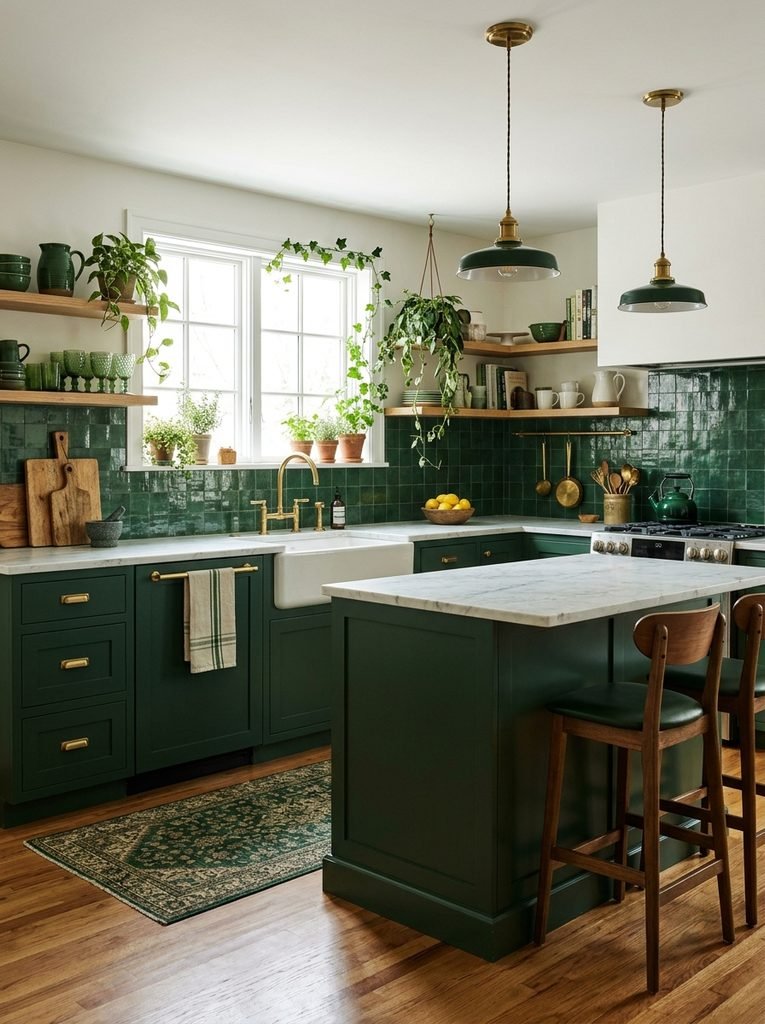
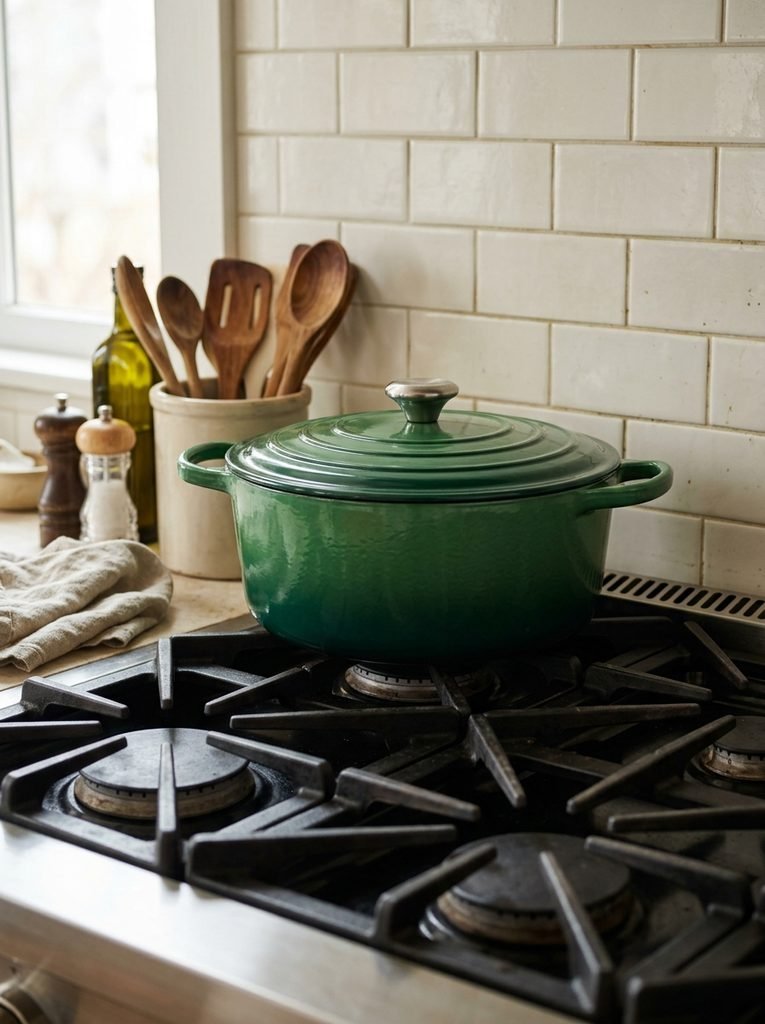
A 5½-quart Dutch oven is about eleven inches across. Park a forest green one on a pale counter and the whole kitchen starts to lean toward that color, even though the pot covers less than a square foot. Deep green does this well. A little of it reads as a decision, not an accident.
That helps if you are not ready to paint cabinets, if you rent, or if you want to test the color before you commit. This guide sorts ten forest green ideas by how much you have to commit: things you can set down, things you can screw or stick up, and things that need paint and a free weekend. Each one comes with sizes, rough costs, and the mistake that spoils it.
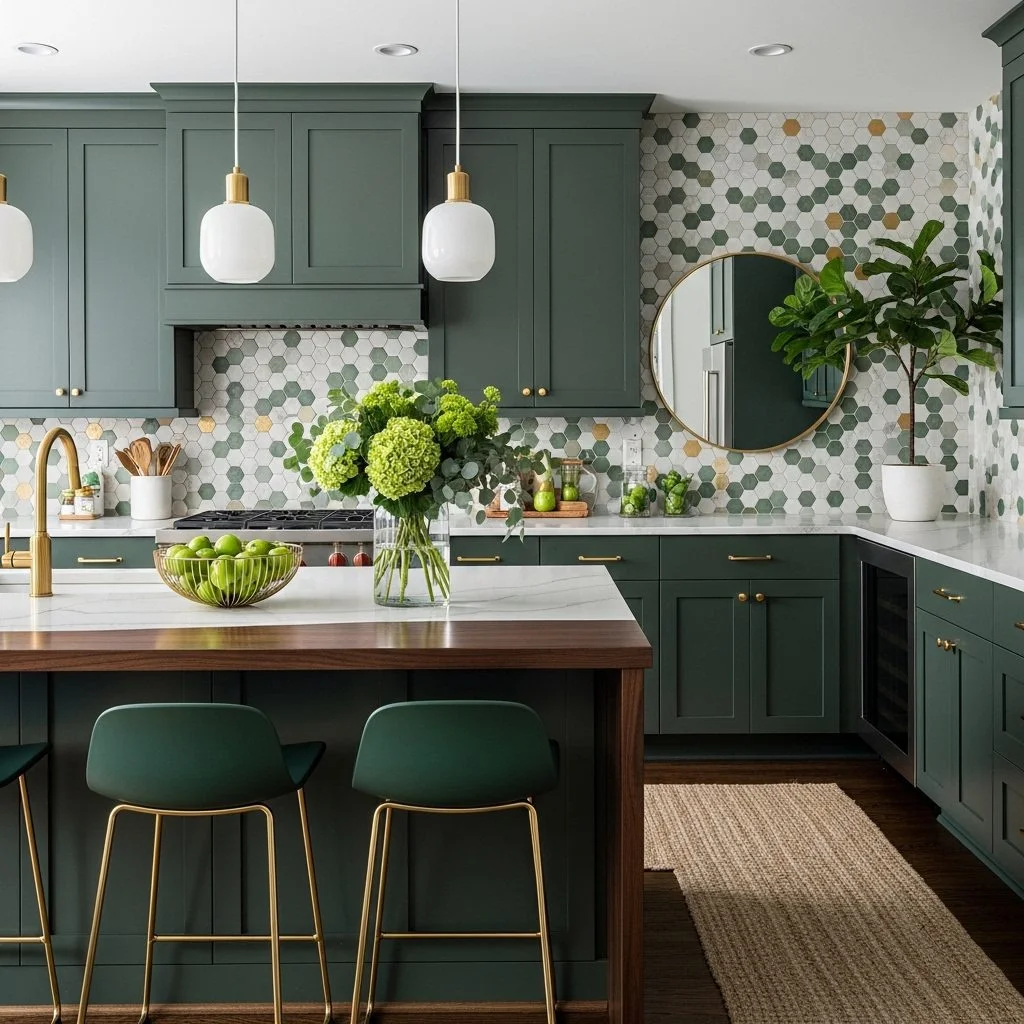
Forest Green Is Not Emerald, and That Helps
Emerald leans blue and soaks up light, which is why it demands so much planning. Forest green, as most paint makers mix it, tends to sit on a yellower, earthier base with a touch of black. That makes it friendlier to oak, brass, linen, and warm white, and it forgives a dim kitchen more easily.
If you are weighing a full cabinet repaint, read our breakdown of why deep green cabinets can look dark instead of rich first. The ideas below stay smaller, so you can skip that math. Even so, hold any green item next to your counter in daylight before you buy. The same name covers very different shades, and screens shift the color.
No Tools Required
A Dutch Oven That Lives on the Stove
Choose a 5- to 7-quart enameled cast-iron pot, the size most households use for soups and braises. Empty, these weigh roughly 11 to 14 pounds, so keep the pot on a back burner or a low counter shelf, never overhead.
Prices run from about $60 for budget enameled brands to $400 or more for the famous French makers. The green is the same either way, so a budget pot is a fair first test. Pick a light interior, cream or white, so you can see browning. Avoid heating it empty on high or running cold water into a hot pot, since thermal shock can crack the enamel.
Dish Towels in Two Greens
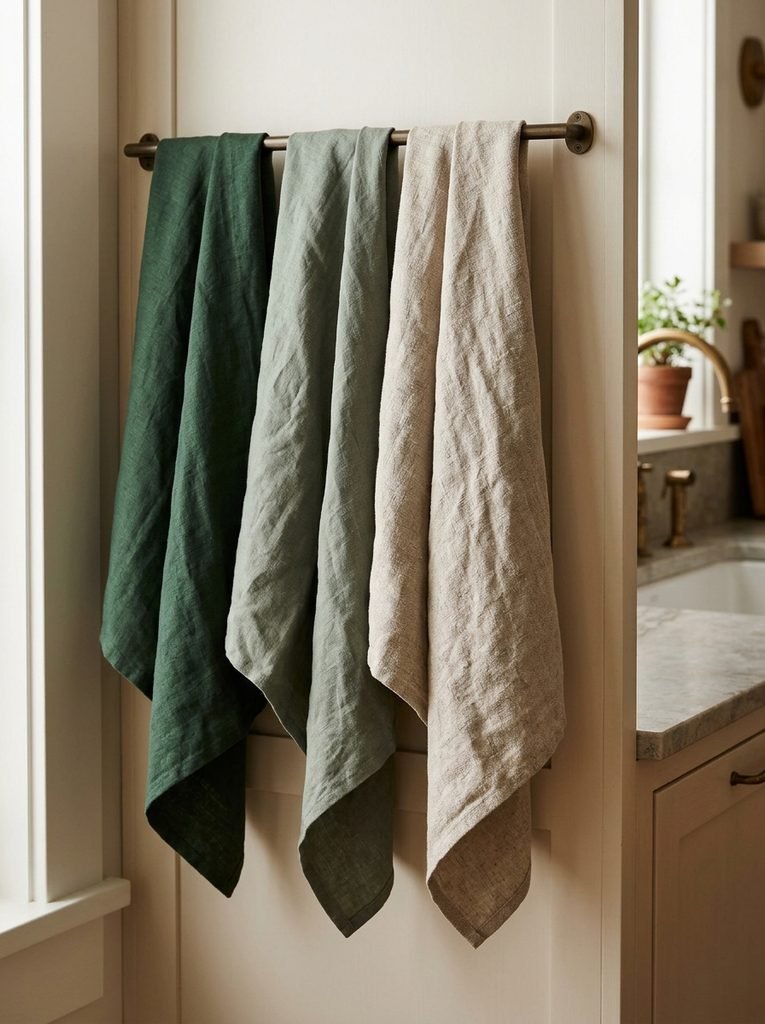
Buy three: one forest green, one muddy sage a shade lighter, and one in natural flax. Standard dish towels run about 18 by 28 inches, so each one folds into a neat quarter-panel.
Linen costs $12 to $25 each. It dries faster than cotton and leaves less lint on glassware, though it feels stiff for the first few washes. Hang towels away from the burners. A rail on the sink-side cabinet or a loop on a drawer pull works. Pick plain over plaid, because a busy pattern in a dark color looks heavy on a small towel.
A Green Marble Pastry Slab
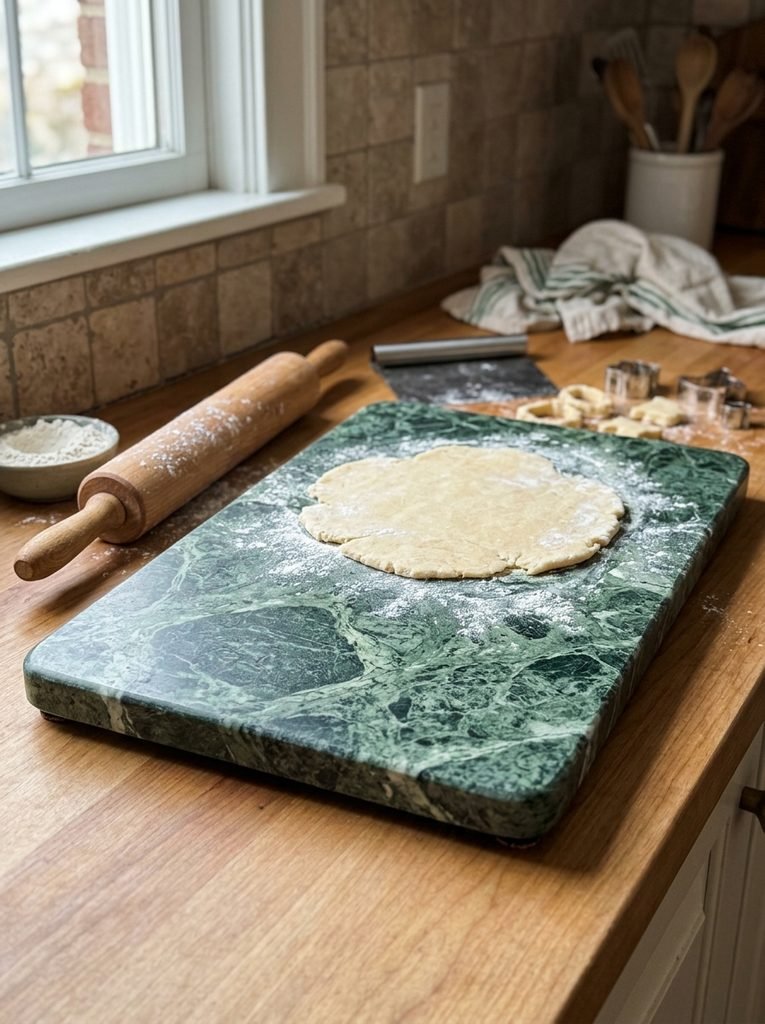
A 12-by-18-inch slab of green marble, three-quarters of an inch thick, weighs roughly 15 to 25 pounds. That heft is why it works as a leaning display against the backsplash, and as a real tool for rolling dough and cooling cookies. Expect to pay anywhere from $40 to over $120 depending on stone and finish.
Choose honed over polished. Lemon juice, vinegar, and wine etch polished marble into dull ghost rings, and honed stone hides them. Stick quarter-inch cork or rubber feet on the underside so the slab does not skate across the counter. Wipe it with a damp cloth, not a spray cleaner, which often contains acid.
A Screwdriver and an Afternoon
Green Ceramic Cabinet Knobs
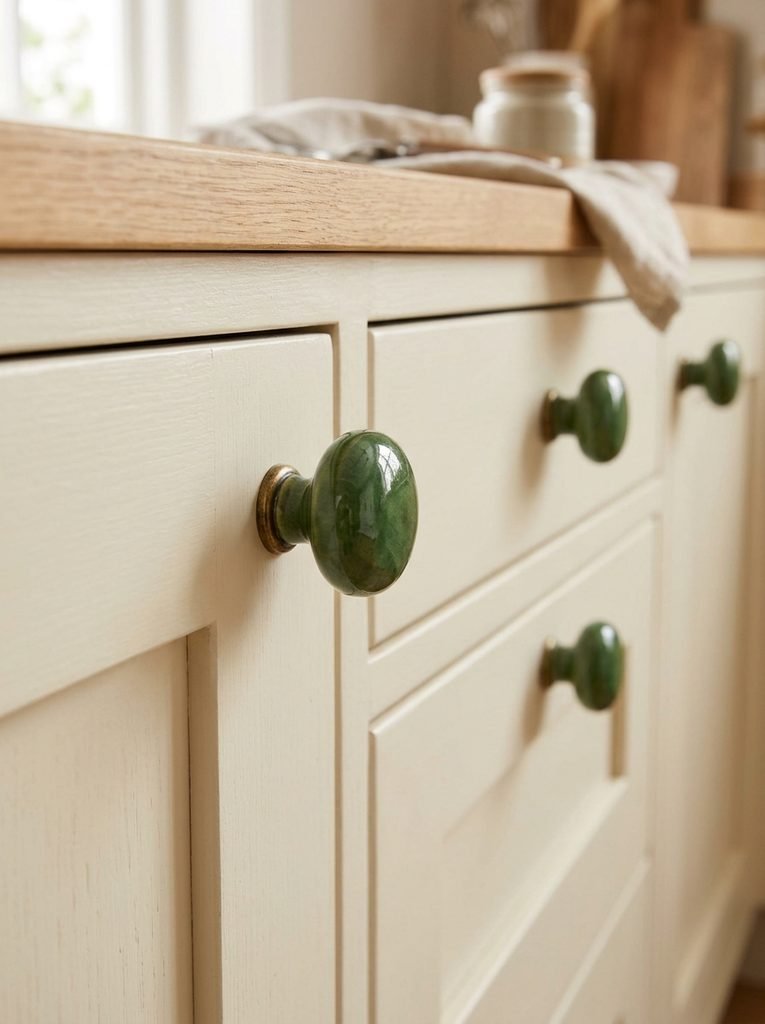
Knobs deliver forest green at eye level thirty times over. They only work on cabinets that already have single-hole hardware. If yours have two-screw pulls, measure center to center between the screw holes and buy pulls with the same spacing. Common sizes are 3 inches, 3¾ inches, and 96 millimeters.
Glazed ceramic or enameled knobs cost roughly $4 to $12 each. With thirty doors and drawers, that is $120 to $360. Hand-tighten each screw, then add a quarter turn and stop. Ceramic cracks if you overtighten it, and a small fiber washer under the knob softens the pressure. Cream or oak cabinets show off the green best.
Removable Wallpaper in One Small Niche
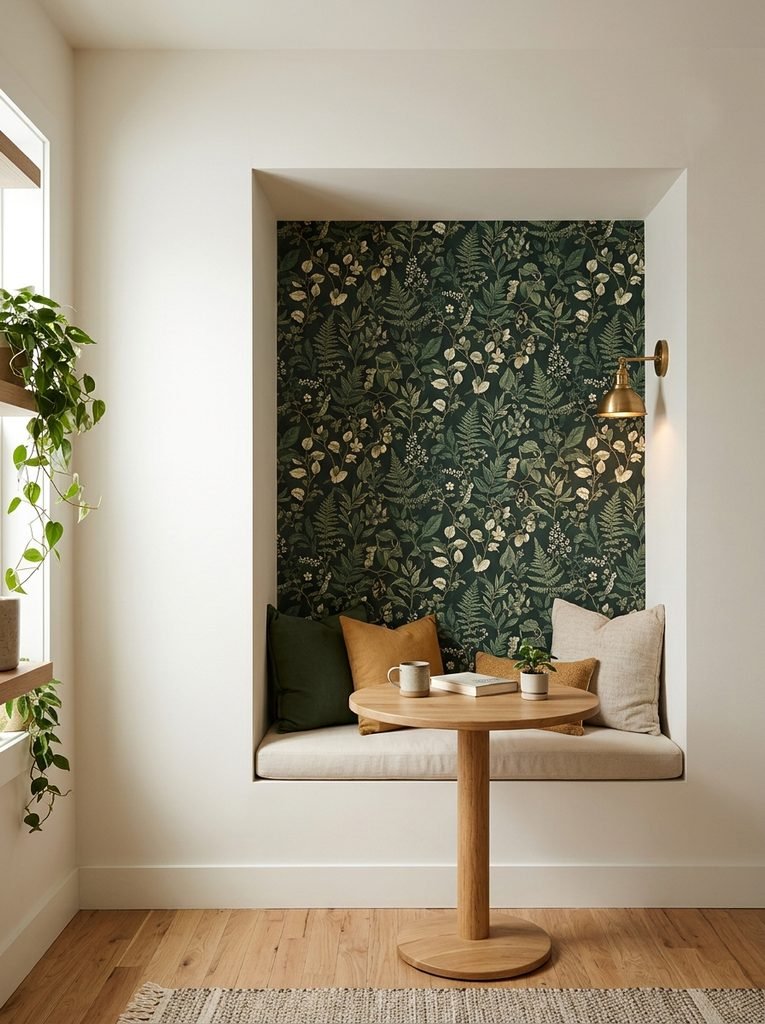
Pick a dry, smooth, low-splash spot: the wall beside a window, a breakfast nook, or the back of an alcove. Skip the wall behind the range, where heat and grease will lift the adhesive. A dark botanical print in forest green with cream gives you the color without a gallon of paint.
Prep decides whether it lasts. Paint needs to cure for a few weeks before peel-and-stick will bond, and textured or flat-finish walls hold it poorly. Test a one-foot swatch for 24 hours. Snap a level line instead of trusting the corner, because few walls are plumb. Buy about 10 percent extra for pattern matching, and expect $30 to $90 a roll.
Recovered Stool Seats
Most bar stool seats lift off with four screws from underneath. Cut your fabric about three inches larger than the seat on every side. Staple from the center of each edge outward, using 3/8-inch staples, and pull the fabric snug but not stretched.
Choose a performance velvet or tight canvas rated at 30,000 double rubs or more, the figure usually cited for heavy residential use. A fabric yard, about 54 inches wide, covers two average seats, so budget one yard per two stools at roughly $20 to $60. While the seat is off, swap tired foam for 1 to 2 inches of high-density foam. That alone makes old stools feel new.
Paint, Primer, and a Free Weekend
Paint releases chemicals while you use it. The EPA’s indoor air quality guidance notes that paints, varnishes, and wax give off organic compounds, that levels of common ones run several times higher indoors than outdoors, and that high concentrations can linger long after you finish. Open windows, run a fan, and look for low-VOC enamel. Each project below is small enough to do with the window open.
A Painted Step Stool
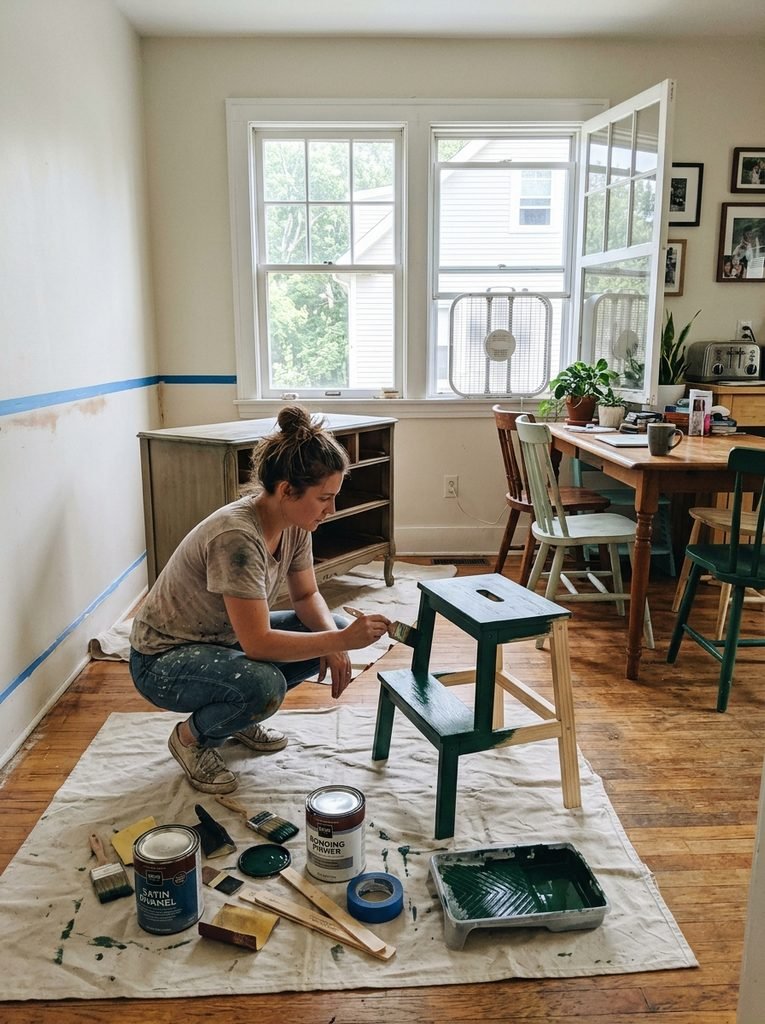
Start here, since it is the cheapest paint project in the house. A two-step wooden stool, about 20 inches tall, runs $25 to $60 unfinished and reaches the uppers that you cannot reach from the floor. Sand with 150-grit, wipe clean, prime with a bonding primer, and finish with two coats of satin enamel.
The mistake is painting the treads slick. Leave any rubber tread alone, or add grip tape to the steps after the paint cures. A stool that lives in the kitchen and looks good gets used, which is the point.
A Wainscot Band in the Eating Area
In a kitchen with a table or banquette, paint the lower 36 inches of one wall forest green and leave the rest warm white. Wainscot is commonly set near one-third of wall height, so about 32 inches on an 8-foot wall. Many people choose 36 to line it up with counter height.
Paint tape lines wobble. For a crisp edge, nail on a 1-by-3 pine rail with finishing nails, caulk the seam, and paint the rail the same green. Use scrubbable satin or semi-gloss, because chair backs and shoes scuff the lower wall constantly. Keep the band away from the range wall, where splatter will fight it.
A Sideboard or Hutch in the Eat-In Area
Furniture carries the color without touching the kitchen’s built-ins, and it leaves with you when you move. A sideboard 30 to 36 inches tall and 16 to 20 inches deep sits well along an eating-area wall and holds serving pieces.
Pull the drawers and hardware. Degloss the surface with 180-grit or liquid deglosser, then apply a bonding primer and two thin coats of furniture-grade acrylic enamel, sanding lightly with 320-grit between coats. Rub candle wax on the drawer runners so paint does not make them stick. Even when dry to the touch, enamel keeps hardening for a couple of weeks, so keep stacks of plates off it. Plan on $25 to $45 for a quart of enamel and $15 to $30 for primer.
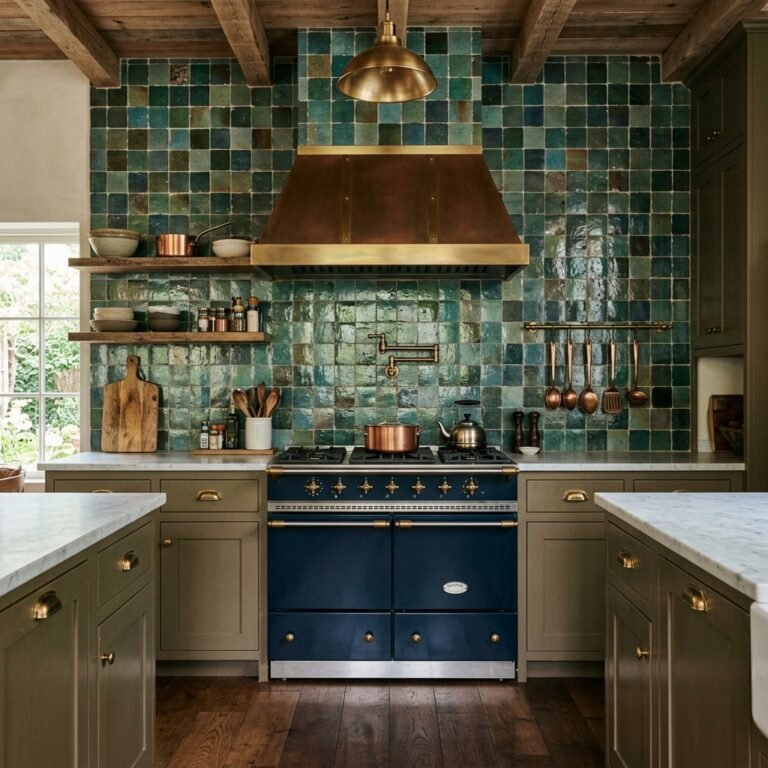
A Tile Panel Behind the Range Only
You do not need green tile on every wall. Tile a panel about 30 inches wide, from the counter up to the hood, which is usually 24 to 30 inches. That is five to six square feet, so even handmade tile at $15 to $40 per square foot stays in the low hundreds before setting materials and labor.
Glossy glaze catches light and bounces it around the cooking zone. Handmade tile varies from piece to piece, so order 15 percent extra and mix tiles from several boxes as you lay them out. Otherwise one bad batch can stripe the panel. Choose a warm gray or matched grout color, since white grout draws a hard grid across a dark field.
Spread the Green Across Three Heights
If you try more than one idea, space them out instead of stacking them. A kitchen reads in three bands: knee height, counter height, and eye level. Put one green thing in each band and the color looks planned. Put three green things on the same counter and it looks like a display.
A workable trio: recovered stool seats at knee height, the Dutch oven at counter height, and a tile panel or wallpaper niche at eye level. Keep the greens within one family. Hold the towel, the knob, and the pot together under the same light before you commit. If one looks yellow and another looks blue, return the odd one. Two shades of forest green read as a layered palette. Four read as a mistake.
Live With One Piece for Four Weeks
Pick the cheapest item above and buy only that. Leave it out through morning light, kitchen-light at night, and a cloudy afternoon. Green changes more than most colors across a day. If you still reach for it after a month, move up one tier. If a green dish towel annoys you, you found out for $15, not several thousand.
When you are ready for a bigger move, our guide to kitchen cabinet colors that feel timeless instead of trendy for one season covers muted sage and olive as softer routes on cabinets.
Frequently Asked Questions
What colors go with forest green in a kitchen?
Warm whites, cream, natural oak, and aged brass pair best with forest green. They share its earthy, yellow-leaning undertone. Cold blue-whites and polished chrome can make it look icy. Hold a swatch of each next to your green in daylight, because a pale counter that looks warm in the store can read gray at home.
What is the difference between forest green and emerald?
Forest green is deeper and earthier, with a yellow base and some black. Emerald is brighter, jewel-like, and leans blue. The practical difference shows up in the room: emerald needs more light and cooler partners, while forest green tolerates oak, brass, and warm white. Check the light reflectance value on a paint chip to compare shades.
What sheen works best for a forest green wainscot or painted furniture?
Satin is the safest choice for both. It resists scuffs, wipes clean, and hides small flaws better than gloss. Use semi-gloss only on small, high-touch pieces like a step stool. Flat or matte paint on a lower wall will show shoe marks and chair scrapes within weeks, and it is harder to touch up.
How do you keep peel-and-stick wallpaper from peeling in a kitchen?
Apply it to a clean, smooth, fully cured painted wall. Wipe the surface with a mild degreaser and let it dry first. Keep it away from the range and the sink splash zone, where heat and moisture loosen the adhesive. Press each strip from the center out with a smoothing tool, and trim edges with a fresh blade.
Will forest green accents make a small kitchen look darker?
Small accents will not, because they take up little of what you see. Keep walls and counters light and put green at the edges: stools, towels, a pot, a step stool. Stay with two to four pieces. A single 30-inch tile panel behind the range adds depth without shrinking the room.
1 comment