

Sit on your sofa when the afternoon sun is low enough to skim along the wall beside you. Now look at that wall. Every roller stroke shows. Some patches have a faint shine and others have none. The baseboard underneath is a thin strip about the height of a paperback, and the door in the corner sounds hollow when someone shuts it.
Then look back at the sofa you saved for. It’s lovely. It also looks like it wandered in from a different house.
That gap is the mistake. You decorated on top of a builder-grade shell and treated the walls, trim, ceiling, doors, and overhead light as neutral background. They aren’t. They are the biggest surfaces in the room, and when they read as contractor defaults, they pull every good piece in front of them down a tier.
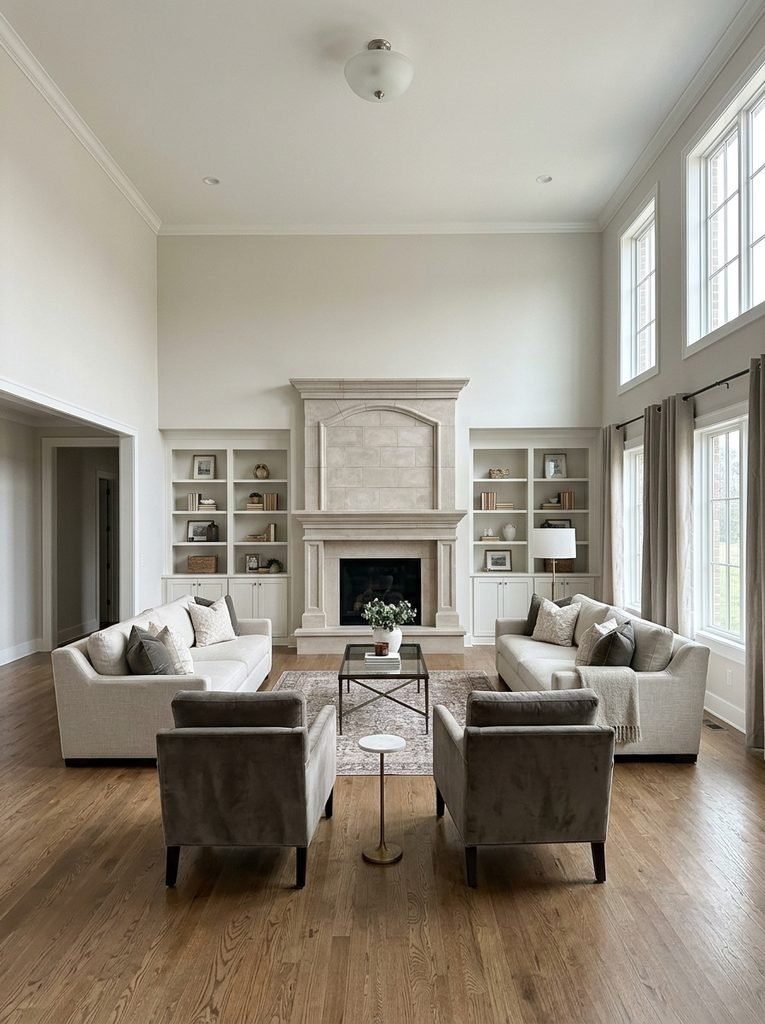
What “Builder-Grade” Actually Means in a Living Room
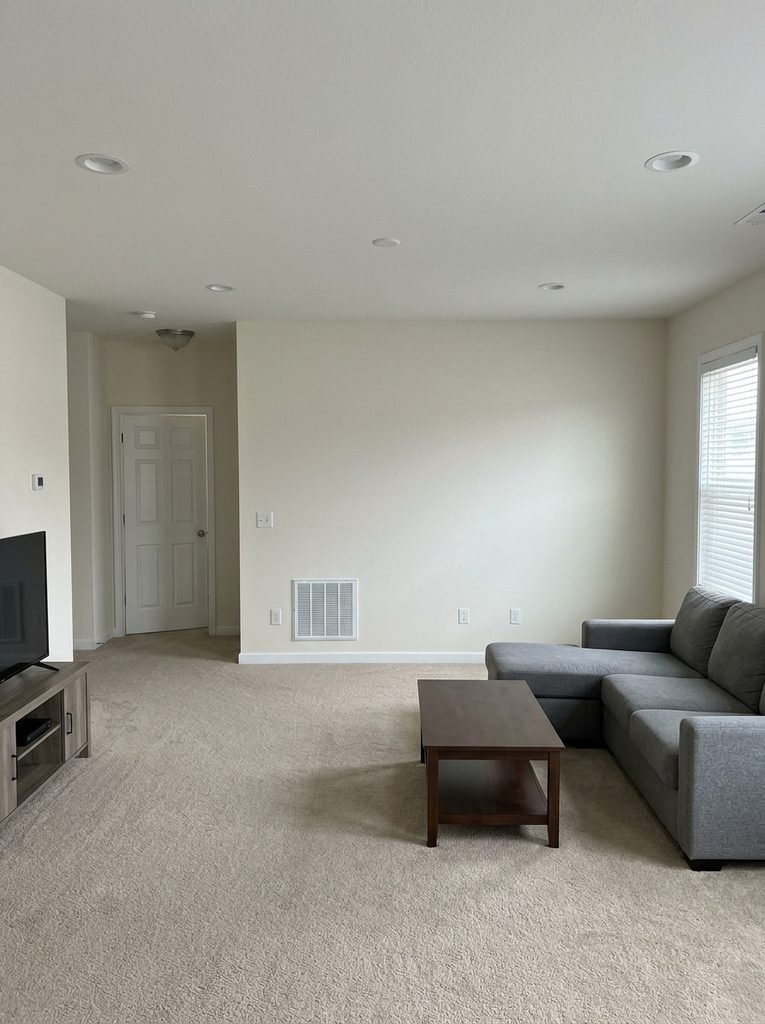
Builders work to a price and a schedule. The living room usually gets the same package as the hallway: one flat white or beige on every wall, the same white on the ceiling, 3¼-inch baseboards, flat door casings about 2¼ inches wide, hollow-core doors, and either a single dome light or a grid of recessed cans. Stamped metal vent covers finish the set.
None of these is ugly on its own. Together they share one trait: no hierarchy. Everything is the same white and the same sheen, so nothing frames anything else. In a room that looks expensive, the ceiling recedes, the walls stay calm, the trim draws a crisp line, and the doors have some heft. The light also sits low, in pools, instead of pouring from the middle of the ceiling.
A Ten-Minute Walk-Around Before You Spend Anything
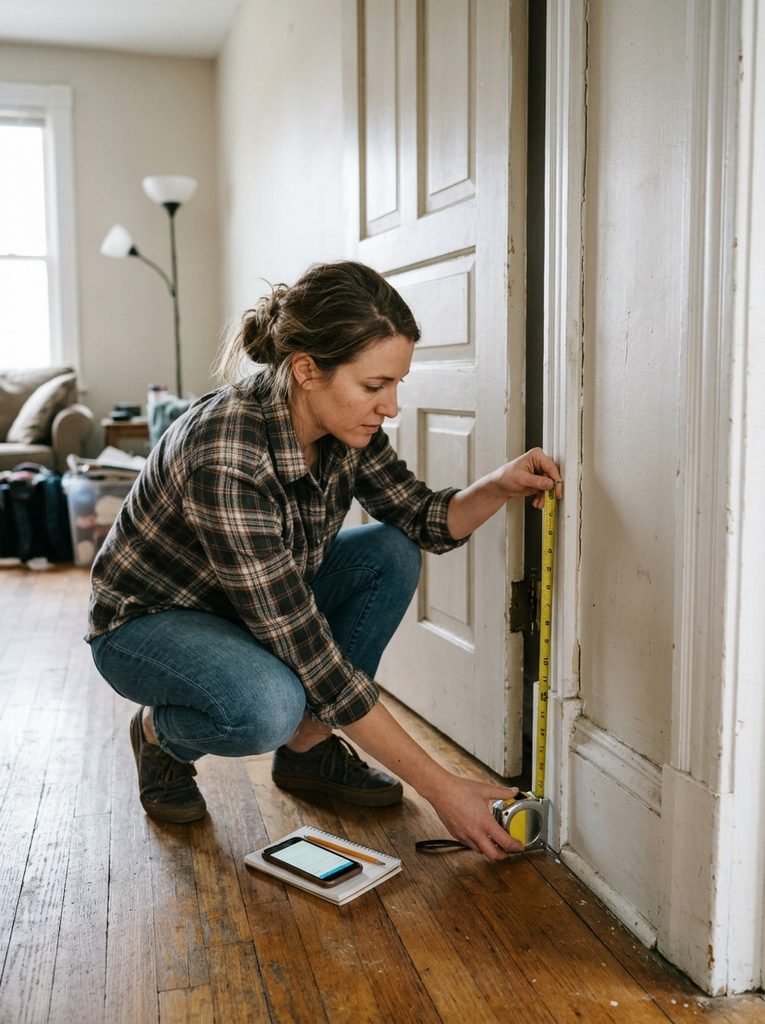
You don’t need a designer to find the weak spots. Run these five checks with a phone and a tape measure.
- Skim test. Turn off the lamps, hold your phone flashlight flat against the wall, and look along the beam. Patchy shine means uneven sheen or old touch-ups.
- Ruler test. Measure the baseboard and the door casing. A baseboard under 4 inches on an 8-foot ceiling reads as thin.
- Knock test. Rap on the living room door. A drum-like sound means a hollow-core slab.
- Light test. Switch on only the ceiling fixture and stand in the doorway, then switch it off and use only lamps. If the room feels cold and flat under the ceiling light alone, the bulbs or fixture are working against you.
- Edge test. Run a fingernail along the seam where trim meets wall. A gap you can catch a nail in will show in every photo you take.
Whatever fails two checks gets the first dollars, ahead of any new furniture.
Paint Sheen: Why Walls Look Flat in the Wrong Way
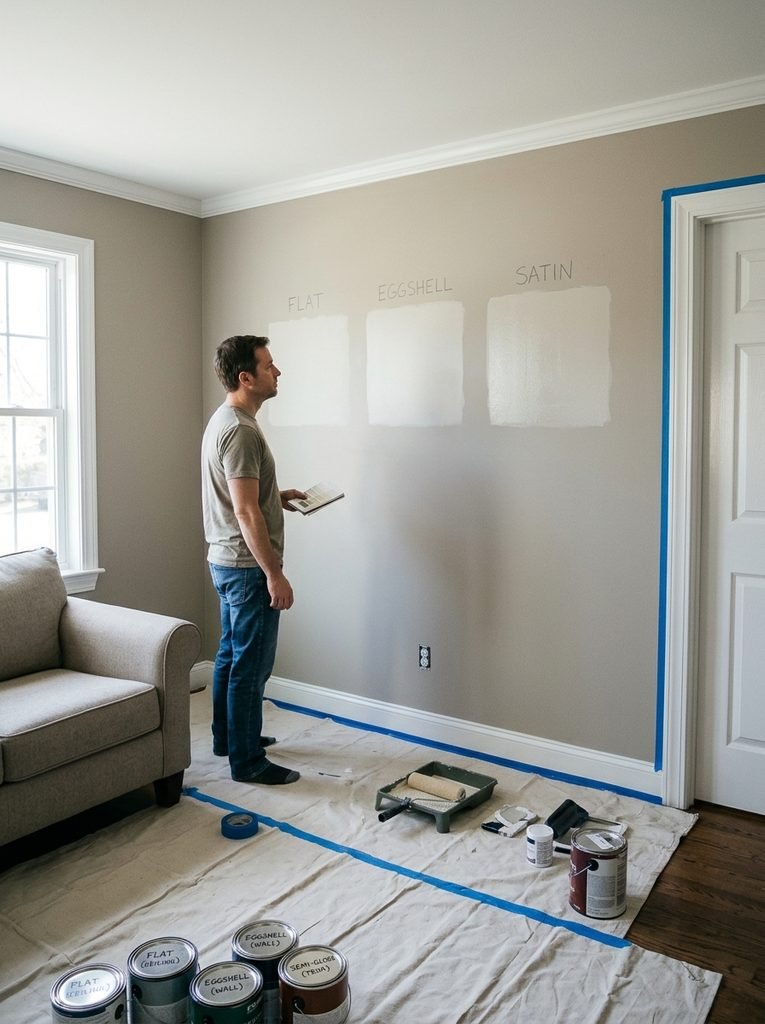
Builders usually paint walls in flat, because flat hides drywall flaws and goes on fast. The downside is that it scuffs easily and looks chalky next to nicer finishes. The opposite error shows up after a weekend repaint: someone grabs a satin wall paint, and the glossier surface exaggerates every seam and patch.
Sherwin-Williams’ paint sheen guide lays out the same trade-off. Flat and eggshell finishes hide surface flaws, while glossier ones show them and can shift how a color reads in different light.
The fix is a three-step hierarchy. Use a flat ceiling, eggshell (or a scrubbable matte) on the walls, and semi-gloss on trim and doors. That small jump in shine from wall to trim is what draws the clean line you see in expensive rooms, and it costs nothing extra.
A few hands-on details save a repaint:
- Buy your sample pot in the sheen you plan to use. Store swatches are often shown in one finish, and the same color can look cooler and harder in a glossier one.
- Paint a two-foot square on two different walls and check it in the morning, at noon, and under lamps.
- Use a 3/8-inch nap roller on smooth drywall, keep a wet edge, and roll full-height strips three to four feet wide. That avoids the lap marks, called flashing, that appear in side light.
- Plan on two gallons for two coats in a 12-by-15-foot room. Quality paint typically runs $45 to $80 a gallon.
Don’t forget the ceiling. A bright builder-white ceiling beside warm walls looks stark. Ask the store to tint your ceiling paint 25 to 50 percent toward the wall color, and it will sit back instead of glaring. If you’re still choosing the wall color itself, the post on living room color combinations that hold up after dark shows how lamplight changes a shade.
Baseboards and Casings: The Proportion Problem
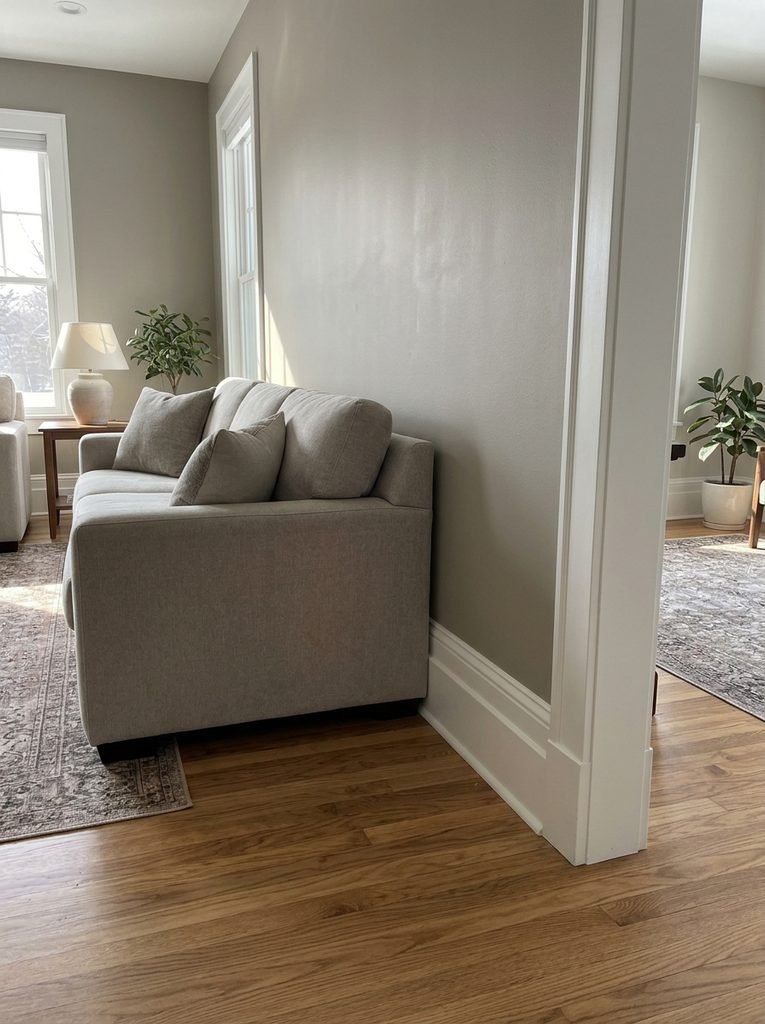
Look at where your sofa meets the wall. A sofa back usually stands 30 to 36 inches tall, and a 3¼-inch baseboard beside it simply vanishes. Trim has to be tall enough to register against the furniture in front of it.
For an 8-foot ceiling, 5¼-inch baseboards work well. At 9 feet or more, go to 7¼ inches. Widen door and window casings from the builder’s 2¼ inches to about 3½ inches.
You don’t need to tear anything out. Leave the old baseboard on, nail a primed 1×3 board above it, and finish with a small cap molding. The stacked profile lifts the trim to roughly 6 inches and reads as one tall board. Primed MDF costs about $1 to $3 per linear foot, and a 12-by-15-foot room has around 50 feet of wall after door openings, so budget $75 to $200 with caulk, nails, and cap molding.
Two small details separate a clean job from a messy one. Prime every cut end of MDF before painting, because raw ends soak up paint and swell into a fuzzy edge. Then run a thin bead of paintable caulk along the top of the baseboard and fill the nail holes. That caulk line is the cheapest custom effect in the house.
Window casings follow the same logic. A wider casing painted in the trim sheen gives the glass a visible frame, which makes the curtains hanging beside it look intentional too.
Hollow Doors and the Sound of Cheap
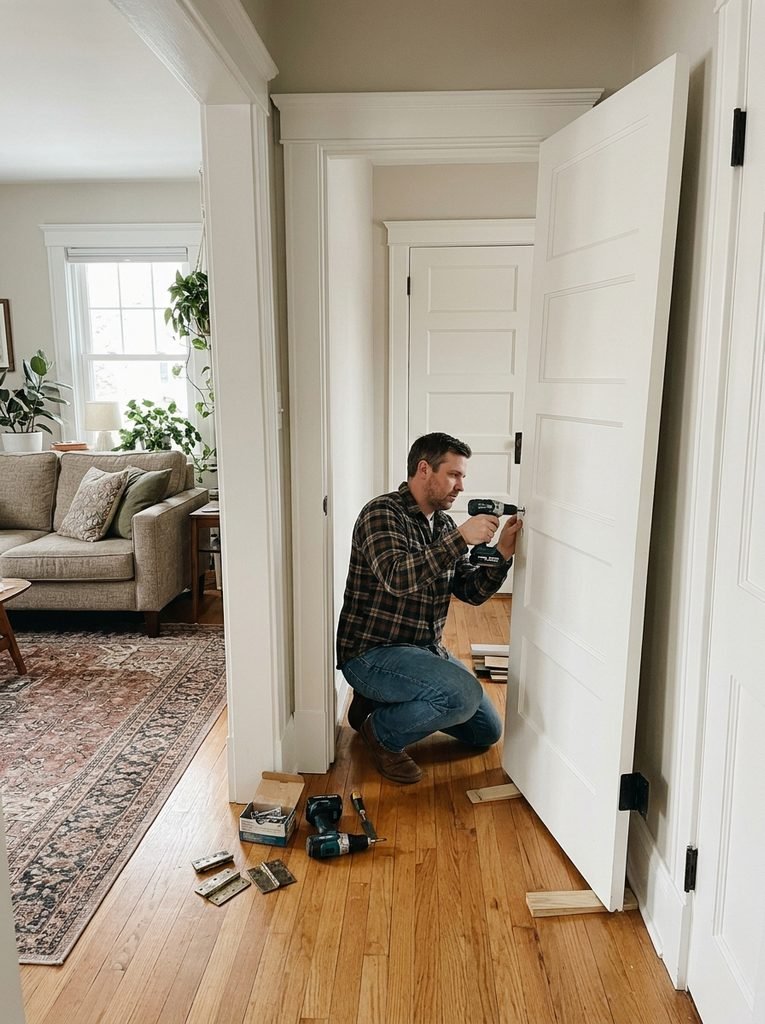
Your hand notices what your eyes miss. A hollow-core door is two thin skins over a cardboard honeycomb. It swings light, shuts with a rattle, and weighs roughly 20 to 30 pounds. A solid-core slab can top 50 pounds and closes with a soft thud. Guests register that difference without being able to say why the room feels less substantial.
Replace only the doors people see from the living room. Prehung solid-core doors often run $150 to $350 each before installation, so pick the two or three that matter. For the rest, paint the slab in the same semi-gloss as your trim and swap the hinges. Builder hinges have rounded corners and shiny brass plating. Matching round-corner hinges in matte black or satin nickel cost about $4 to $8 each. Square-corner versions won’t sit flush in a rounded mortise until you square it with a chisel.
The Ceiling Light Pattern That Flattens Everything
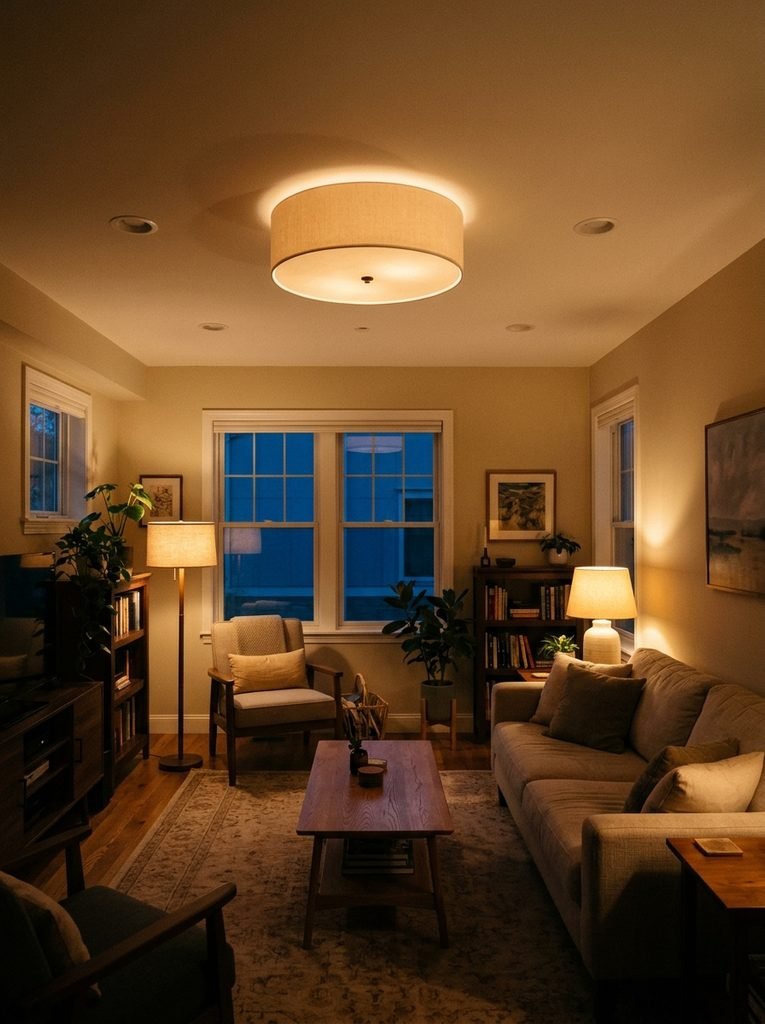
One dome fixture or a grid of cans on a plain toggle switch makes the whole room the same brightness. The bulbs are often 4000K or higher, which reads blue-white beside warm wood and fabric. That is a lot of cold light landing on a good sofa.
Start with the bulbs. Switch to 2700K and put every fixture on an LED-rated dimmer, usually $15 to $30. Check the rating on the box, because older dimmers buzz and flicker with LEDs, especially at low levels. Next, size the fixture. Add the room’s length and width in feet and read the sum as inches of diameter, so a 14-by-16-foot room suits a 30-inch fixture. A 12-inch dome in that room looks like an afterthought.
If you have recessed cans, leave them, but give them their own dimmer and run them low or off in the evening. Let two or three lamps at different heights do the main work. The eye-level end of this problem, such as bare bulbs, lamp cords, and switch plates, gets its own treatment in the guide to small living room details that look expensive up close.
Vents, Thermostats, and Other Things Nobody Paints
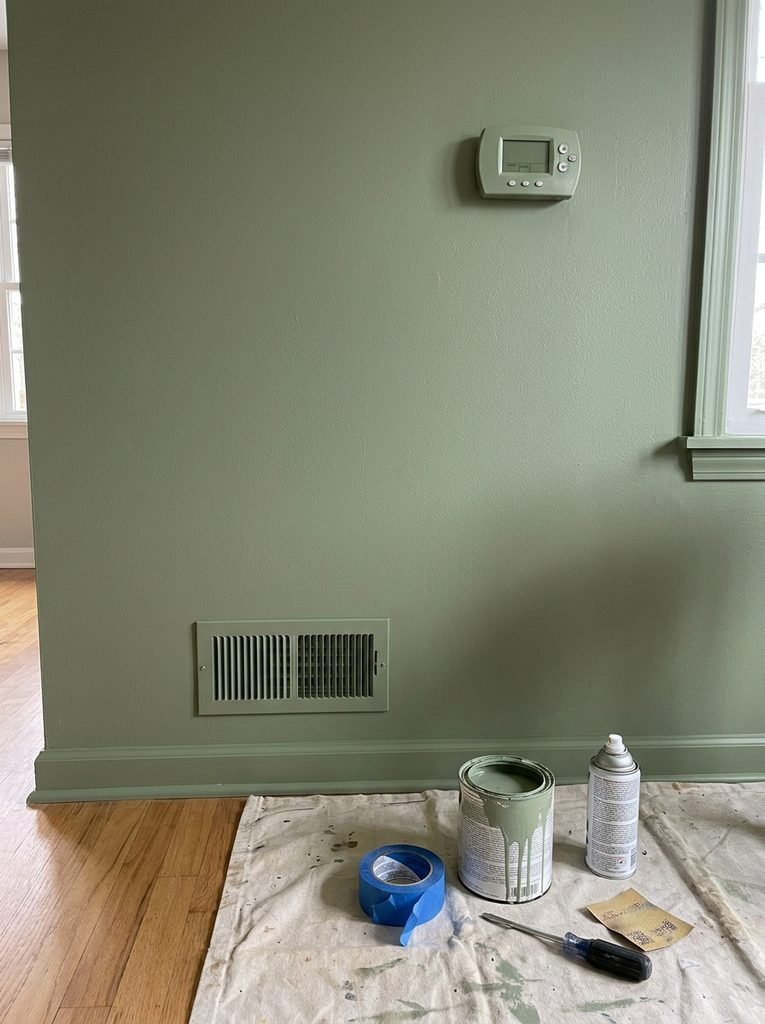
Stamped-metal vent covers in factory white or tan are details you see every day and never really see. Remove each cover, degrease it, scuff it with 220-grit sandpaper, and spray it with metal primer and two light coats of the wall color. A can costs $8 to $12 and covers several registers. Painted to match the wall, they stop being a feature.
The same trick works on a plastic thermostat cover or cable plate, using spray made for plastic. One exception: never paint over a smoke alarm or carbon monoxide detector. Paint can clog the sensing chamber, so mask them and leave them alone.
What to Fix First, by Budget
Order matters more than money here. Do any carpentry first, then caulk and fill, then paint the ceiling, walls, and trim in that order so drips land on surfaces you haven’t finished yet. These are typical US ranges and shift by region.
| Fix | Typical cost | Time | Visual payoff |
|---|---|---|---|
| 2700K bulbs plus LED-rated dimmers | $30–$80 | 1 hour | High |
| Flat ceiling and semi-gloss trim | $90–$180 | 1 weekend | High |
| Eggshell walls | $100–$200 | 1–2 days | Medium-high |
| Stacked baseboards and caulk | $75–$200 | 1 weekend | High |
| Painted vents and hinges | $20–$40 | 2 hours | Medium |
| Solid-core doors, visible ones only | $150–$350 each | 1 day each | Medium |
The first two rows alone, for roughly $120 to $260, usually change how the room feels more than a new rug would.
Try the Cardboard Test Before Your Next Purchase
Cut a strip of cardboard 5¼ inches tall and tape it along the bottom of the wall behind your sofa. Step back to the doorway. If the wall suddenly looks finished, you’ve found your next purchase, and it isn’t a pillow.
If the strip changes nothing, go back to the ceiling light and the sheen. One of the five checks above is the culprit, and now you know which one to start with.
Frequently Asked Questions
Is eggshell or matte better for living room walls with kids or pets?
Eggshell is the safer pick, because it wipes clean without burnishing. Scrubbable matte lines handle light washing too, but they still mark more easily near the sofa and doorway. Test by rubbing a damp cloth on a patch of cured sample paint. If it leaves a shiny streak, choose eggshell.
Should baseboards be thicker than the door casing?
No, baseboards should be slightly thinner, so they butt cleanly into the casing instead of sticking out past it. Casing is typically about ¾ inch thick and baseboard around ½ inch. If your new baseboard is thicker, add plinth blocks at the base of each door frame to hide the step.
Do I need primer to repaint flat builder-white walls?
Not always. Going to a similar light color over sound paint often needs only two coats. A big color change, or new or heavily patched drywall, calls for primer so patches don’t flash. A gallon of PVA or stain-blocking primer costs about $25 to $40 and covers roughly 350 square feet.
How can I tell if a door is hollow-core without removing it?
Knock near the center, then near the latch edge. A hollow door sounds like a drum in the middle and thuds at the edge, where a solid wood block sits. If it swings with one finger and rattles in its frame, it’s almost certainly hollow-core.
How do I stop touch-up spots from showing in side light?
Repaint the whole wall from corner to corner instead of dabbing. Spot patches dry with a different sheen and texture, so they flash when light skims across them. Sand any raised edges with 220-grit, spot-prime bare patches, and roll with the same nap you used originally.



4 comments