Take a tape measure and walk your home. Most small places hide at least five gaps between 3 and 16 inches wide: beside the fridge, between the bed and the wall, above every interior door. Stores sell nothing that fits them, so the gaps stay empty and the clutter lands on your counters instead.
That mismatch is the case for building. A shelf cut to the exact width of a gap holds more than a store-bought one that is two inches too wide to fit. Every project below starts from a real measurement, gives you board sizes, and lands at roughly $15 to $140 in materials. You need a drill, a level, and either a hand saw or a home store that cuts lumber for you.
Corners and the high wall near the ceiling are a separate problem, and our guide to the most wasted corner in a small home covers them. This list stays on the gaps along floors, doors, and appliances.
Measure the Gap Three Times Before You Buy a Board
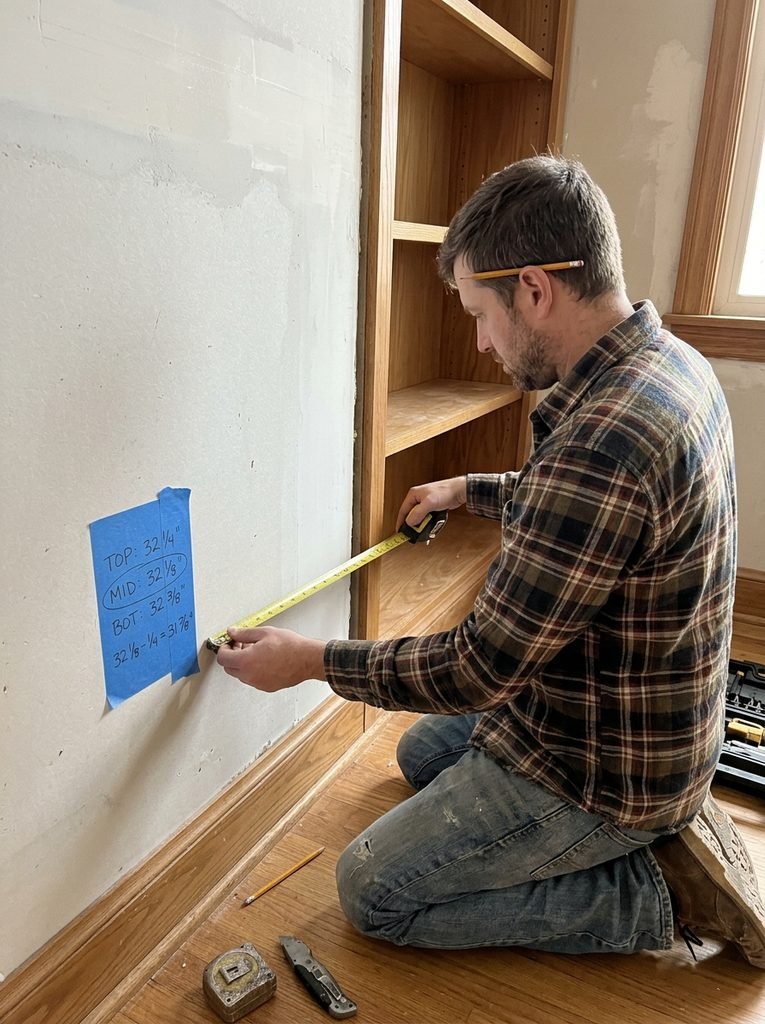
Walls are rarely straight. Measure each gap at the top, middle, and bottom, and write the smallest number on a strip of painter’s tape stuck beside it. Then subtract a quarter inch so the piece slides in without scraping paint.
Lumber labels lie. A “1×10” board is actually three-quarters of an inch thick and 9.25 inches wide, and a 1×6 is 5.5 inches wide. Plan with the real numbers. Baseboards also stick out about half an inch, so measure above them or notch the back of your piece.
Safety comes next. Anything taller than about 30 inches should be anchored to a wall stud. The Consumer Product Safety Commission urges people to anchor TVs and furniture such as bookcases and dressers to the wall, and narrow homemade units are just as likely to tip as store-bought ones. A stud finder and a $5 strap kit take ten minutes.
The Gap Between the Bed and the Wall
Beds often sit 8 to 12 inches off a side wall because a door or window needs room. That strip is too narrow for a nightstand, so the lamp ends up on the floor.
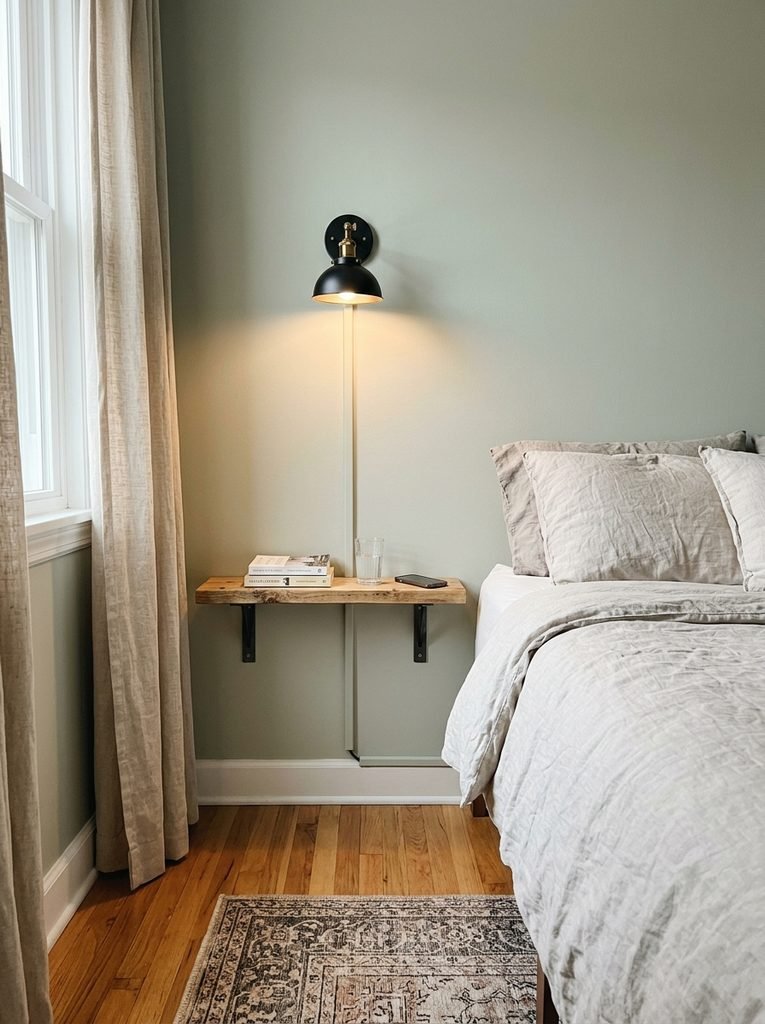
Skip the nightstand and mount a ledge. Screw a 1×10 board, about 20 inches long, onto two 8-inch steel L-brackets driven into studs. Set the top 1 to 2 inches above your mattress, usually 26 to 28 inches off the floor. It holds a lamp, a phone, and a glass of water, and the floor underneath stays clear for a rug or a vacuum. Materials run about $30 to $50.
Add a plug-in wall sconce above the ledge and you can drop the lamp entirely, which gives the ledge back to books. Run the sconce cord down inside a paintable cord cover, about $10 for a 6-foot length, so no wire dangles beside the pillow.
Behind a Sofa That Floats
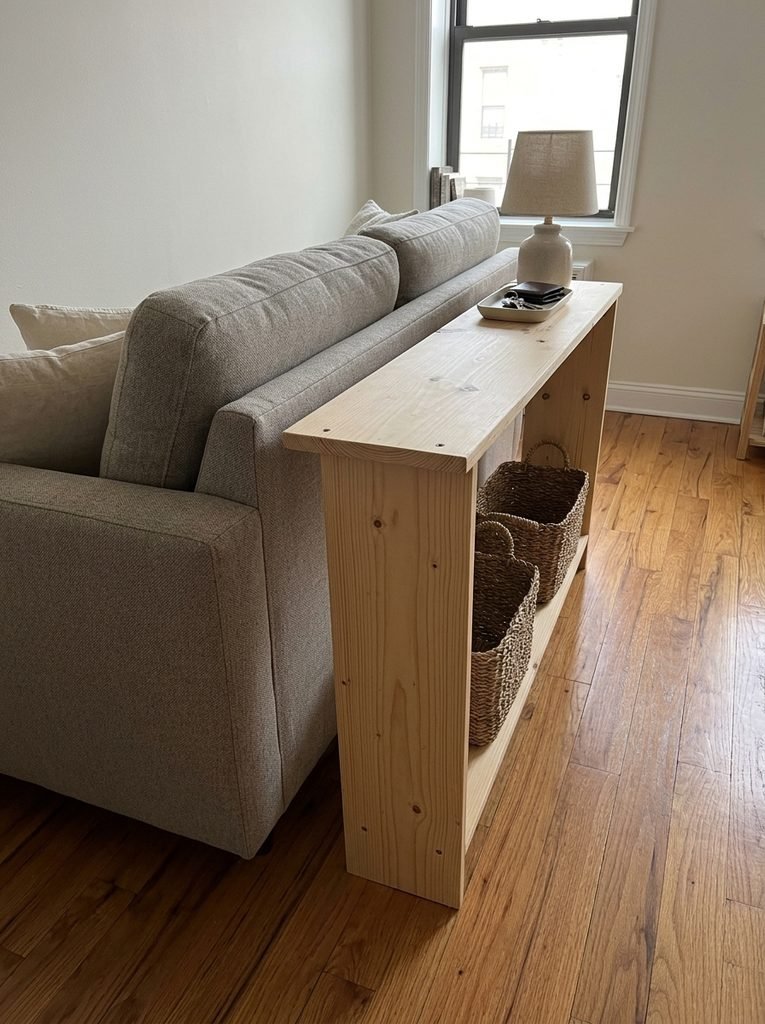
In a studio, the sofa often sits in the middle of the room as a divider, with a dead strip behind it. Fill that strip with a console that is only as deep as a 1×10 board.
Cut two 1×10 uprights at 28 inches, a 1×10 top at 48 inches, and one 1×10 shelf fixed 8 inches off the floor. Glue and screw it together with 1.25-inch wood screws. Most sofa backs are 32 to 36 inches high, so a 28-inch console sits below the cushions and stays out of sight from the seat. Float the sofa about 13 inches off the wall, so there is a 3-inch gap between sofa and console for your hand.
Use the top for a lamp and a tray of keys. Use the lower shelf for baskets. The whole piece costs about $35 to $55 in pine. Before you drive the last screw, set a level on the top and shim the feet if the floor slopes. A console that rocks by an eighth of an inch will rattle every time someone walks past.
Under a Window With a Low Sill
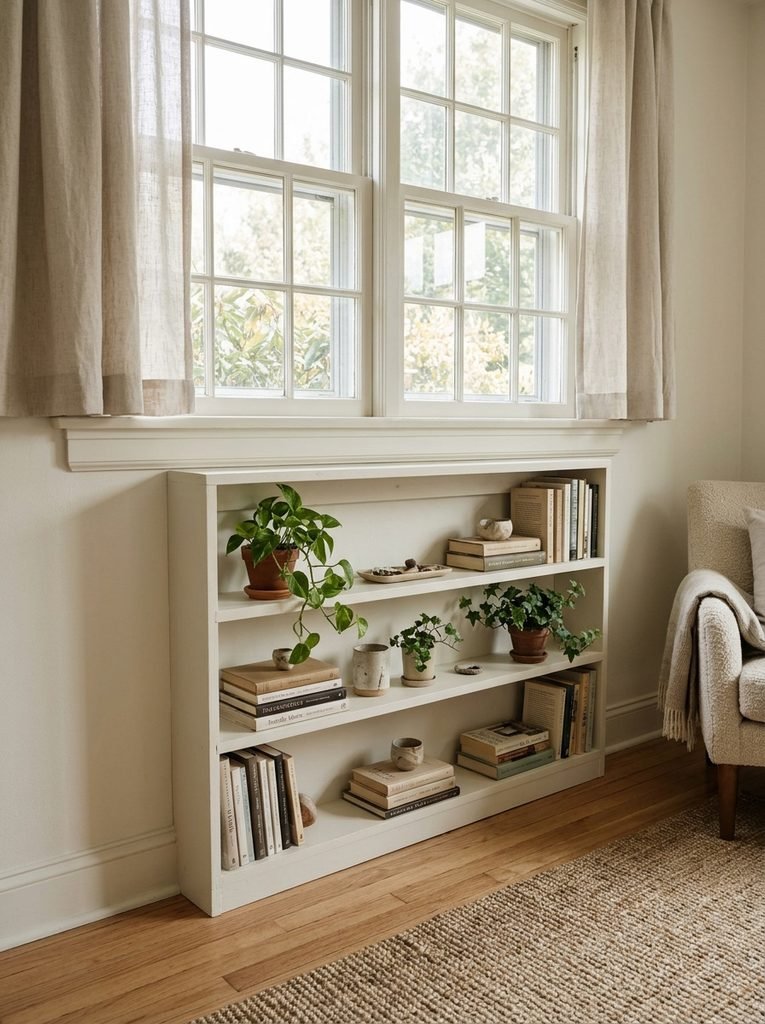
Sills often sit 30 to 36 inches off the floor, which leaves a 28-inch-tall niche underneath. Check it for a heating vent or radiator first. Leave at least a few inches of clear space around anything that gives off heat, and never box in a vent.
For a clear niche, build an open shelf from 1×10 boards: two sides at 26 inches, three shelves cut to the window width minus half an inch. Stain or paint it the color of the wall so it reads as part of the room. Cut a 3-inch notch in the back of the lowest shelf if a baseboard heater or outlet sits behind it. If you would rather skip carpentry, two wooden crates stacked to the same height do the same job for less than $50.
Beside the Fridge
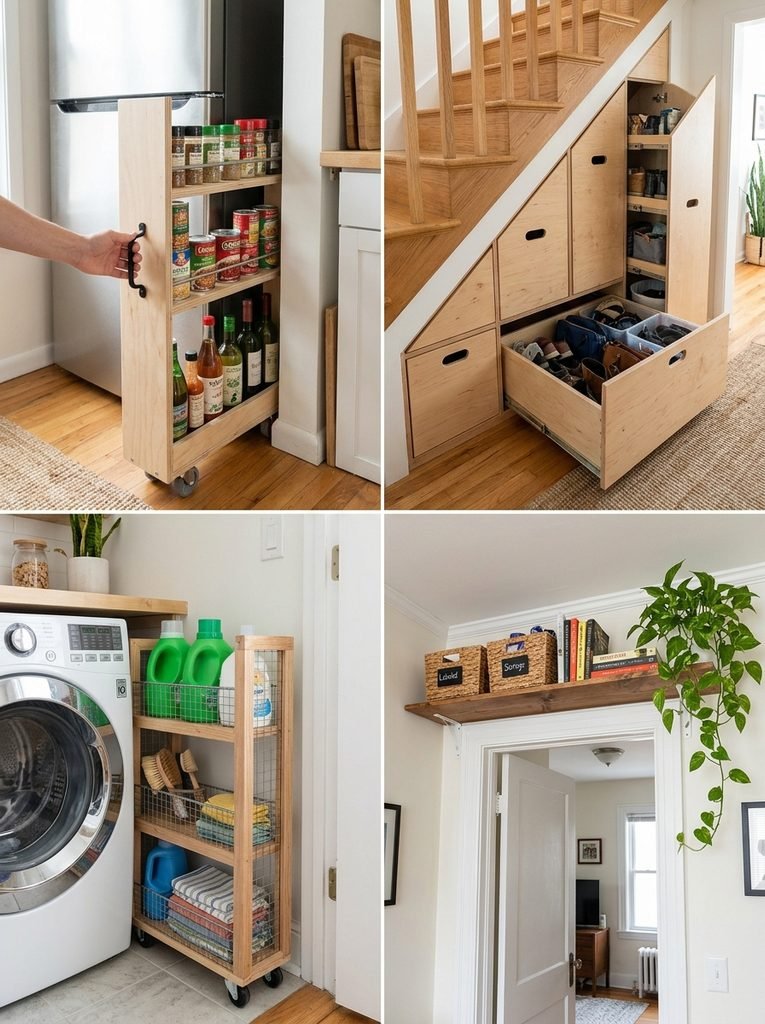
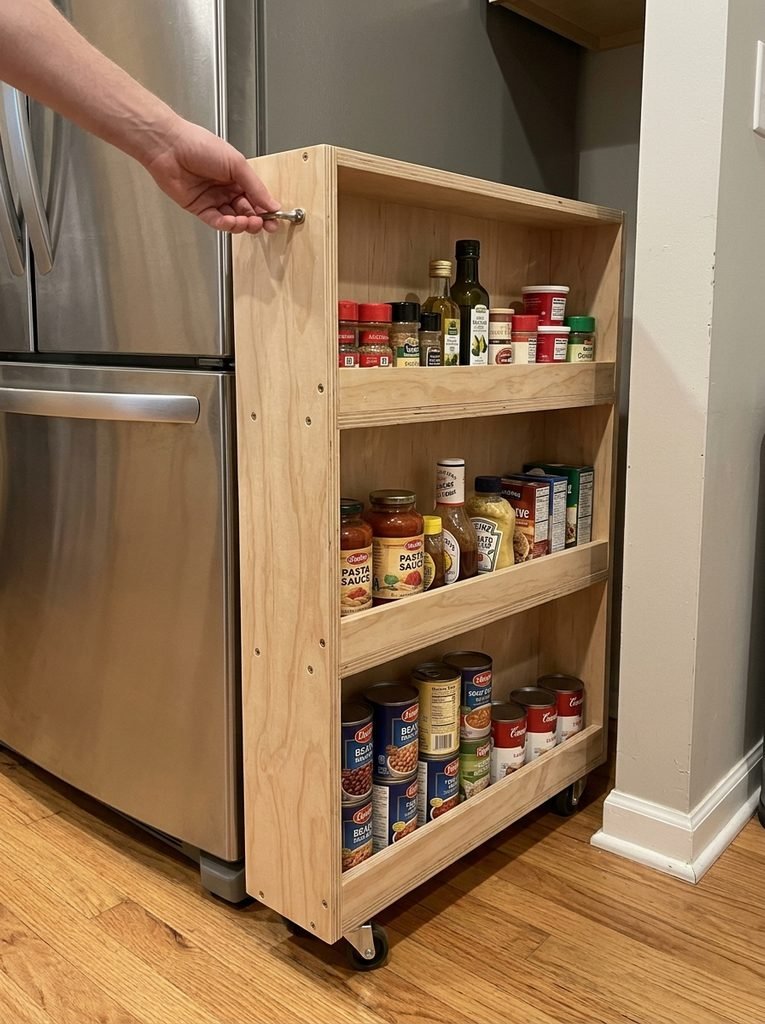
A 5 or 6 inch gap beside the refrigerator is the classic dead space, and you can fill it with a slim cart on casters. For a 6-inch gap, build the frame 5 inches wide so it rolls without catching.
Use half-inch plywood. Cut two sides 16 by 33 inches and three shelves 4 by 16 inches. Screw on four 2-inch swivel casters and add a 1.5-inch lip across each shelf front so jars do not slide off when you pull it out. Keep the total height under 36 inches and the heaviest cans on the bottom shelf.
One warning. Do not build this beside a range or oven unless the appliance manual allows it. Wood next to a hot side panel is a fire risk.
Under the Upper Cabinets
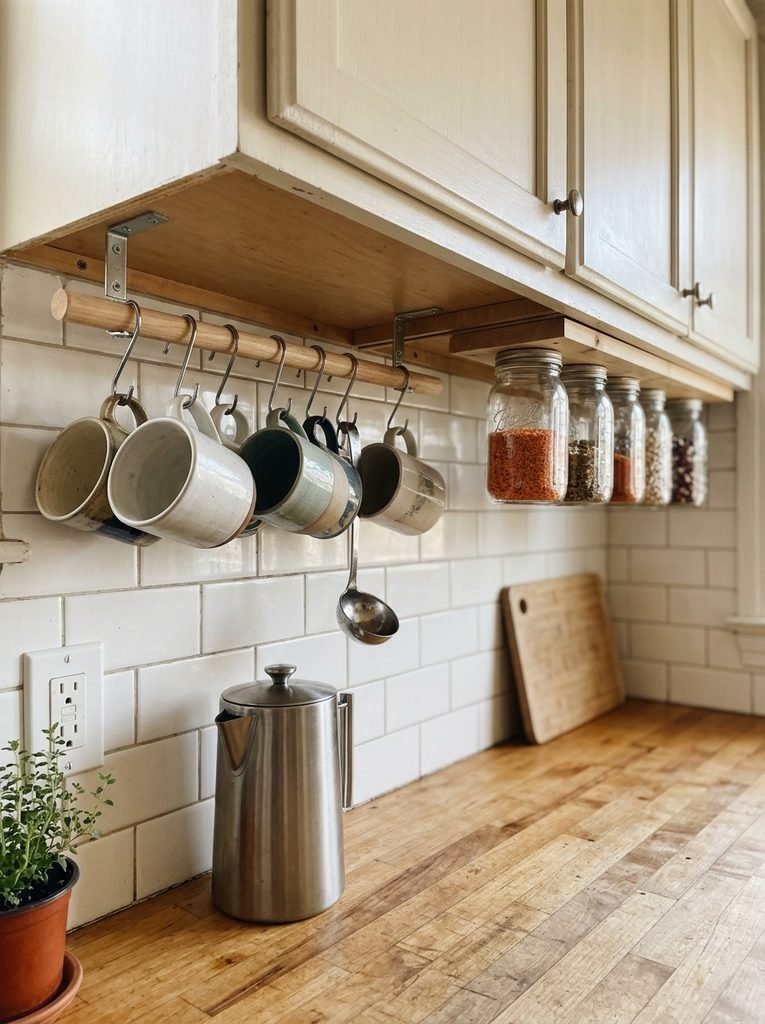
The strip between counter and upper cabinets is usually 18 inches tall and completely bare. A rail turns it into a hanging station without touching the wall.
Screw two small L-brackets into the underside of the cabinet and span them with a 1-inch hardwood dowel, 24 to 30 inches long. Hang mugs and ladles from S-hooks. A rail this size carries about eight mugs before the dowel begins to flex, so stop there. Leave at least 12 inches between counter and rail so tall kettles clear.
For dry goods, screw the metal lids of pint jars to the underside of a 1×4 board attached to the cabinet, then twist the jars on. Lentils and spices stay visible and the counter stays clear.
The Strip Beside the Entry Door
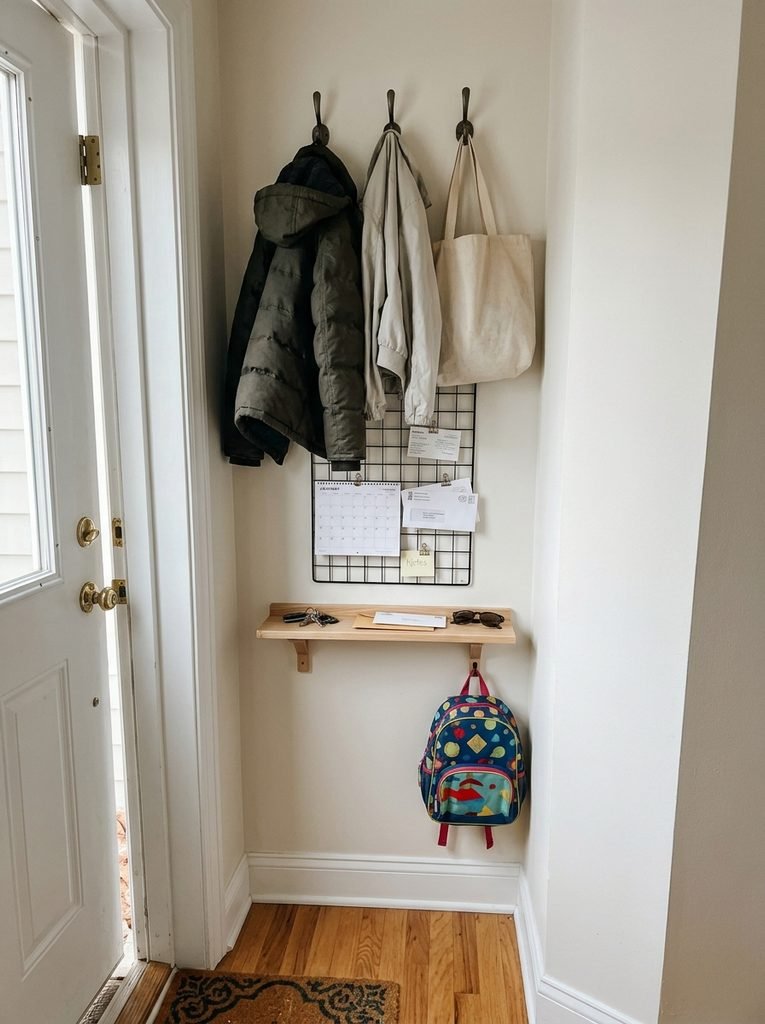
Many front doors open against a 12 to 16 inch strip of wall. It is too narrow for a console, but it is perfect for a landing zone.
Mount a 1×6 shelf, 14 inches wide, at 40 inches off the floor. Glue a strip of quarter-round along the front edge as a half-inch lip so keys and mail stay put. Above it, screw in three hooks at 60 to 64 inches for adult coats. If children live with you, add a second row at 42 to 48 inches. Screw hooks into studs or use anchors rated for the weight, because a wet winter coat weighs more than it looks.
Clip a 12 by 16 inch wire grid above the shelf for mail and a calendar. The whole entry station costs about $25 to $45.
Above Interior Doors
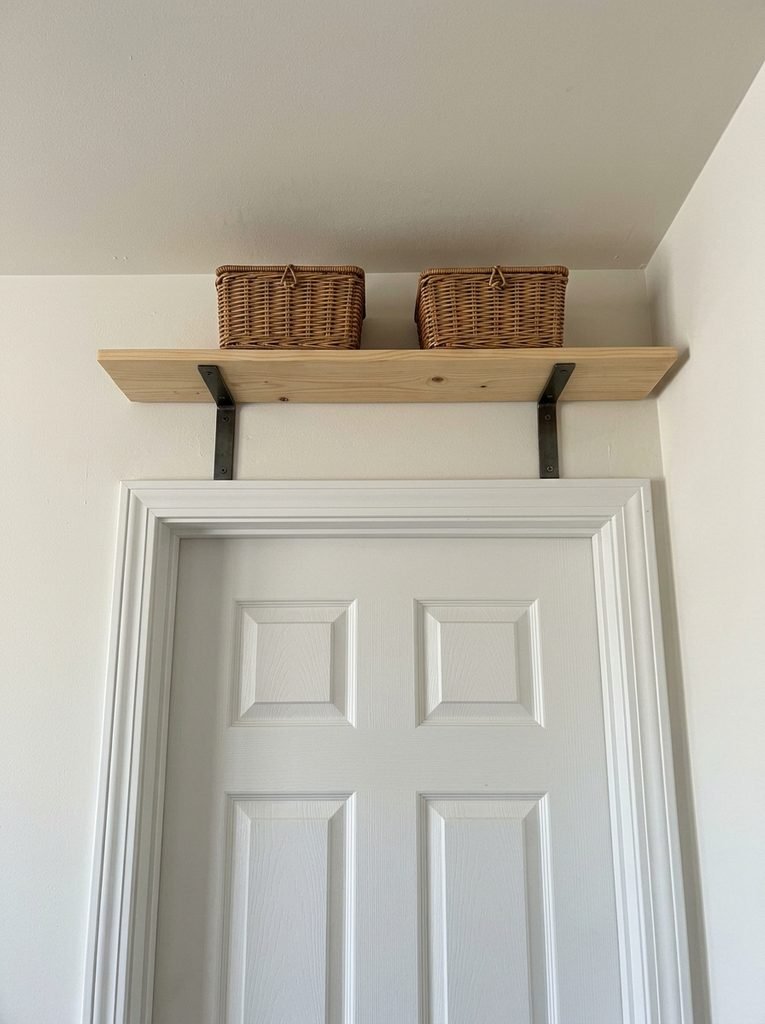
A standard interior door is 80 inches tall. In a house with 8-foot ceilings, that leaves a 16-inch band above it, and most of that band is empty.
Mount a 1×6 board, 36 inches long, on two L-brackets about 4 inches above the door frame. Keep it for light, rarely used things such as spare pillowcases in lidded baskets. Stay under about 15 pounds, and leave at least 6 inches to the ceiling so you can reach in. Do not put anything breakable up there. Doors slam.
A Narrow Wall Beside a Window
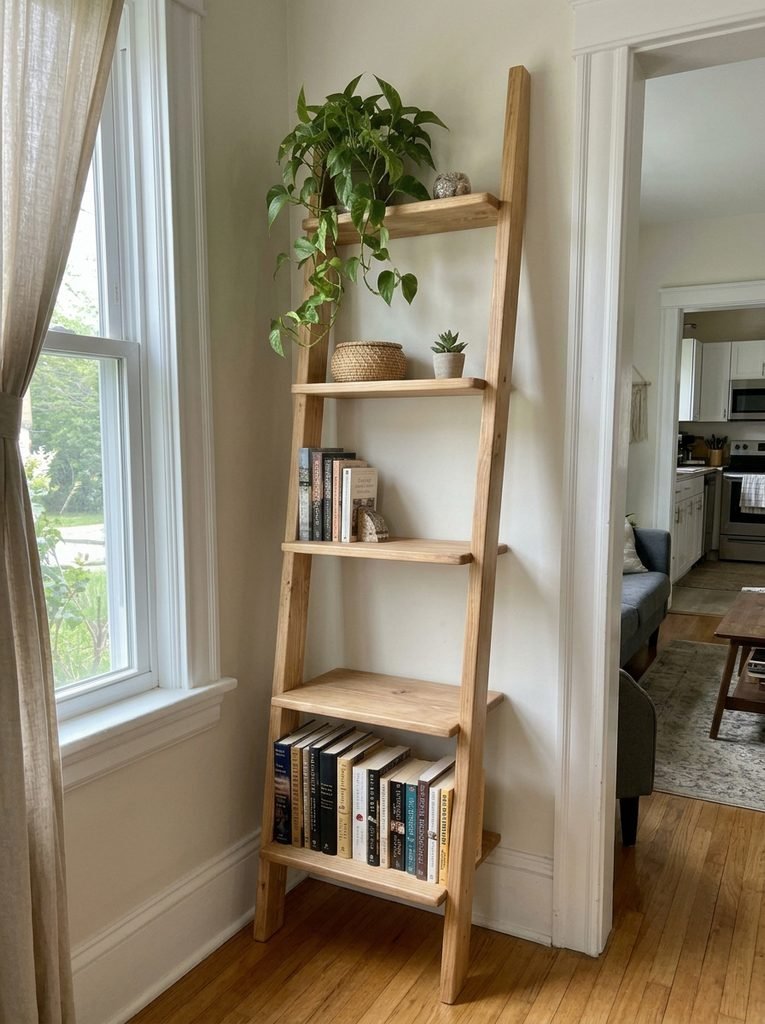
A 12 to 18 inch wall strip between a window and the next room is too small for art and too narrow for a bookcase. A leaning ladder shelf fits it.
Use two 1×3 uprights at 60 inches and four shelves that taper: 1×8 at the bottom, then 1×6, 1×6, and 1×4 at the top. Space the shelves 12 inches apart and set the base about 8 inches from the wall. Anchor the top rail to a stud before you load it. Sand every edge, since a ladder shelf is brushed against all day. Because the narrow footprint makes it top-heavy, keep books on the lowest shelf and plants or baskets up high.
The Back of the Closet Door
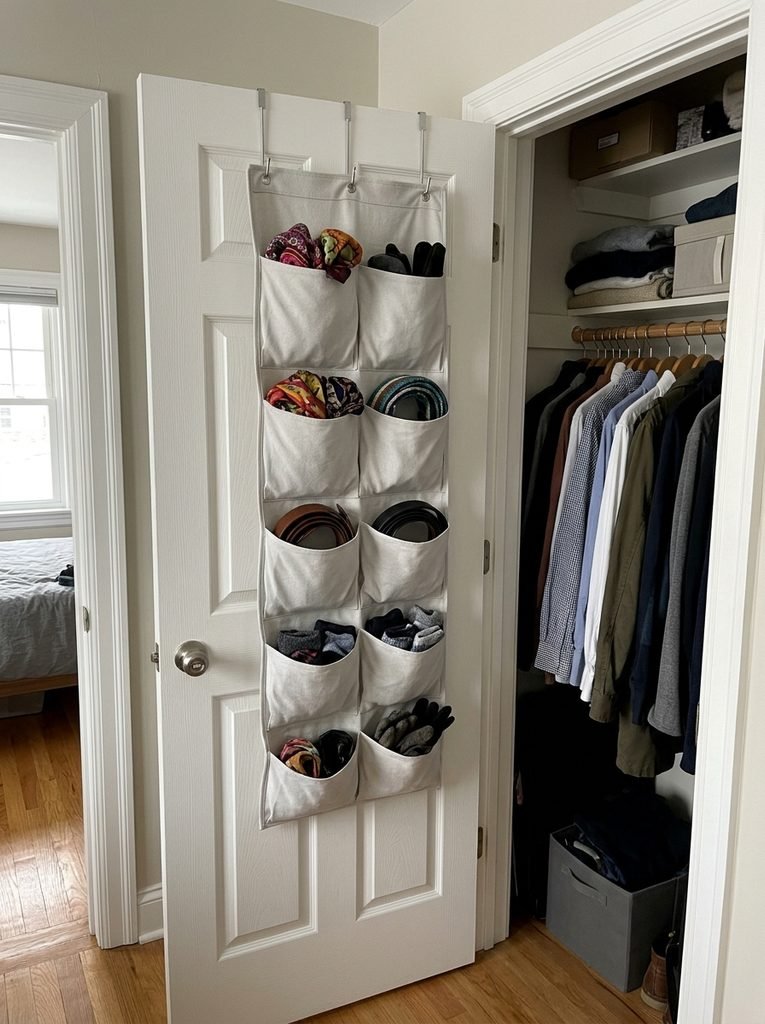
A closet door gives you about 30 by 80 inches of flat surface, and most people use none of it. Check clearance first. If the door shuts with less than 3 inches between it and your hanging clothes, a pocket organizer will jam.
Interior doors are typically 1‑3/8 inches thick, and many over-door hooks are built for 1‑3/4 inches. Buy the hooks that match your door, or the organizer will rattle every time you open it. A fabric organizer with eight to ten pockets costs $15 to $30 and takes scarves, belts, and socks off the shelf.
The Foot of the Bed
If the gap between the bed foot and the wall is 30 inches or more, you can add a bench and still keep a walkway. Plan on a 14-inch-deep bench that is 18 inches high, with a lid that hinges open.
For a queen bed, which is 60 inches wide, build the bench 56 inches long. Use three-quarter-inch plywood, a piano hinge, and a pair of soft-close lid stays so the lid cannot drop on fingers. Expect $90 to $140 in materials. Gaps narrower than 30 inches work better with flat fabric boxes under the bed instead.
What Each Build Costs and How Long It Takes
Rough materials only, based on pine and plywood at typical big-box prices. Your totals will shift with local lumber costs.
| Build | Time | Materials |
|---|---|---|
| Bedside ledge | 1 hour | $30 to $50 |
| Console behind the sofa | 3 hours | $35 to $55 |
| Under-window shelf | 3 hours | $40 to $60 |
| Fridge-gap cart | 3 hours | $25 to $45 |
| Entry landing zone | 1 hour | $25 to $45 |
| Foot-of-bed bench | 5 hours | $90 to $140 |
Start With the Gap You Walk Past Most
Pick one gap, the one with clutter piled next to it. Measure it in three places, write the smallest number on tape, and hold the tape on the wall while you sketch the piece on paper.
Build that one first. The second goes faster, because you already own the drill bits, the level, and a feel for how pine behaves. If you rent, our renter-focused DIY decor ideas for apartments cover the styling side without screws.
Frequently Asked Questions
Is pine, plywood, or MDF best for small-space shelves?
Pine suits visible shelves, plywood suits boxes and carts, and MDF suits painted pieces that will not hold weight. Avoid MDF for spans over 24 inches because it sags under books. A 1×10 pine board, 8 feet long, costs roughly $15 to $25 and cuts into three shelves with a hand saw.
How do I make raw pine look finished?
Sand with 120-grit, then 180-grit, then wipe off dust. Apply a pre-stain conditioner, because pine absorbs stain unevenly and turns blotchy. Seal with two coats of water-based polyurethane, sanding lightly with 220-grit between coats. Painting is easier. A primer plus two coats of satin paint hides knots and grain flaws.
Can I build these without owning a saw?
Yes. Most big home-improvement stores cut lumber and plywood at the register, often free for the first few cuts and about 50 cents each after that. Bring a written cut list with every length. Ask for cuts slightly long and sand to fit, because store saws can leave a quarter-inch of error.
How do I find studs in a plaster-wall apartment?
A standard stud finder often fails on plaster, but a magnetic stud finder can detect the nails holding the lath. Confirm with a small drill bit. If you feel steady resistance the whole way, you have hit wood. Studs are usually 16 inches apart, and one often sits beside an outlet.
What should I use to patch screw holes when I move out?
Use lightweight spackle and a putty knife. Fill the hole slightly proud, let it dry for the time on the label, then sand it flush with 220-grit paper. Dab matching paint over the patch. Small holes under a quarter inch take about ten minutes, and landlords rarely notice them.