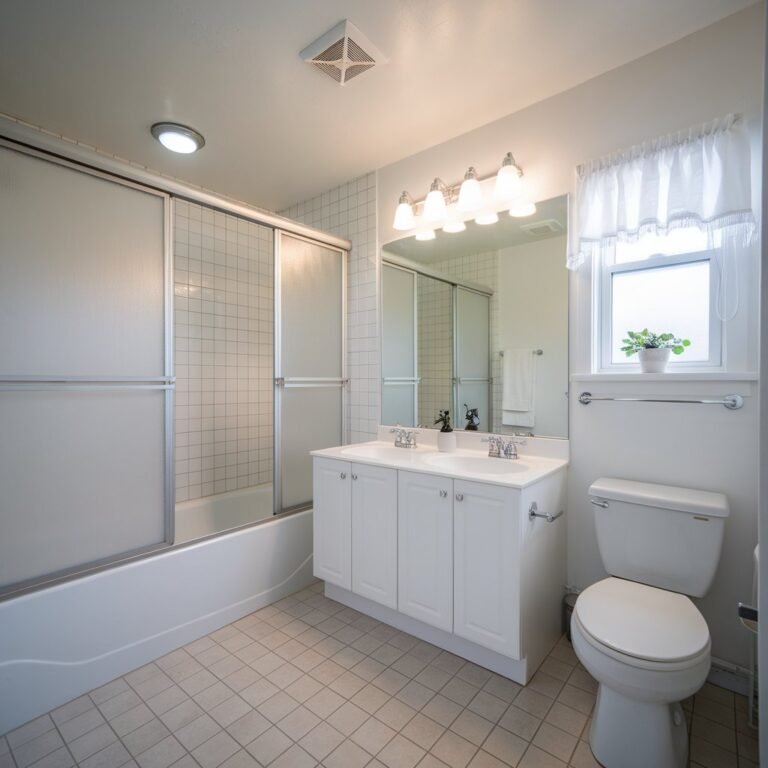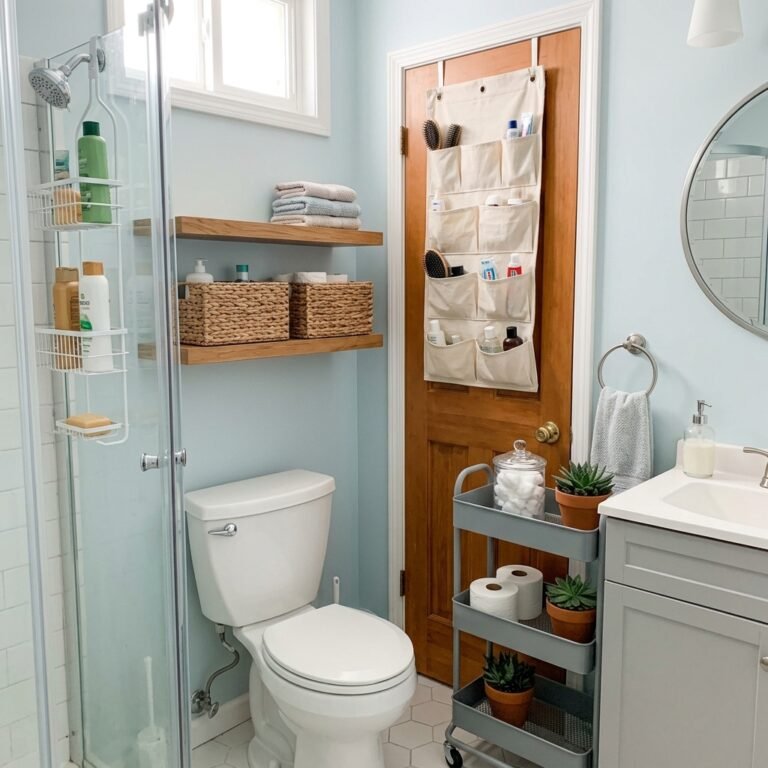
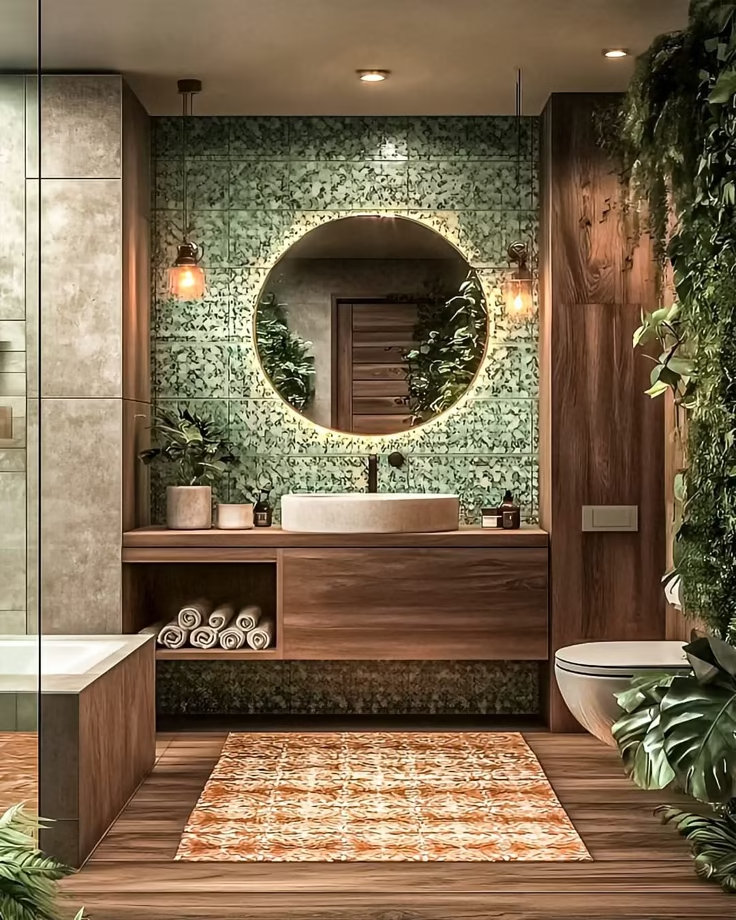
A 10-by-12 primary bathroom has 120 square feet on paper. Add a 60-inch tub, a 36-by-60-inch shower, a 72-inch vanity and a 36-by-66-inch toilet compartment, and about 55 of those feet are already taken. The rest has to hold door swings, a walkway, and roughly 30 inches of open floor in front of every fixture. That arithmetic explains why some remodels end with a gorgeous vanity and a shower nobody can move around in.
The twelve ideas below start inside the walls: drains, framing, circuits and clearances. Finishes come after. Each idea includes the measurement or trade-off your contractor will ask about, so you can answer before the quote arrives. If your bathroom is closer to 40 square feet, our guide to modern bathroom ideas scaled for small spaces is the better place to begin.

Lock the Floor Plan Before You Order Anything
Anything that moves a drain, a wall or a door goes first, because every change gets more expensive once tile is up.
Give the Toilet Its Own Compartment
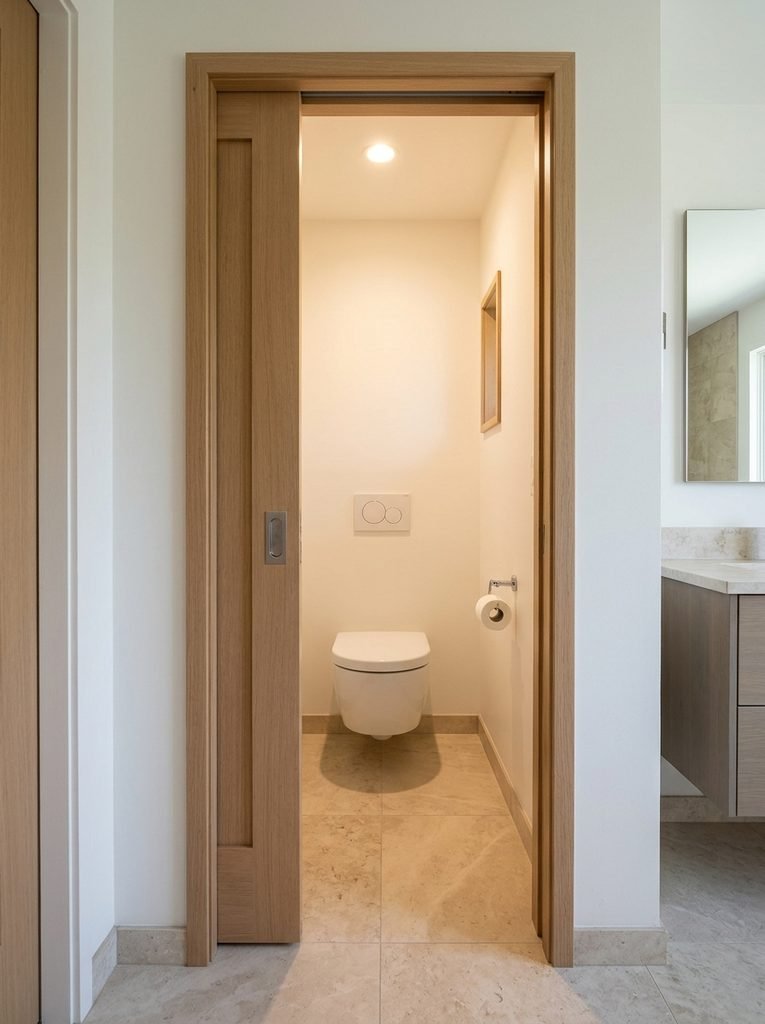
Residential code accepts a toilet compartment as small as 30 by 60 inches. Planning guidance recommends 36 by 66, which lets you reach the paper holder and close the door without sitting sideways. A pocket door saves the swing arc, but it needs a wall run about twice the door’s width, with no pipes, vents or wiring in the stud bay. A wall-hung toilet also lets you set the bowl at a comfortable 17 to 19 inches. Its in-wall carrier usually needs a deeper wall than a standard 2×4, so many builders furr the wall out. Settle that before framing starts.
Decide Between Two Sinks and One Wide Counter
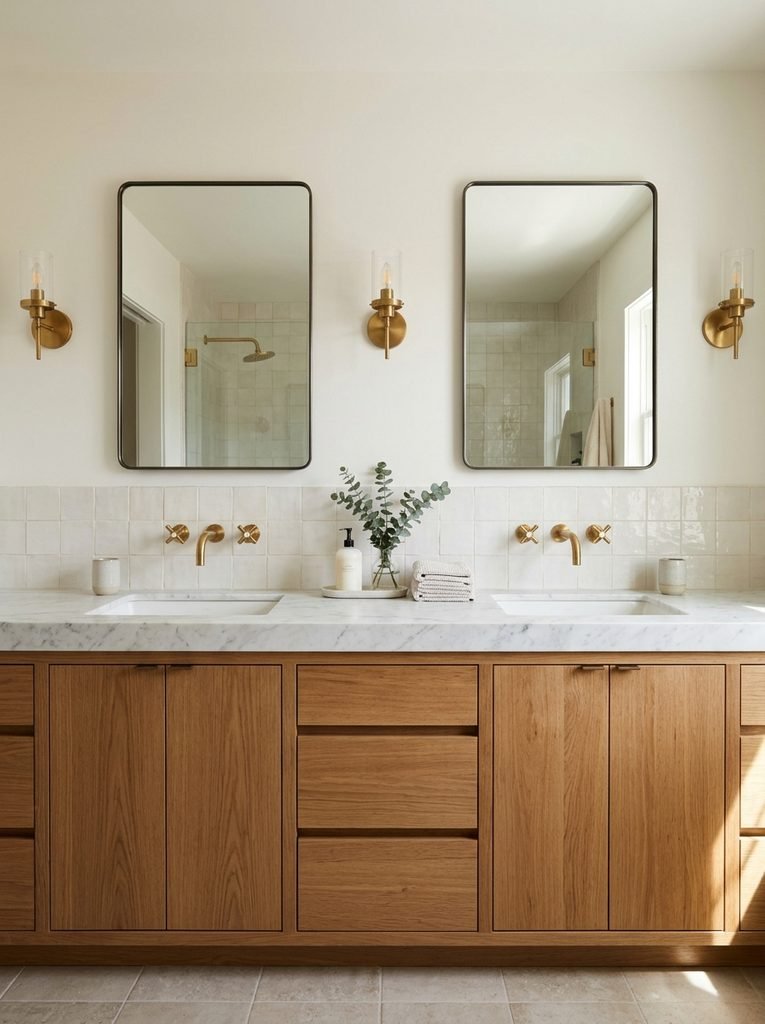
Two basins need room. Most guidance puts them 30 to 36 inches apart, center to center, with at least 15 inches from each center to the nearest wall. Twenty inches is roomier. Run the numbers: a 60-inch top pushes both basins to the minimums, while a 72-inch top gives you 36-inch centers and 18 inches at each end. If you share the room at different hours, one 48-inch basin with a deep drawer stack costs less and leaves wall space for a tall cabinet. Choose the width first, then shop for the vanity. Give each basin its own mirror, about 24 to 30 inches wide and centered on the drain, so each person has a mirror where they actually stand. Check the faucet spacing against the drain position before you order wall-mounted faucets, because the rough-in cannot move once the wall is closed.
Remove the Shower Curb
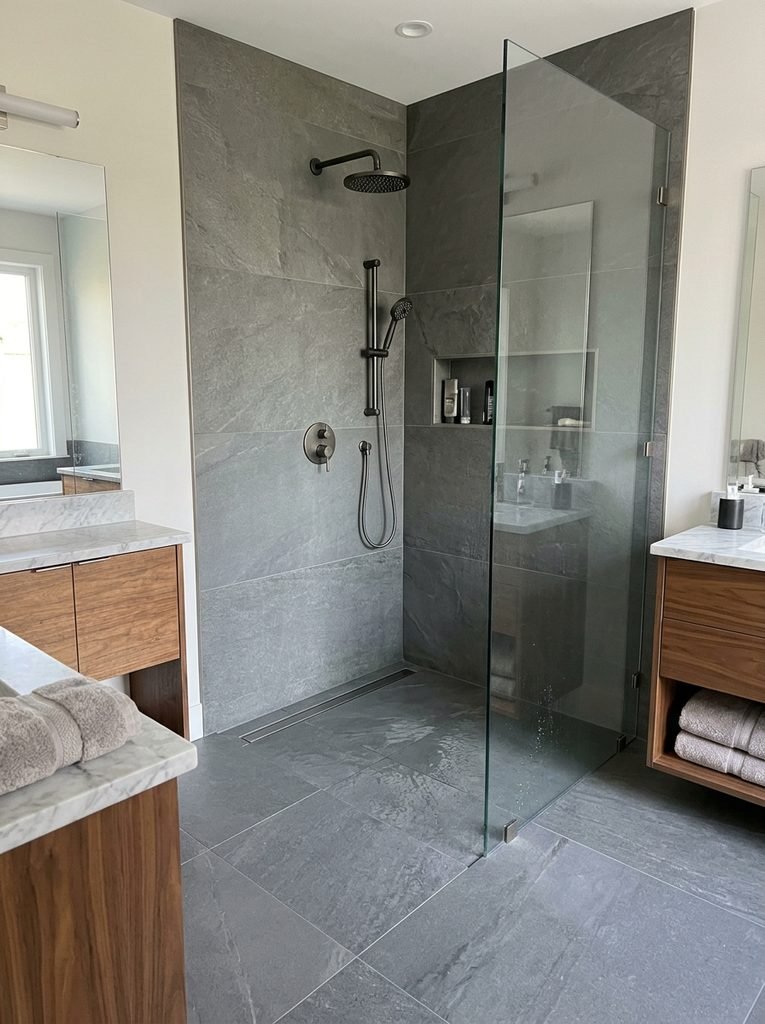
A curbless shower has no step, so the floor must slope about 1/4 inch per foot toward the drain. That slope has to hide somewhere. On a wood-framed floor, the builder often recesses the shower area an inch or two, and the joists can limit how far. Ask before you commit to the idea. A linear drain along one wall allows a single flat slope, so 12-by-24-inch tile can run straight in. A center drain needs four slopes, which suits 2-inch mosaics. Request a flood test: fill the pan for 24 hours and mark the water line before any tile goes down. A fixed glass panel about 36 inches wide stops most spray when the showerhead faces away from the opening. Keep the door’s bottom edge on a sweep rather than letting glass sit close to the sloped floor.
Put the Tub Inside the Wet Zone
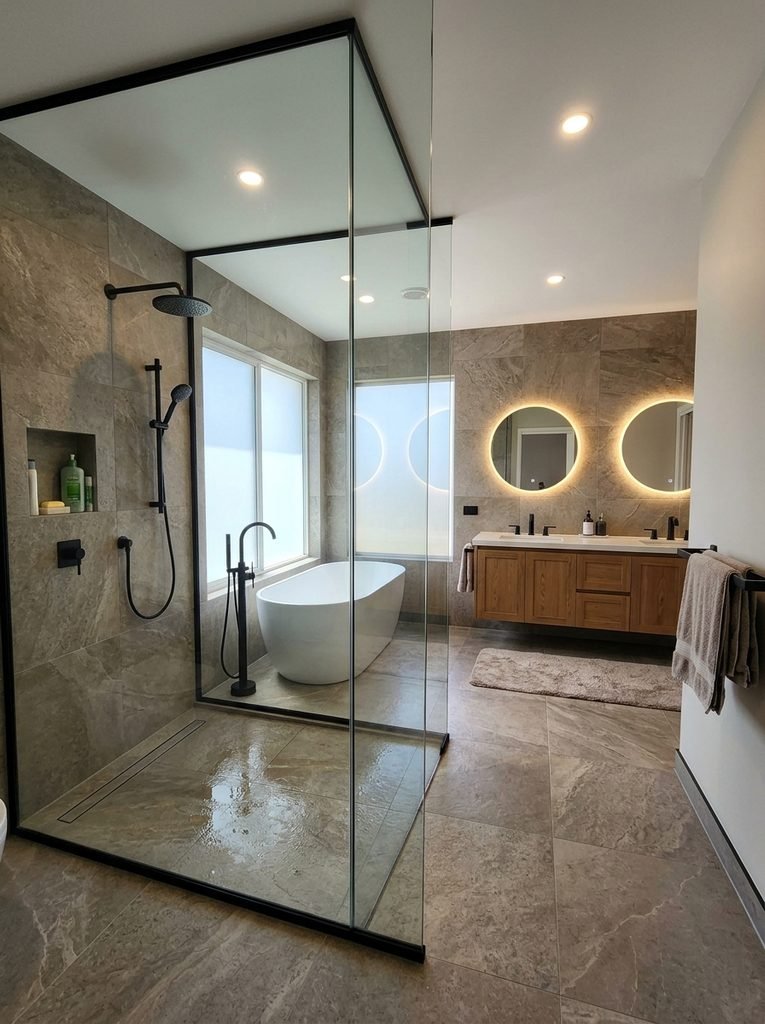
A freestanding tub does not need its own corner. Place it in the same glass-enclosed zone as the shower, and one fixed panel covers both. Waterproof the whole zone, floor and walls up past the showerhead, and slope the floor to a single drain. Splash will reach the tub deck, so keep towel hooks and the paper holder out of range. A 60-inch tub uses about 12.5 square feet. A 66-inch tub suits taller bathers but needs a wall that long. Plan the filler location now, because the supply lines run through the floor. If the subfloor is shallow, a wall-mounted tub filler avoids cutting into the framing.
Choose Surfaces That Cope With Steam and Daily Use
Modern rooms look calm because they have few seams. Seams are also where steam and splashes do their damage, so pick carefully.
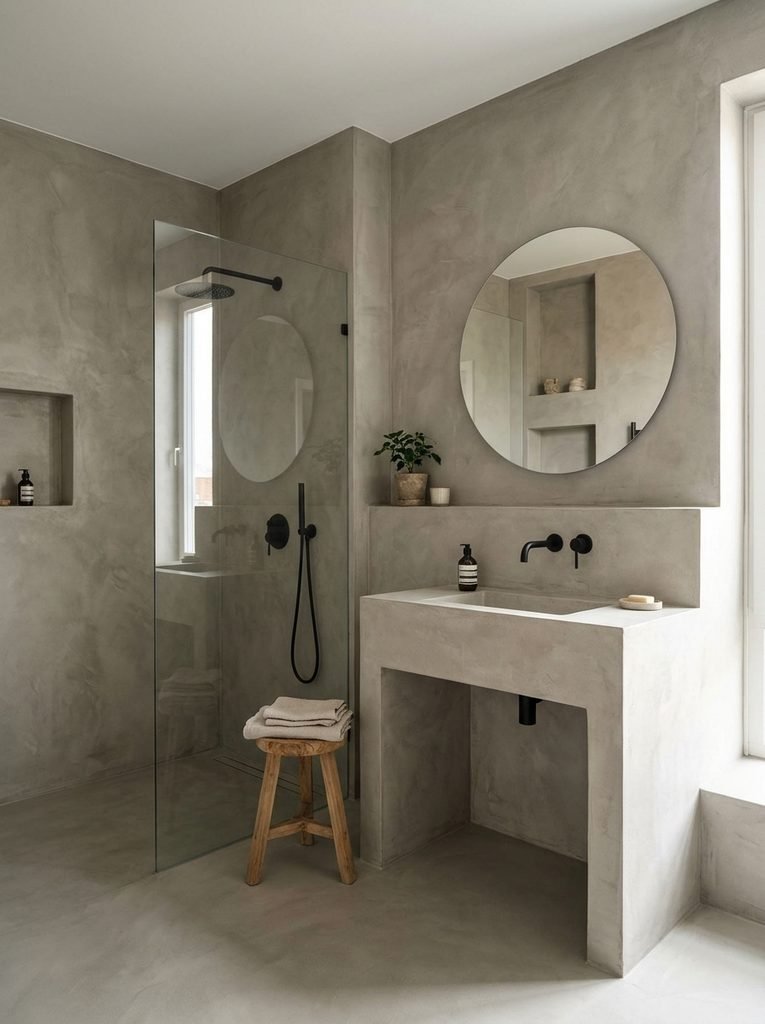
Wrap the Dry Walls in Microcement or Plaster
Microcement is a thin cement-based coating, a few millimeters thick, troweled over a stable base. It gives walls a continuous, stone-like face with no grout grid. It cracks if the base flexes, so installers lay it over cement board with taped, meshed seams. It also needs a sealer, and the installer should tell you how many coats and how long it cures. Keep it out of direct shower spray unless the installer will warrant it for wet use. Ask to see a bathroom the crew finished at least a year ago. Request a sealed sample board and leave a wet washcloth on it overnight. Dark patches that dry slowly show how the sealer will behave on your wall.
Match the Counter Material to Your Hot Tools
Check what lands on your counter every morning. Engineered quartz is bound with resin, and many manufacturers warn against setting a hot flat iron directly on it because the surface can scorch. Solid surface can scorch too, though a fabricator can often sand the mark out. A porcelain slab shrugs off heat but needs a fabricator who can cut it without chipping. Consider an integrated sink: one piece, no rim and no undermount seam to scrub. Keep a heat-proof tray in the top drawer either way.
Add Comfort You Notice Every Morning
Most comfort features are wiring and plumbing, so they need a plan before the walls close.
Run Two Kinds of Heat on Separate Timers
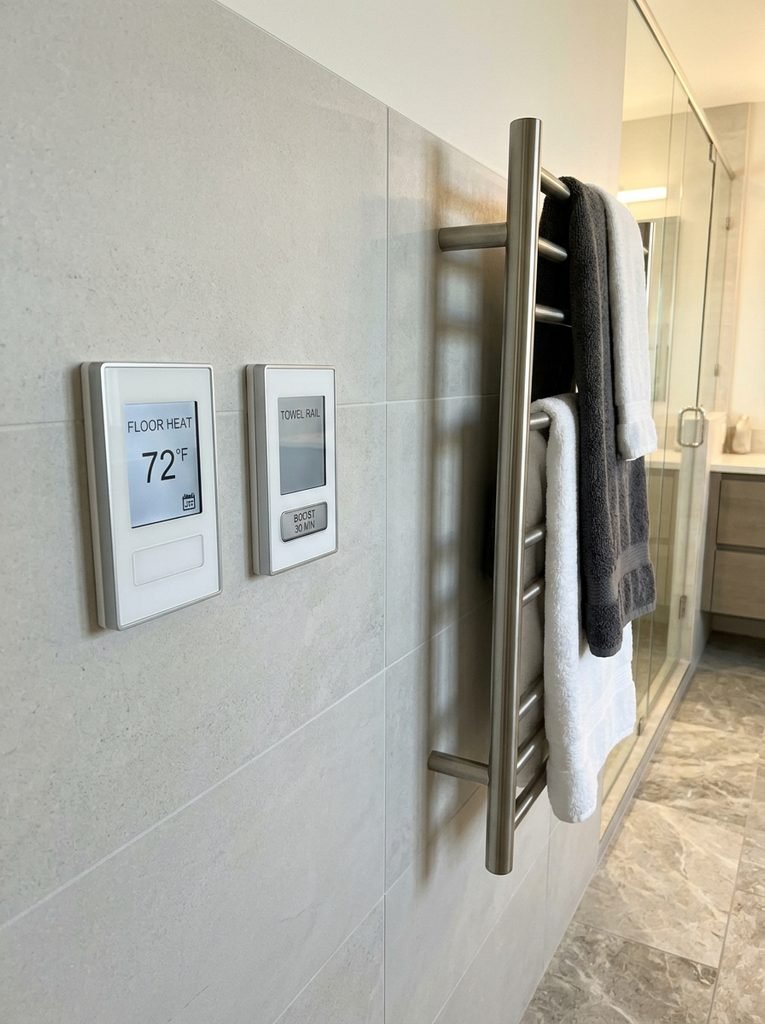
A floor mat and a towel rail solve different problems. The mat warms the tile underfoot. A hardwired towel rail dries towels and takes the chill off the room. Put each on its own programmable control, so the rail can run an hour before you wake and the floor can run longer. Electric floor mats need a GFCI-protected circuit and a sensor that sits in a conduit under the tile. Ask your electrician to show you where that sensor goes. Plug-in rails work in rentals, but a hardwired one leaves no cord on the wall. Add a boost button to the rail’s control so a guest can run it for 30 minutes without touching your schedule.
Wire Lighting as Three Circuits
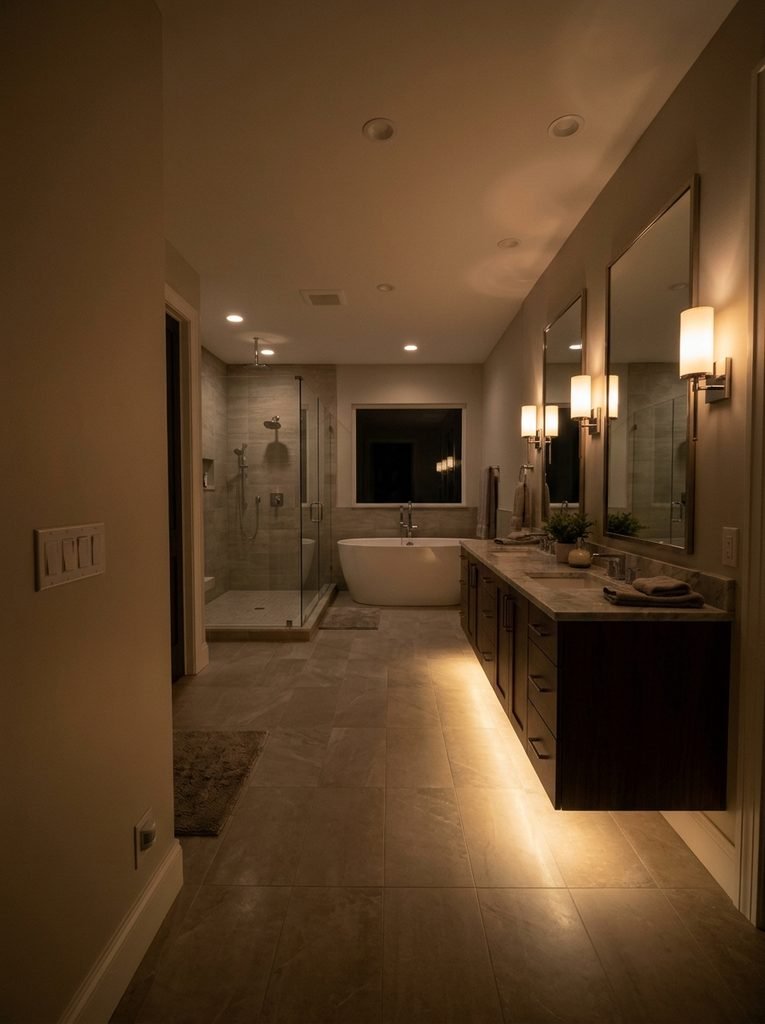
One switch for every light is the usual shortcut, and you live with it for years. Plan three circuits at rough-in: vanity lights on a dimmer, ceiling lights on a second dimmer, and a low night path on a motion sensor. Fixtures inside the shower footprint need a wet-location rating, and fixtures over the tub need at least a damp rating. Use one color temperature, usually 2700 to 3000K, on every fixture so the tones match. A warm LED strip under the vanity lights the floor at 2 a.m. without waking you. For mirror lighting and bulb choices, read the bathroom lighting mistake that makes everyone look tired.
Choose a Digital Shower Valve
A digital thermostatic valve holds the water at the temperature you set and stores presets for each person. It needs power near the valve body, so plan an outlet inside an access panel or in the neighboring room’s wall. The valve must stay reachable for service, which a fully tiled wall prevents. Every outlet, whether overhead, handheld or body spray, adds a port and a cost. Count how many you will really use. Set the maximum below 120°F, a limit commonly used for scald protection. Buy the valve and its trim from the same maker, since digital controllers often do not mix across brands. Program the presets before the tile crew leaves.
Fit the Room to the People Who Use It
The last three ideas deal with heights, depths and reach, the measurements that decide whether a room feels easy.
Add a Sit-Down Vanity Section
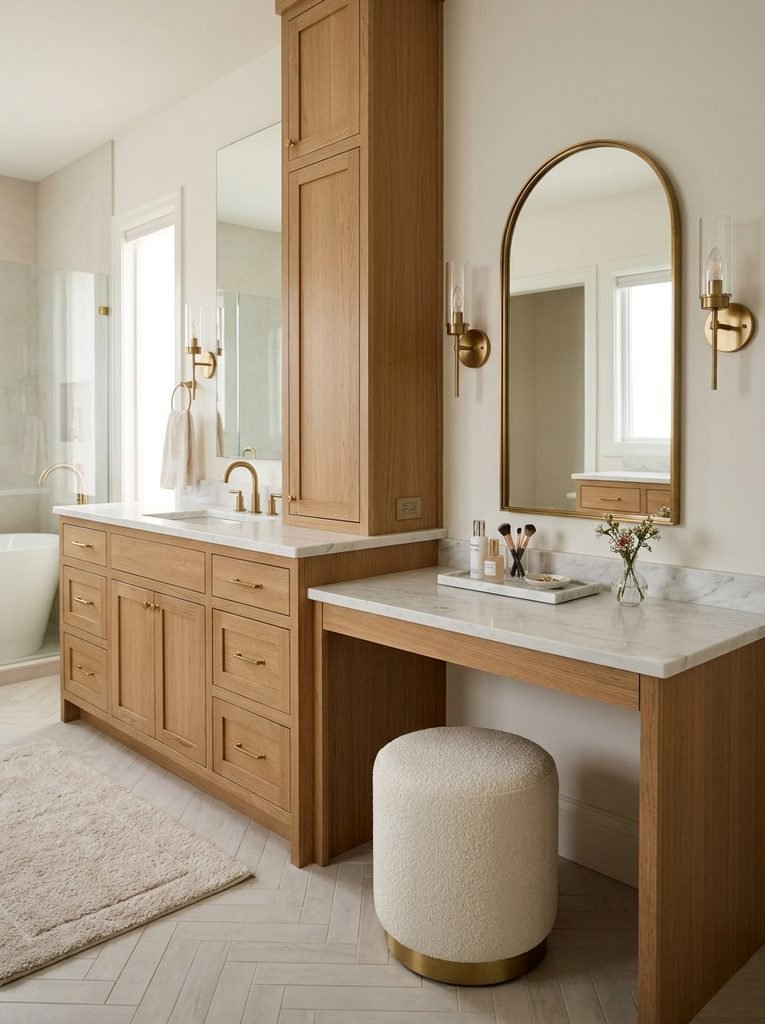
A seated station gives you a place for makeup or a slow morning without a separate dressing table. Set the counter about 30 inches high. Leave roughly 27 inches of clear height beneath it and at least 30 inches of width for your knees. Put an outlet inside a drawer, or on the side wall, so cords never cross the surface. Seated eye level is lower than standing, around 45 to 48 inches, so test the sconce height with a chair before you fix it to the wall. Choose a stool that tucks fully under the counter, with a seat about 18 inches high, so the walkway stays clear when nobody is sitting.
Set the Bench and Niche at Working Height
A shower seat should sit 17 to 19 inches above the floor and run about 15 inches deep, per common planning guidance. A built bench should slope slightly toward the drain so water does not pool. Block the walls for a fold-down seat or grab bars before drywall goes up, because a screw that misses a stud holds nothing. That is why NKBA’s fifth-edition planning guidelines, updated for the 2024 residential code, add recommendations on wall blocking and bracing. For a niche, studs at 16 inches leave about 14.5 inches of clear width. Add insulation behind any niche on an exterior wall.
Put a Linen Tower Within Three Steps of the Shower
Reaching for a towel across wet tile is where a bathroom feels badly planned. Place a tall cabinet within three steps of the shower exit, outside the splash zone. A 12-inch-deep unit holds folded bath towels, and 15 inches suits bulkier ones. Choose a sealed or melamine interior and a door with a small clearance gap, because trapped steam warps raw wood. Keep daily towels at eye level and spares up top. An 80-inch-tall unit also uses wall height that no other fixture can. In a narrow room, hinge the door on the side away from the shower so it never blocks the exit.
Make the Decisions in This Order
Decide anything inside a wall first: drains, blocking, circuits, the valve location and the pocket door. Choose surfaces second, since they set the finished floor height and the tile layout. Pick fixtures and hardware third, because they only need to fit the rough-in you already made. Buy decor last. If you can fund just one project this year, pick the one that is hardest to change later, which is usually the curbless floor or the wiring. Put the order on a single page and hand it to every trade. Plumbers, electricians, tile setters and glass installers each assume the previous crew solved their problem. One sheet showing drain locations, circuit plans and blocking heights prevents the most common remodel surprise: a finished wall that must be reopened.
Frequently Asked Questions
Is a curbless shower harder to waterproof than a standard shower?
It needs more membrane, not different skill. The waterproofing covers the entire sloped floor and climbs the walls, instead of stopping at a curb. Ask the installer to flood-test the pan for 24 hours before any tile goes down. A passed test costs nothing, while a leak found after tiling means demolition.
How loud should a master bathroom exhaust fan be?
Look for a rating around 1.0 sone or lower, roughly the hum of a quiet refrigerator. Duct size matters as much as the fan itself. A long run of 4-inch duct chokes airflow and adds noise, so installers often step up to 6-inch duct on longer runs. Always vent outdoors, never into the attic.
Does a wall-hung toilet cost more to install than a standard one?
Usually, yes. The in-wall carrier adds a few hundred dollars to the parts bill, and framing and finishing the wall adds labor. You also buy a flush plate and plan an access panel. In return, you get an adjustable bowl height and a floor you can mop straight across.
Do I need an electrician for heated bathroom floors?
Yes, for any hardwired system. Electric floor mats need a GFCI-protected circuit and a thermostat with a floor sensor. Check the wattage against the circuit. A 40-square-foot mat at a common 12 watts per square foot draws roughly 4 amps, which fits most bathroom circuits comfortably.
What tile size works on a sloped, curbless shower floor?
Small tiles follow a multi-direction slope, while large tiles need a single flat one. Two-inch mosaics bend around the four-way pitch of a center drain. A linear drain with one slope can take 12-by-24-inch tile, though cuts get fussy near the drain. Ask the tile setter to dry-lay a sample first.