Most kitchen islands collect things before anyone decorates them. A bag of groceries lands first, then the mail, a laptop, a glass of water. By evening the best surface in the room is covering for everyone’s day. Adding a vase to that pile rarely helps.
Styling an island is different from styling a shelf or a sideboard. An island gets used from every side, it is seen from the living room, and it has four jobs at once: prep, serving, seating, and landing. The decor that lasts is the decor that respects those jobs.
This guide treats the island as a piece of furniture with a front, a back, a top, and two ends. You will find ideas for lighting, stools, surfaces, hidden storage, sinks and cooktops, small islands, and seasonal changes. The goal is an island that looks composed on an ordinary Tuesday, not only on the day guests arrive.
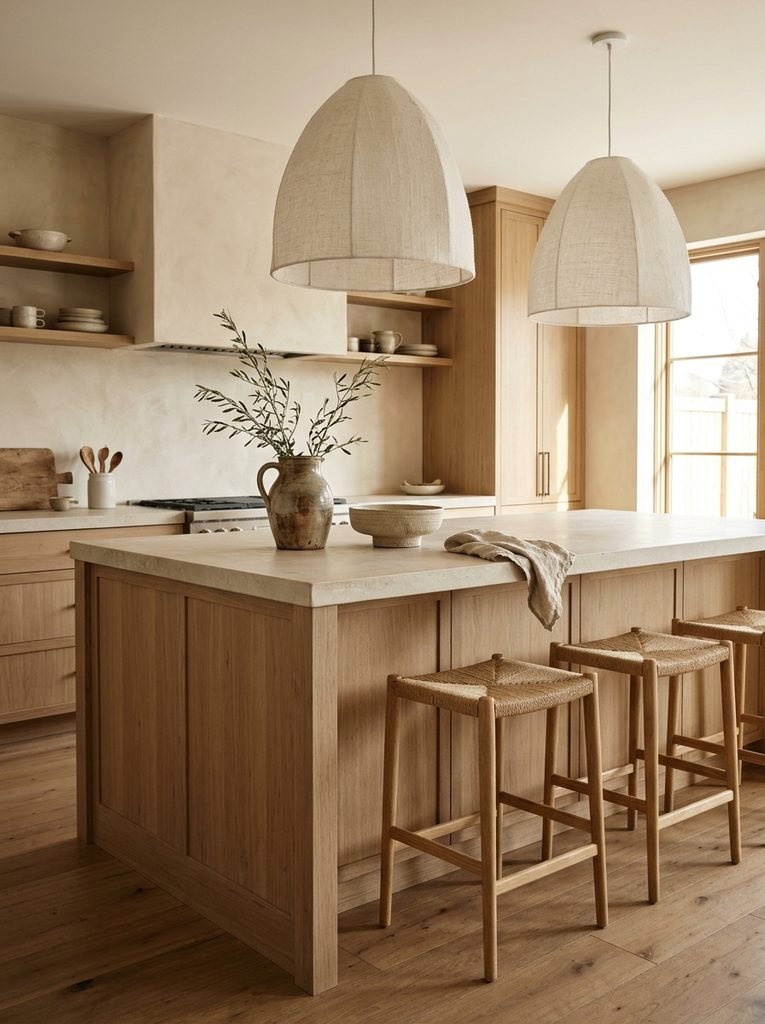
Decide What the Island Is For Before You Decorate It
Clutter on an island is usually a job with nowhere to go. If groceries, homework, and mail all land on the same stretch of counter, no styling idea will survive. So start with a week of watching rather than shopping.
Notice where bags are set down, where the laptop migrates, where keys end up, and which end the stools crowd around. Most islands fall into three types. A prep island is used for chopping and rolling dough. A social island is built around stools, drinks, and conversation. A catch-all island receives whatever comes through the door. Most homes have a blend of the three.
That blend decides how much surface can be decorative. On a working island, a useful starting point is to keep at least half of the length open and bare at all times. A mostly social island can carry a little more.
Once you know the jobs, put the decor where the jobs are not. If prep happens near the sink, style the opposite end. If the stools sit on the right, keep that zone low and easy to clear, and let the left end hold the visual interest.
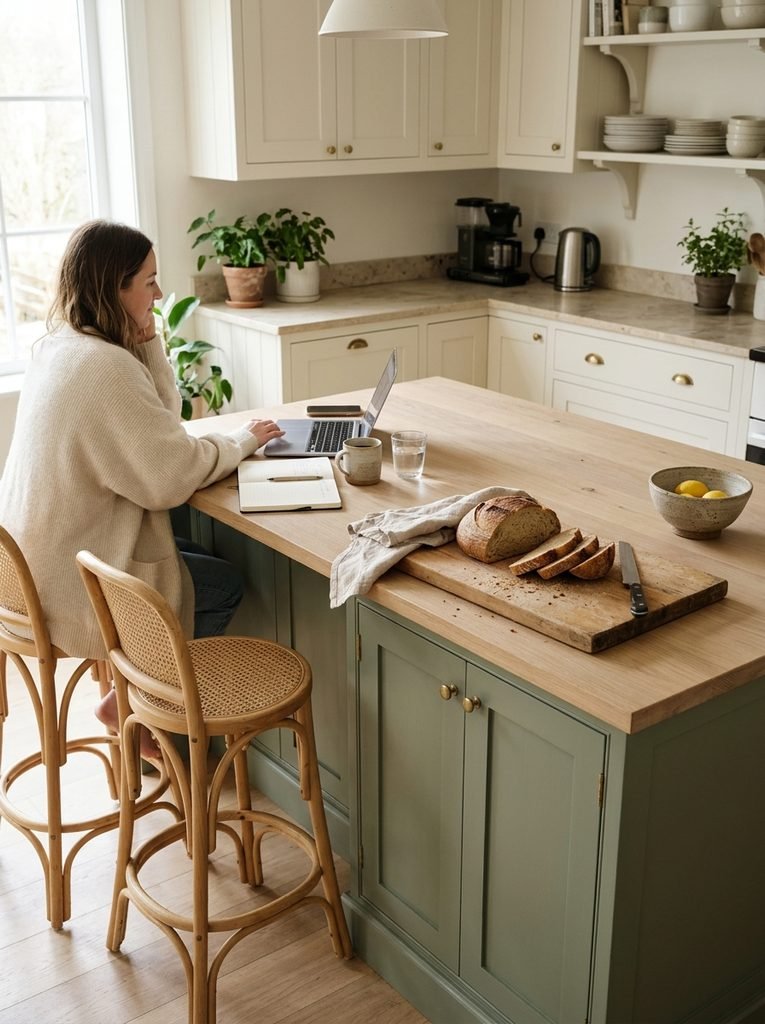
Read the Island From Three Sides
An island has a cook side, a seating side, and a room side. Each one needs different styling.
The cook side should stay practical. Keep tools within reach and decoration minimal. The seating side faces people who rest their elbows, set down plates, and talk across the surface, so anything there should be low, stable, and easy to move. The room side is what you see from the sofa or dining table. It is the most overlooked part of many kitchens, and it often shows plain cabinet doors, a visible dishwasher edge, or a bare toe-kick.
Because this side is on display, it is a good place for decor that never touches the counter. Fluted or vertical-slat oak panelling, beadboard-style panels, or a deeper paint color give the back of the island a finished look without adding objects. Renters can look at removable panel products, though it is wise to test a small area first.
A good habit is to sit on the sofa, look at the island, and ask what the eye lands on first. If the answer is a pile or an exposed appliance edge, fix that before adding anything pretty.
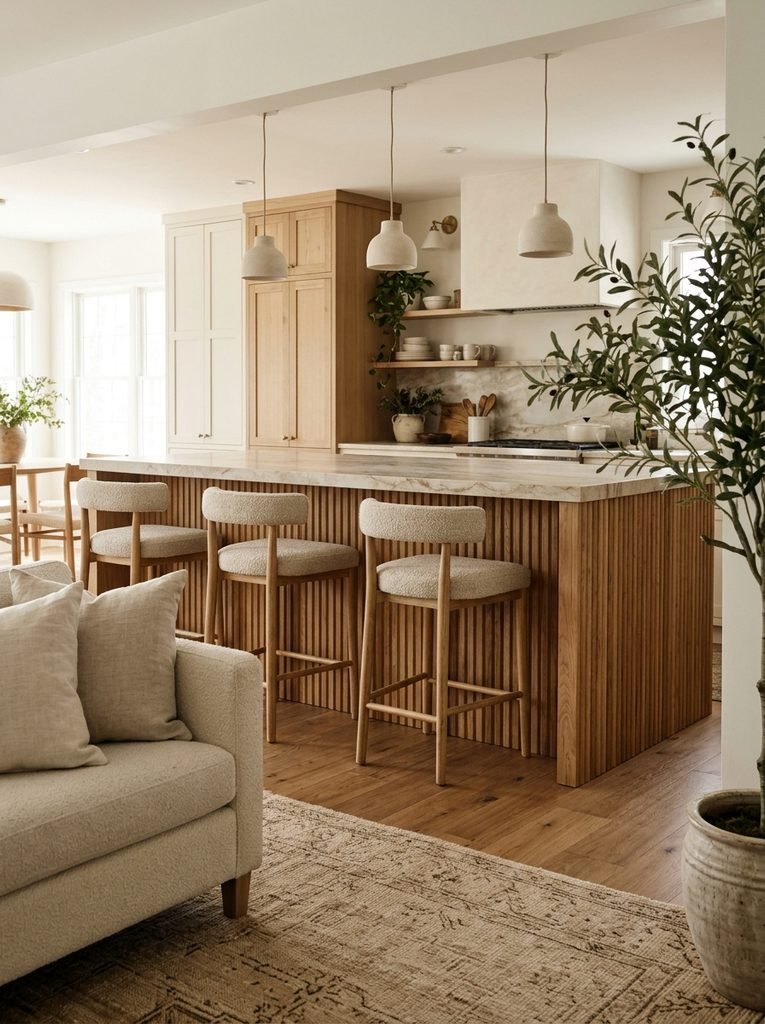
Let the Island’s Own Materials Do Some of the Work
An island that has presence needs fewer accessories. This is the cheapest decorating decision you can make, because the finish does the visual work every day without any upkeep.
A contrasting base is the most common move. A warm white or pale greige perimeter pairs well with a muted olive, deep blue-gray, charcoal, or walnut island. Because it is a freestanding piece, it can carry more color than the wall cabinets. If you are still choosing the surrounding shade, this guide to timeless kitchen cabinet colors shows how a two-tone setup holds up over time.
Countertop material matters for styling too. Honed marble and limestone develop marks from acids and daily use, so they suit a relaxed look. Quartz is easier to care for and photographs cleanly. Butcher block adds warmth but needs regular oiling. Soapstone-look surfaces hide small scratches well and make pale ceramics stand out.
On a tight budget, paint an existing island in a deeper cabinet-grade color, replace the knobs with a single metal finish, and keep everything else simple. A new top or a wood end-grain section can come later.
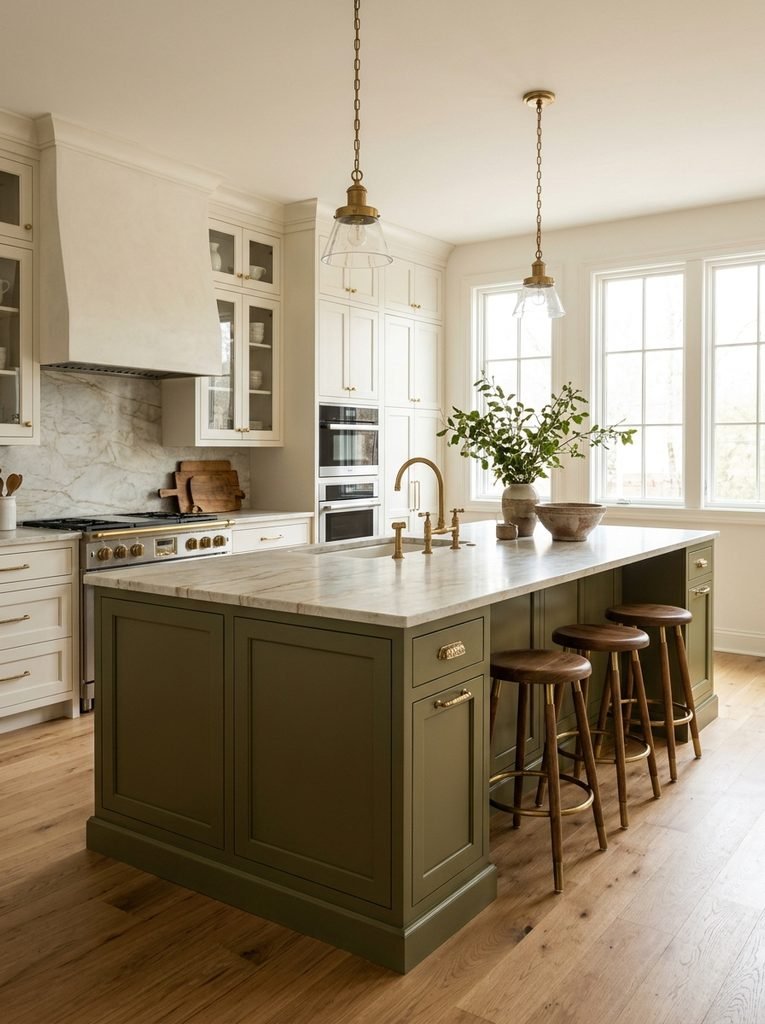
Let Lighting Carry the Decorative Weight
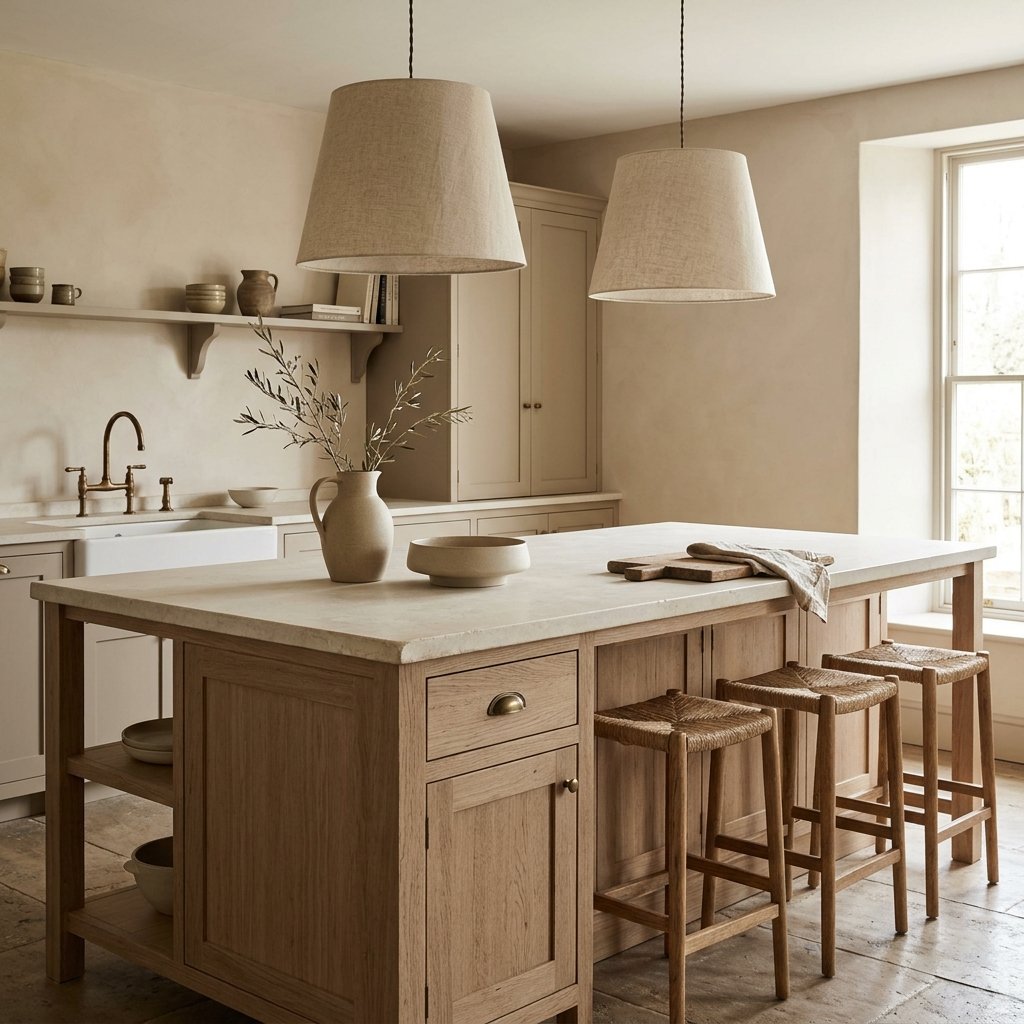
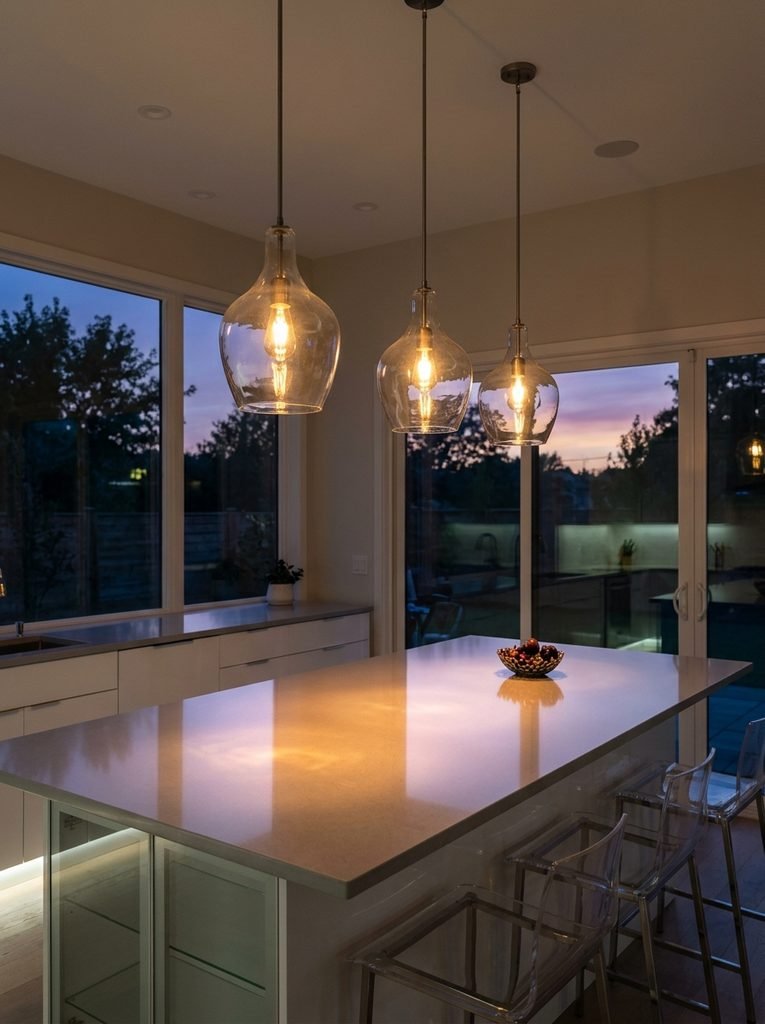
Pendant lights are the island’s built-in decor. They add shape, texture, and warmth at eye level, and they do it without taking up a single inch of counter. If the lighting is right, the surface can stay almost empty and the island still looks styled.
Scale comes first. Two or three pendants spaced evenly usually look more settled than one oversized fixture, and a long linear fixture suits a narrow island. The group should look centered over the top and stop short of the ends. A common guideline is to hang pendants about 30 to 36 inches above the counter, then adjust for ceiling height and sightlines. Confirm the details with the manufacturer’s instructions and your electrician.
Shape and material add the personality. Linen drums soften a hard kitchen, opal glass globes feel clean and bright, ribbed ceramic adds texture, and woven shades suit relaxed rooms. Repeat one finish from your hardware or faucet so the lights look connected to the rest of the kitchen.
Put the fixtures on a dimmer. A kitchen that is bright for cooking and soft at dinner feels like two rooms in one. For rentals, a plug-in swag pendant or a warm LED strip under the stool overhang gives a similar evening glow without wiring.
Treat Stools as the Largest Piece of Decor
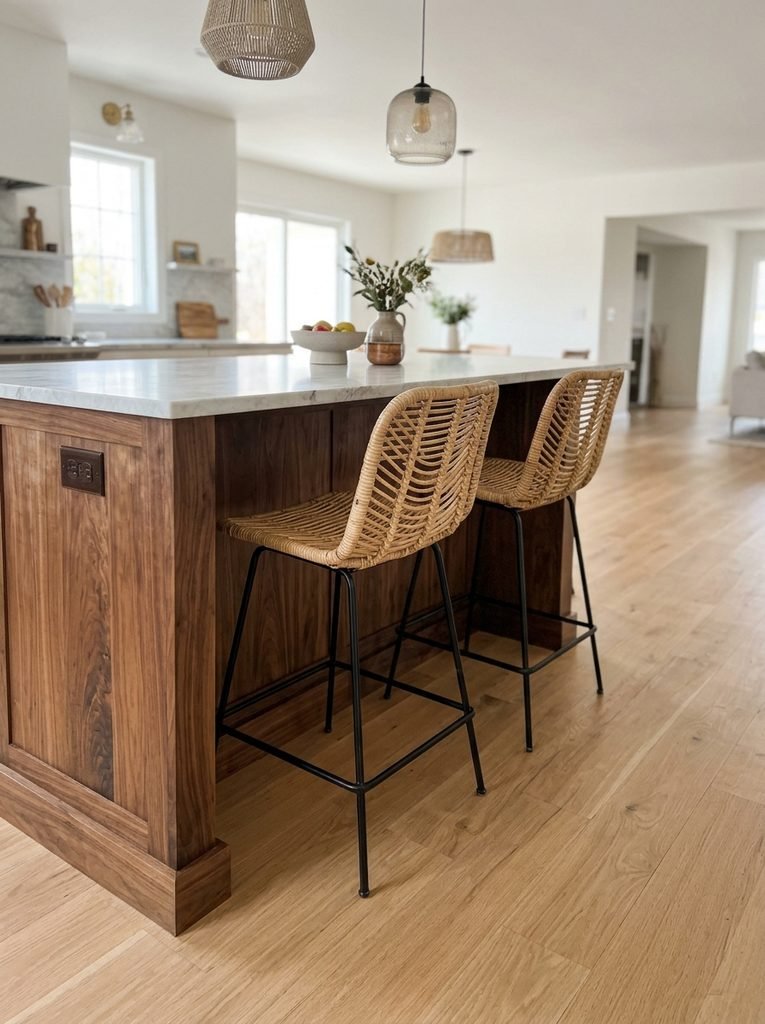
Counter stools are the biggest decorative objects on the island, and they are also the most visible from the room. Choose them with the same care as a dining chair.
Height is the first check. A counter stool seat usually sits around 24 to 26 inches high for a 36-inch counter, while a bar stool sits around 28 to 30 inches for a 42-inch top. Backless stools tuck under and keep the sightline clean. Low-back and upholstered styles are better for long dinners and homework. Wood, rattan, leather, and performance fabrics all work, so pick one that suits how people really sit.
Spacing keeps stools from looking crowded. The National Kitchen and Bath Association guidelines recommend about 24 inches of counter width per person, with roughly 15 inches of knee space at a standard counter height or 12 inches at bar height. They also suggest around 36 inches behind seated diners if someone needs to squeeze past, and about 44 inches if people walk behind them. See the NKBA Kitchen Planning Guidelines for the full set.
If the room is tight, these small kitchen layout ideas explain how aisle width affects everything around an island. When stools do not fit comfortably, two well-spaced stools look better than four crowded ones.
Style the Surface With Fewer Pieces Than You Expect
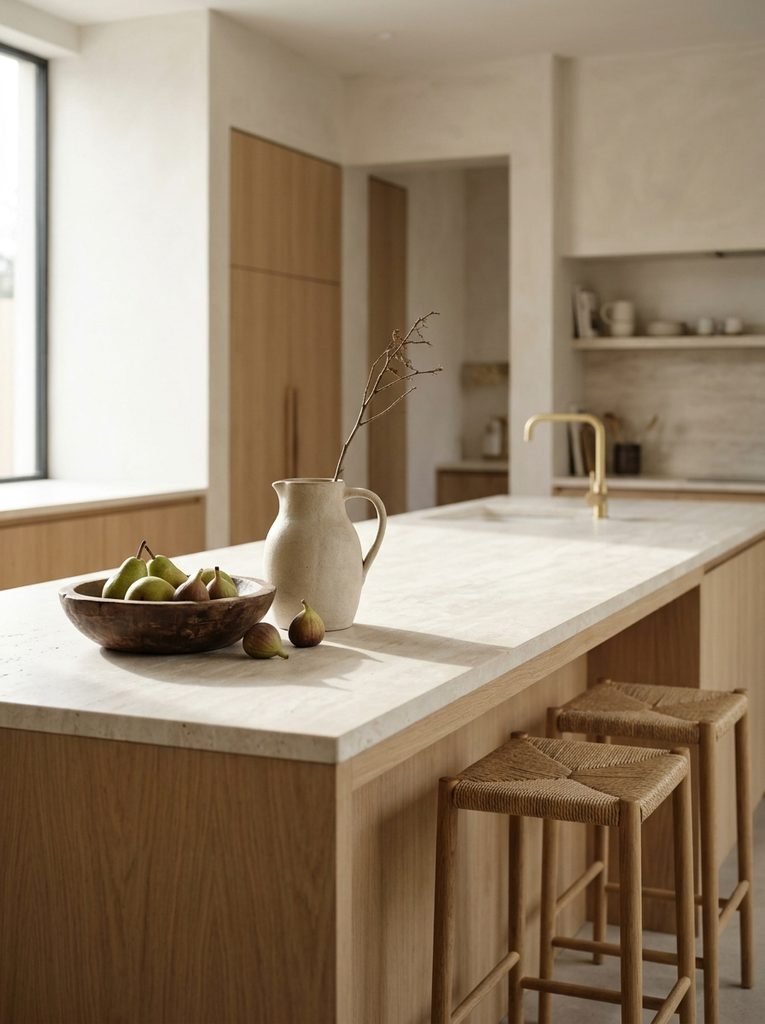
The surface of an island is long, and the middle of it is usually the prep zone. That changes how you style it. Place decor at one end or at the seating corner, not dead center, and keep the middle ready for work.
Scale matters because the island is seen from across the room. One large wooden bowl of real fruit reads better from the sofa than five tiny accessories. A tall ceramic jug with a few olive branches or dried grasses adds height at the far end. Keep anything on the seating side low enough that people can talk over it.
A few combinations are easy to picture and easy to maintain:
- A pale stoneware pedestal bowl with lemons
- A lidded crock that holds wooden spoons and doubles as decor
- A narrow tray with a pepper mill, oil bottle, and small dish, lifted away when you cook
- A single stem in a glass bottle, replaced when it fades
Try the ten-second test. When you start cooking, you should be able to clear the island in about ten seconds. If it takes longer, something on the surface does not need to be there.
Build a Landing Zone So Clutter Has Somewhere to Go
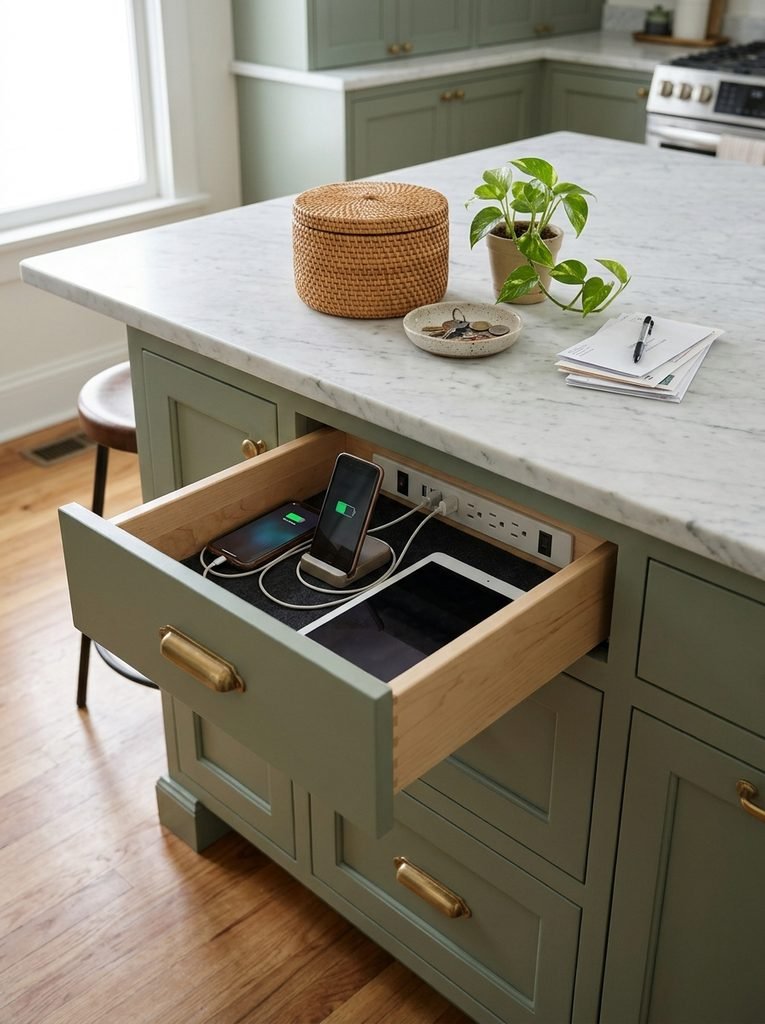
An island attracts mail, keys, chargers, and school papers. Fighting that habit rarely works. Giving it a tidy home does.
The best landing zone sits at the end closest to the entry, so things stop there instead of traveling across the island. A shallow lidded basket, a low tray, or a closed end cabinet can hold the daily pile. A drawer with a built-in charging spot keeps cords out of sight. Wall hooks or a small console near the door take the bags and keys before they reach the counter.
For islands with open end shelves, use woven baskets with lids and keep each one to a single category, such as mail, chargers, or notebooks. Open storage works only when the contents are contained. Push-latch doors on the room-facing side hide supplies and keep the front clean.
The same filter used in this counter rule for cleaner kitchens applies here: if you do not use it daily, it should live behind a door. If cords are the main problem, ask an electrician about outlet options for your island, since local requirements vary.
Style Working Islands With Sinks and Cooktops
Islands that hold a sink or a cooktop need a different approach, because water, heat, and grease are part of the picture.
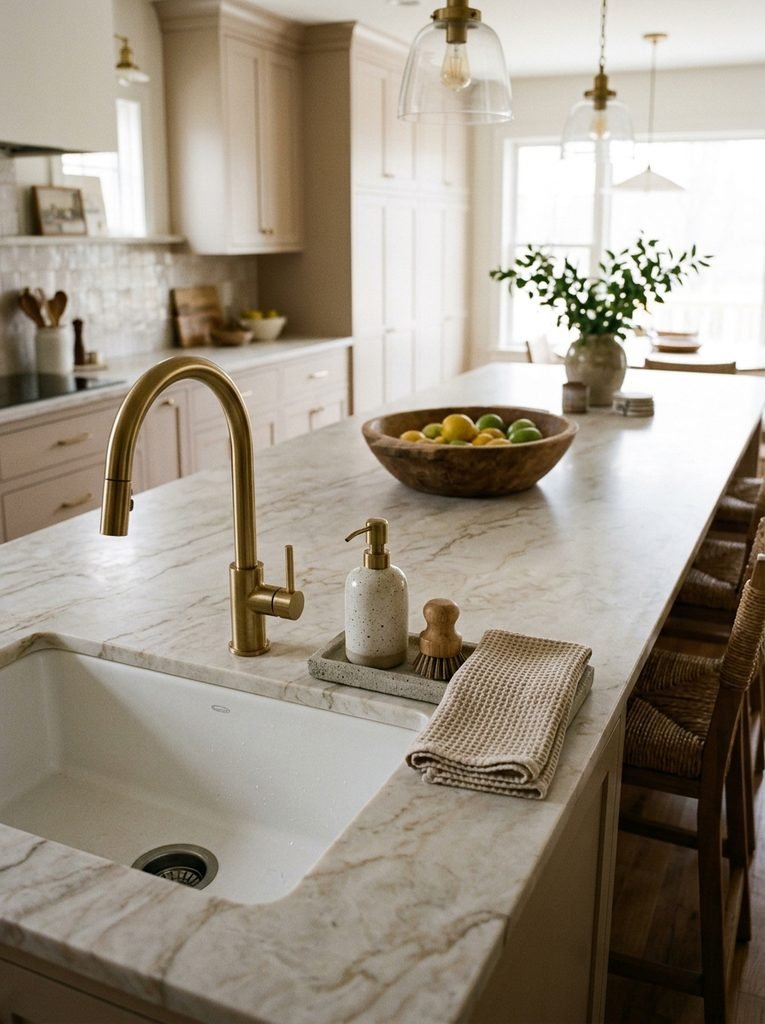
Around an island sink, keep one small group that earns its place: a ceramic pump dispenser, a brush in a small holder, and a folded dish towel. A narrow tray under the dispenser catches drips and gives the sink area a clear edge. A drying rack should be stored when not in use, since it is the quickest way to make a sink island look busy.
Around a cooktop, keep the surface within easy reach of the burners clear. Move decoration to the far end, away from heat and splatter. A tall ceramic vessel or a wooden bowl at that end adds interest without sitting near a pan. Pendants above a cooktop island need extra care, so check clearance and ventilation requirements with a qualified installer.
Appliance doors need space as well. If a dishwasher or oven opens onto the island aisle, keep the floor in front clear, and avoid rugs that could catch a door.
Small Islands, Carts, and Peninsulas
A small island has less room for error, which makes editing easier. On a narrow top, one object is enough. Choose a medium bowl or a single vessel, then leave the rest open.
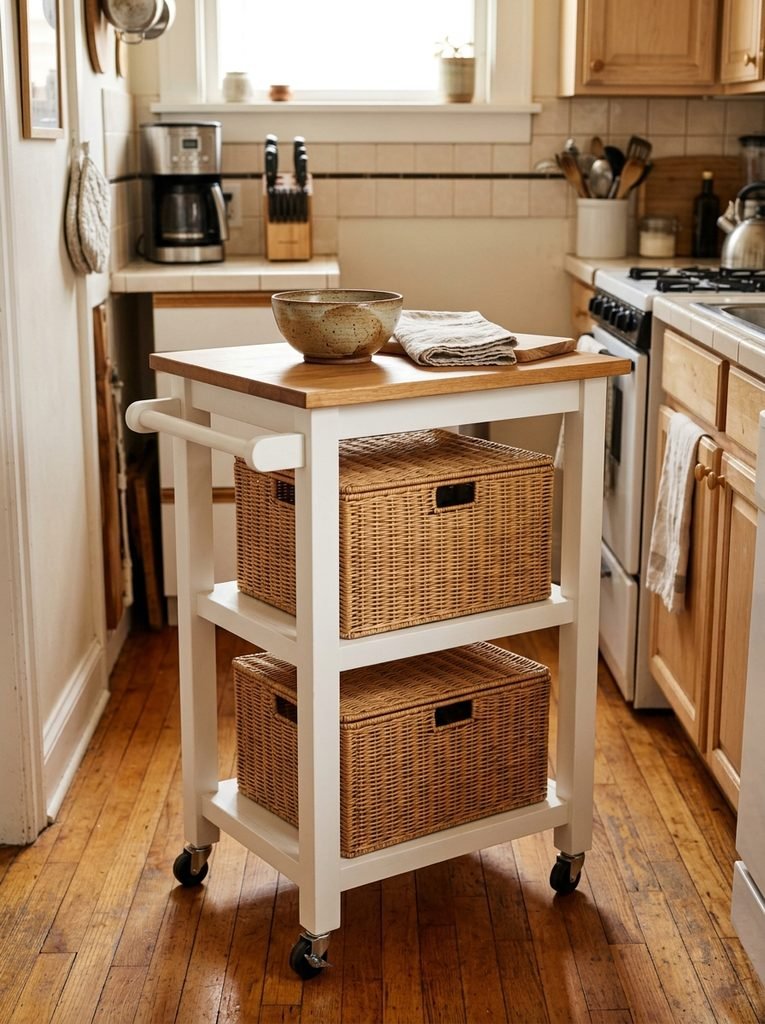
A rolling cart can work as a compact island. Lock the casters, keep the top almost bare, and use the lower shelf for lidded baskets or a stack of cutting boards. Styling a cart like furniture, with a runner underneath and a single object on top, makes it look intentional rather than temporary.
A peninsula is an island attached to a wall or counter, and it follows the same logic. Style the open side facing the room, and keep the connected side practical.
Renters and anyone on a budget can use a freestanding butcher block table, a sturdy bench, or a console table as a movable island. Keep walkways at least 36 inches wide so the room still moves comfortably. A small kitchen can often use a slim piece better than a full island that squeezes the aisle.
Hosting Mode and Seasonal Resets
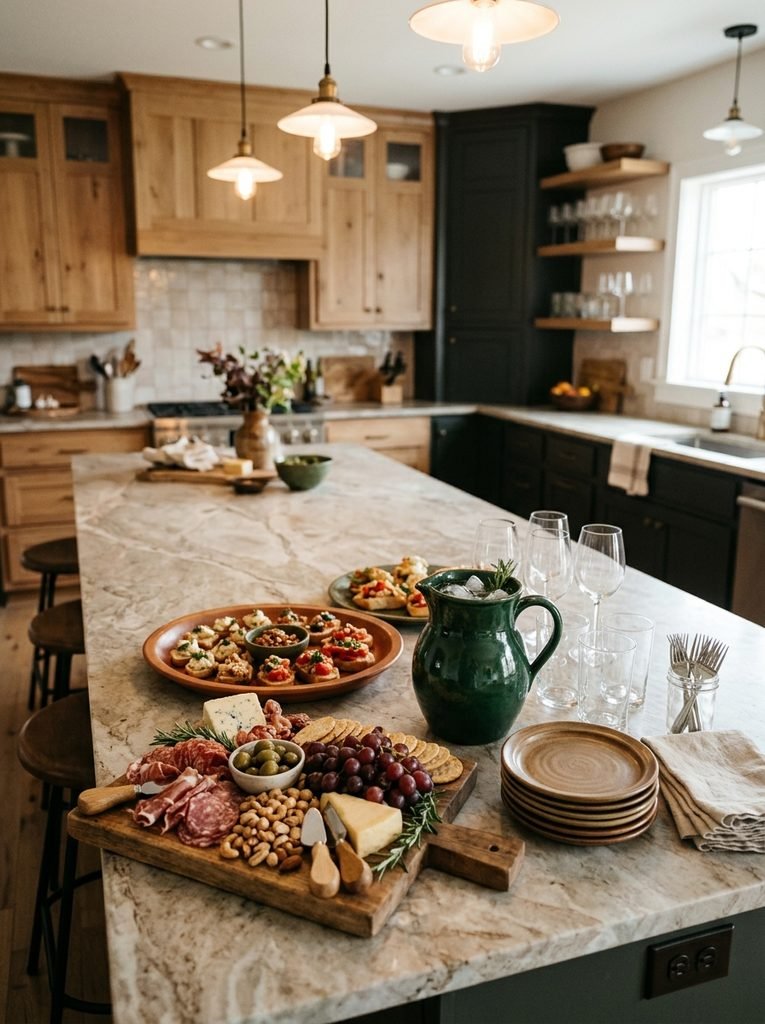
Think of the island as having two settings. On weekdays it is nearly bare, with one object and one clear working area. When guests arrive, it becomes a serving surface, and the decor steps aside for food.
For hosting, set out a wooden board, a platter on a low riser, and a stack of small plates. Keep serving pieces in the same few tones so the island reads as one composed table. Move the weekday bowl to a side counter rather than working around it.
Seasonal changes should be small and repeatable. Change the object, not the system. In autumn, a wooden bowl of pears and a jug of dried stems suit the warmer light. In winter, a branch of evergreen in a pitcher and a single glass jar of warm white lights keep things simple. In spring and summer, a bowl of citrus and one stem is enough.
End each day with a three-minute reset: clear the surface, wipe it down, and return the decorative pieces to their zone. A calm island at night makes the morning easier.
Common Kitchen Island Styling Mistakes
Even a careful setup can slip. These are the issues that show up most often:
- Placing the main arrangement in the center, where prep happens
- Using many small objects instead of a few larger ones
- Putting candles, fragile ceramics, or paper near the cooktop or sink
- Choosing stools that are the wrong height or crowd the aisle
- Hanging pendants too high or too low for the people using the island
- Leaving the room-facing side unfinished
- Styling the surface without planning a place for mail, keys, and chargers
- Letting cords and chargers trail across the top
Frequently Asked Questions
How many items should I put on a kitchen island?
Two or three well-chosen pieces are usually enough, grouped at one end. Keep the center and at least half of the length open for daily use.
What is the best centerpiece for a kitchen island?
A wooden bowl of real fruit, a tall ceramic jug with branches, or a lidded crock are practical choices. Pick something large enough to read from across the room and easy to move when you cook.
How do I decorate a small kitchen island?
Use one object, keep the lower shelf or storage for baskets, and let a pendant or stool design carry the style. Leave most of the surface clear.
Should the island match the kitchen cabinets?
It does not have to. A contrasting color or a wood finish gives the island its own identity, as long as it shares a material or metal finish with the rest of the room.
How do I keep mail and keys off the island?
Create a landing zone near the entry with a lidded basket, a tray, or a drawer, and add hooks by the door so items stop before they reach the counter.
Keeping the Island Calm Week After Week
Once the island is styled, the work is mostly maintenance. Once a week, look at it from the sofa, clear anything that has drifted onto it, and check that the landing zone is not overflowing. Swap one object if the season calls for it, and leave the rest alone. A few repeatable habits keep the island looking composed without extra effort.